
The Best Beginner Camera for Sports Photography, Picked by Parents
Your kid just scored the game-winner and your phone photo came out blurry. Again. Sound familiar?
Upload any photo — your kid, your pet, your whole team — pick a pro template, and we print and ship a real, holdable card the next business day.
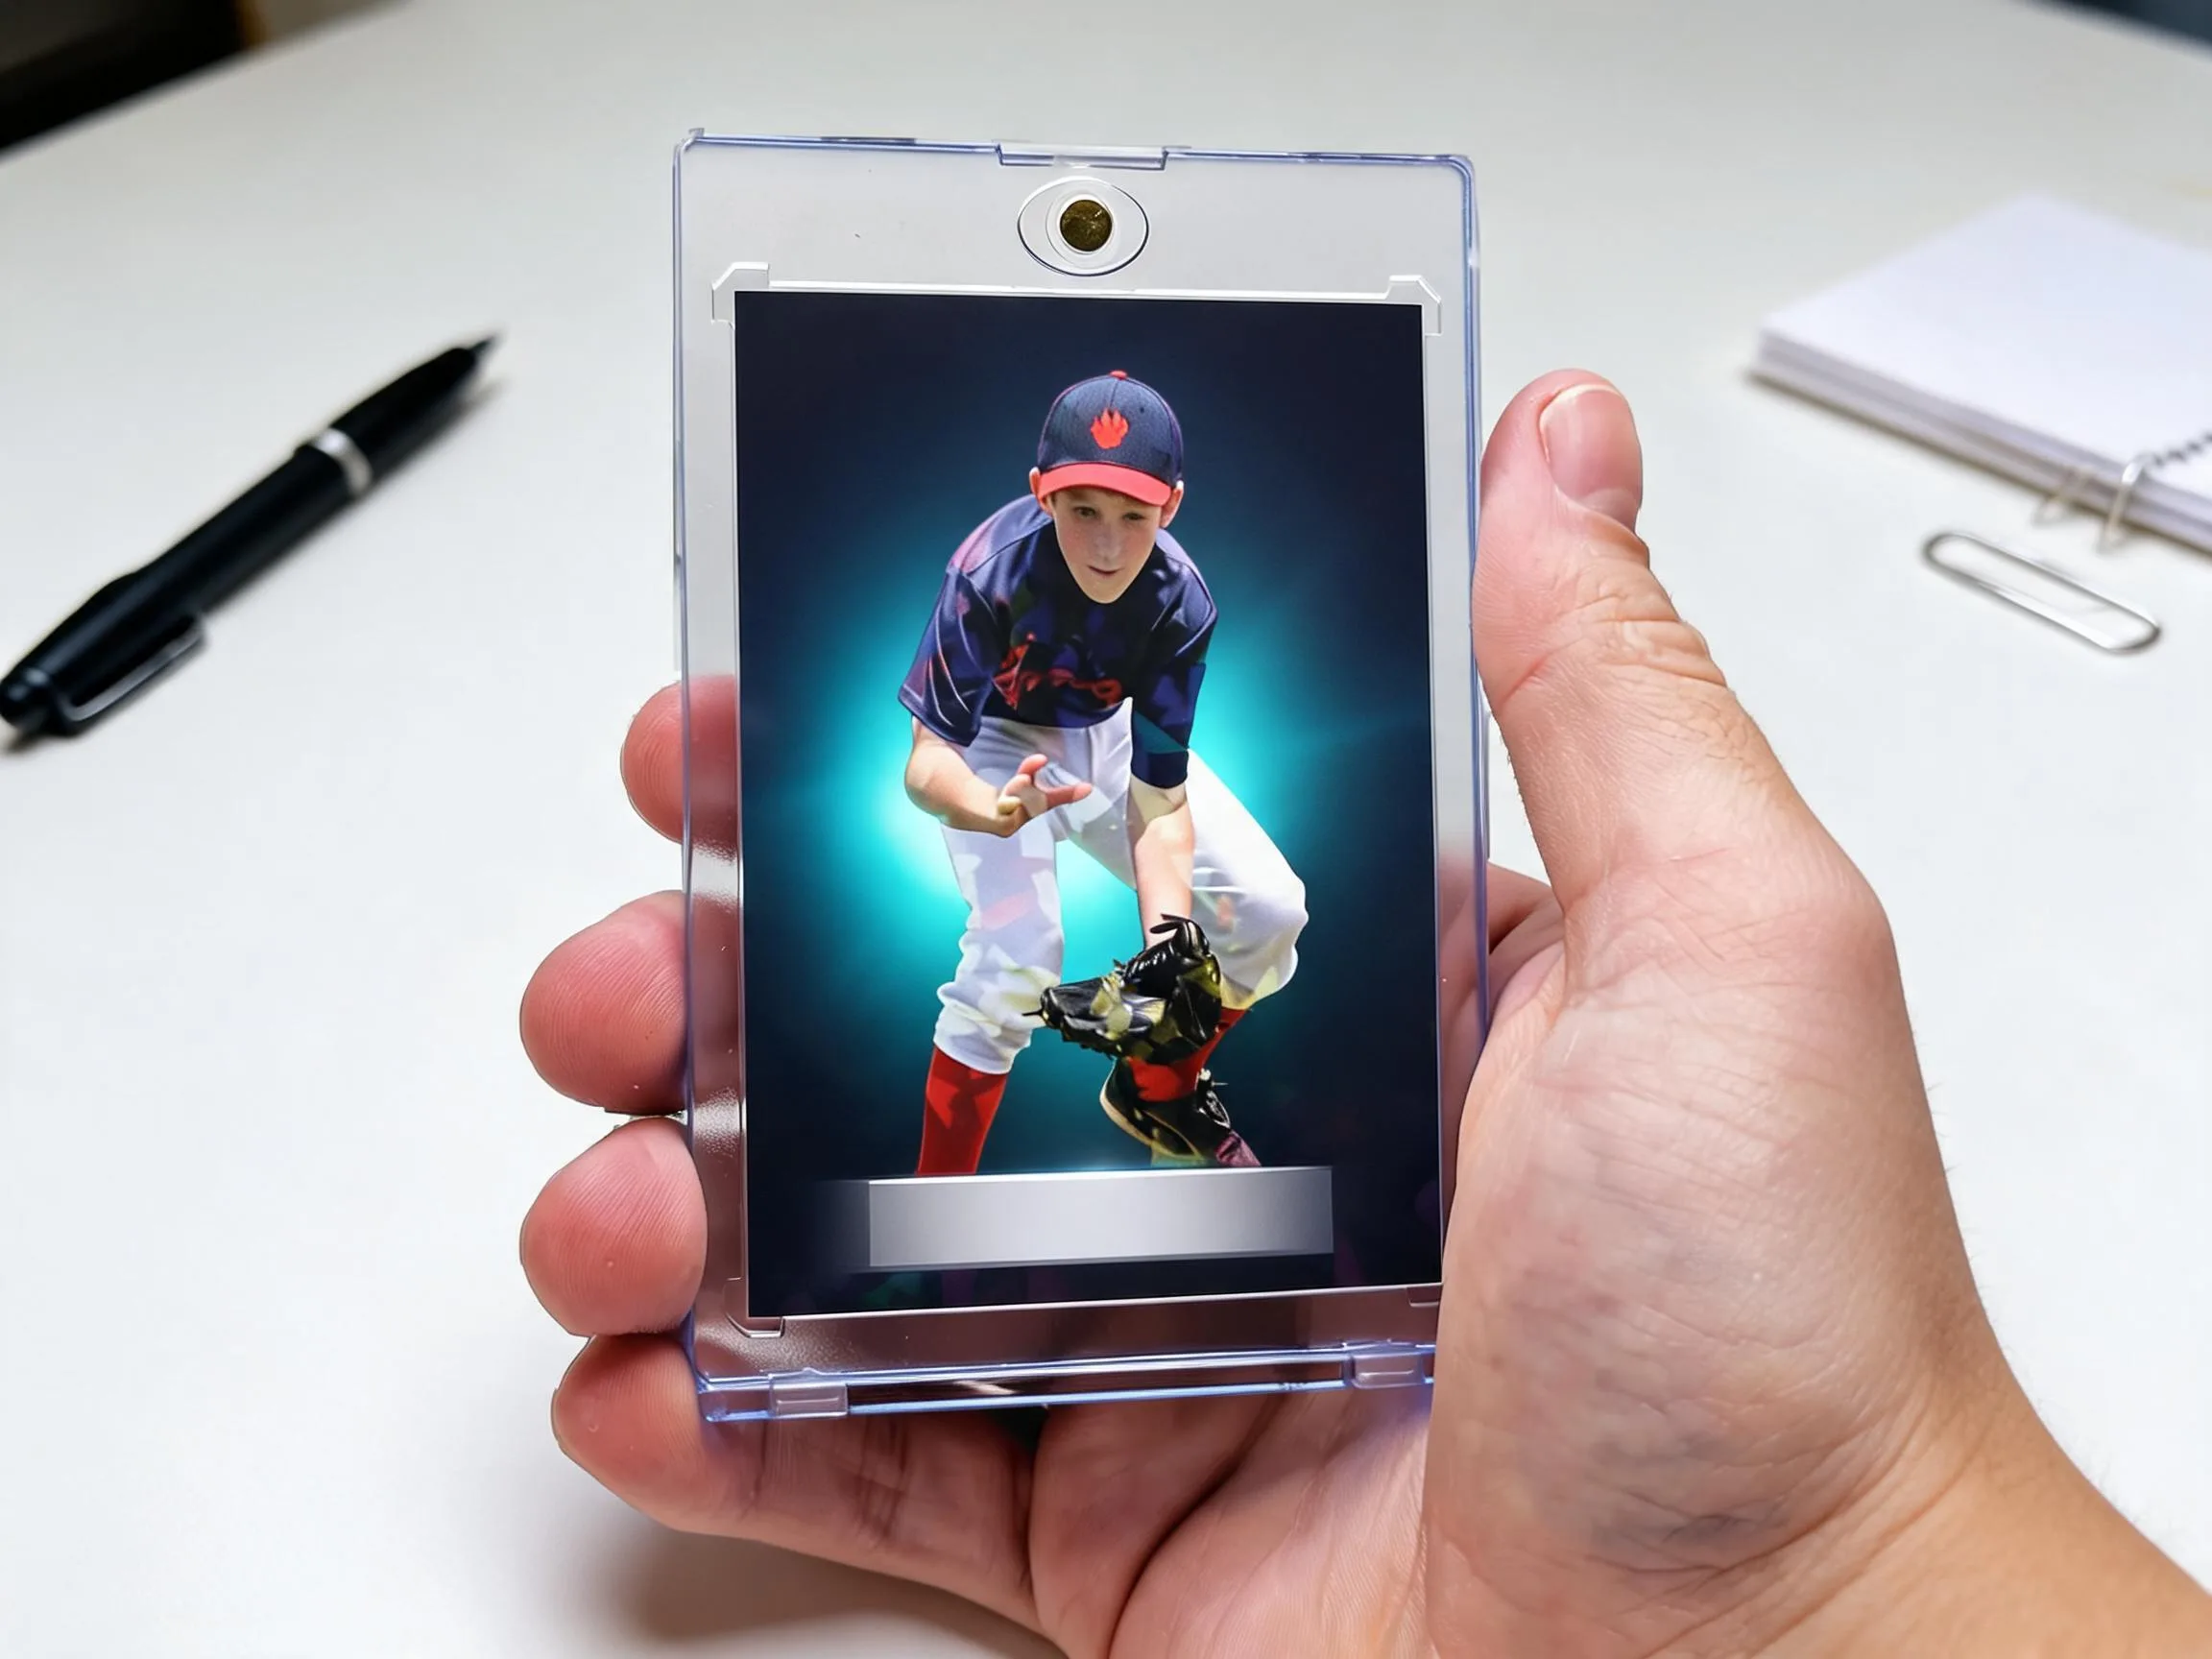
Every weekend, parents across bleachers nationwide are stuck with the same problem — the action happens too fast for a regular phone camera to freeze. You end up with a smear of jersey colors instead of the diving catch or the buzzer-beater shot. Finding the best beginner camera for sports photography isn't about spending thousands on gear pros use. It's about picking one tool that keeps up with fast motion, works in gym lighting or under Friday night lights, and doesn't require a photography degree to operate.
This guide breaks down exactly what to look for — burst mode, autofocus speed, zoom range — without the jargon overload. We'll walk through real camera picks, what they cost, and what actually matters for a parent standing on a sideline. Then we'll show you what to do with all those great shots once you've got them, because a memory card full of photos isn't the finish line.
Let's get you shooting sharper photos by this weekend's game.
We ship custom cards to parents and teams in all 50 states every week, and we see firsthand which camera setups produce the shots that print best.
What Parents Nationwide Are Doing With These Shots
Parents from Iowa to Florida are sending in sideline shots taken on entry-level mirrorless cameras and turning them into keepsakes their kids actually want to hold onto. We see everything from grainy gym photos cleaned up nicely to crisp outdoor action shots that print beautifully on premium card stock.
The common thread — once a parent gets a camera that actually keeps up with the action, they start capturing an entire season worth preserving.
Where Beginner Sports Cameras Actually Get Used
Different sports and settings call for slightly different camera priorities — here's how it plays out in real life.
Weekend Youth League Games
Most parents are shooting from folding chairs 30-50 feet from the action, often with kids constantly moving. A camera with a zoom lens in the 200-300mm range and fast autofocus tracking handles this without needing a monopod or pro setup. This is the most common use case, and honestly, the easiest to solve for.
Indoor Gym Sports Like Basketball or Volleyball
Gym lighting is rough — yellow, dim, and inconsistent. A camera with a wider aperture lens (f/2.8 or lower) and higher ISO capability keeps shots sharp without the grainy noise you'd get from a phone camera cranked to max sensitivity in the same room.
Track Meets and Swim Competitions
These sports move fast in short bursts, and you often can't get close to the action. A superzoom bridge camera or a mirrorless body with a longer telephoto lens lets you capture the finish line sprint or the dive entry from the stands, where phones simply can't reach.
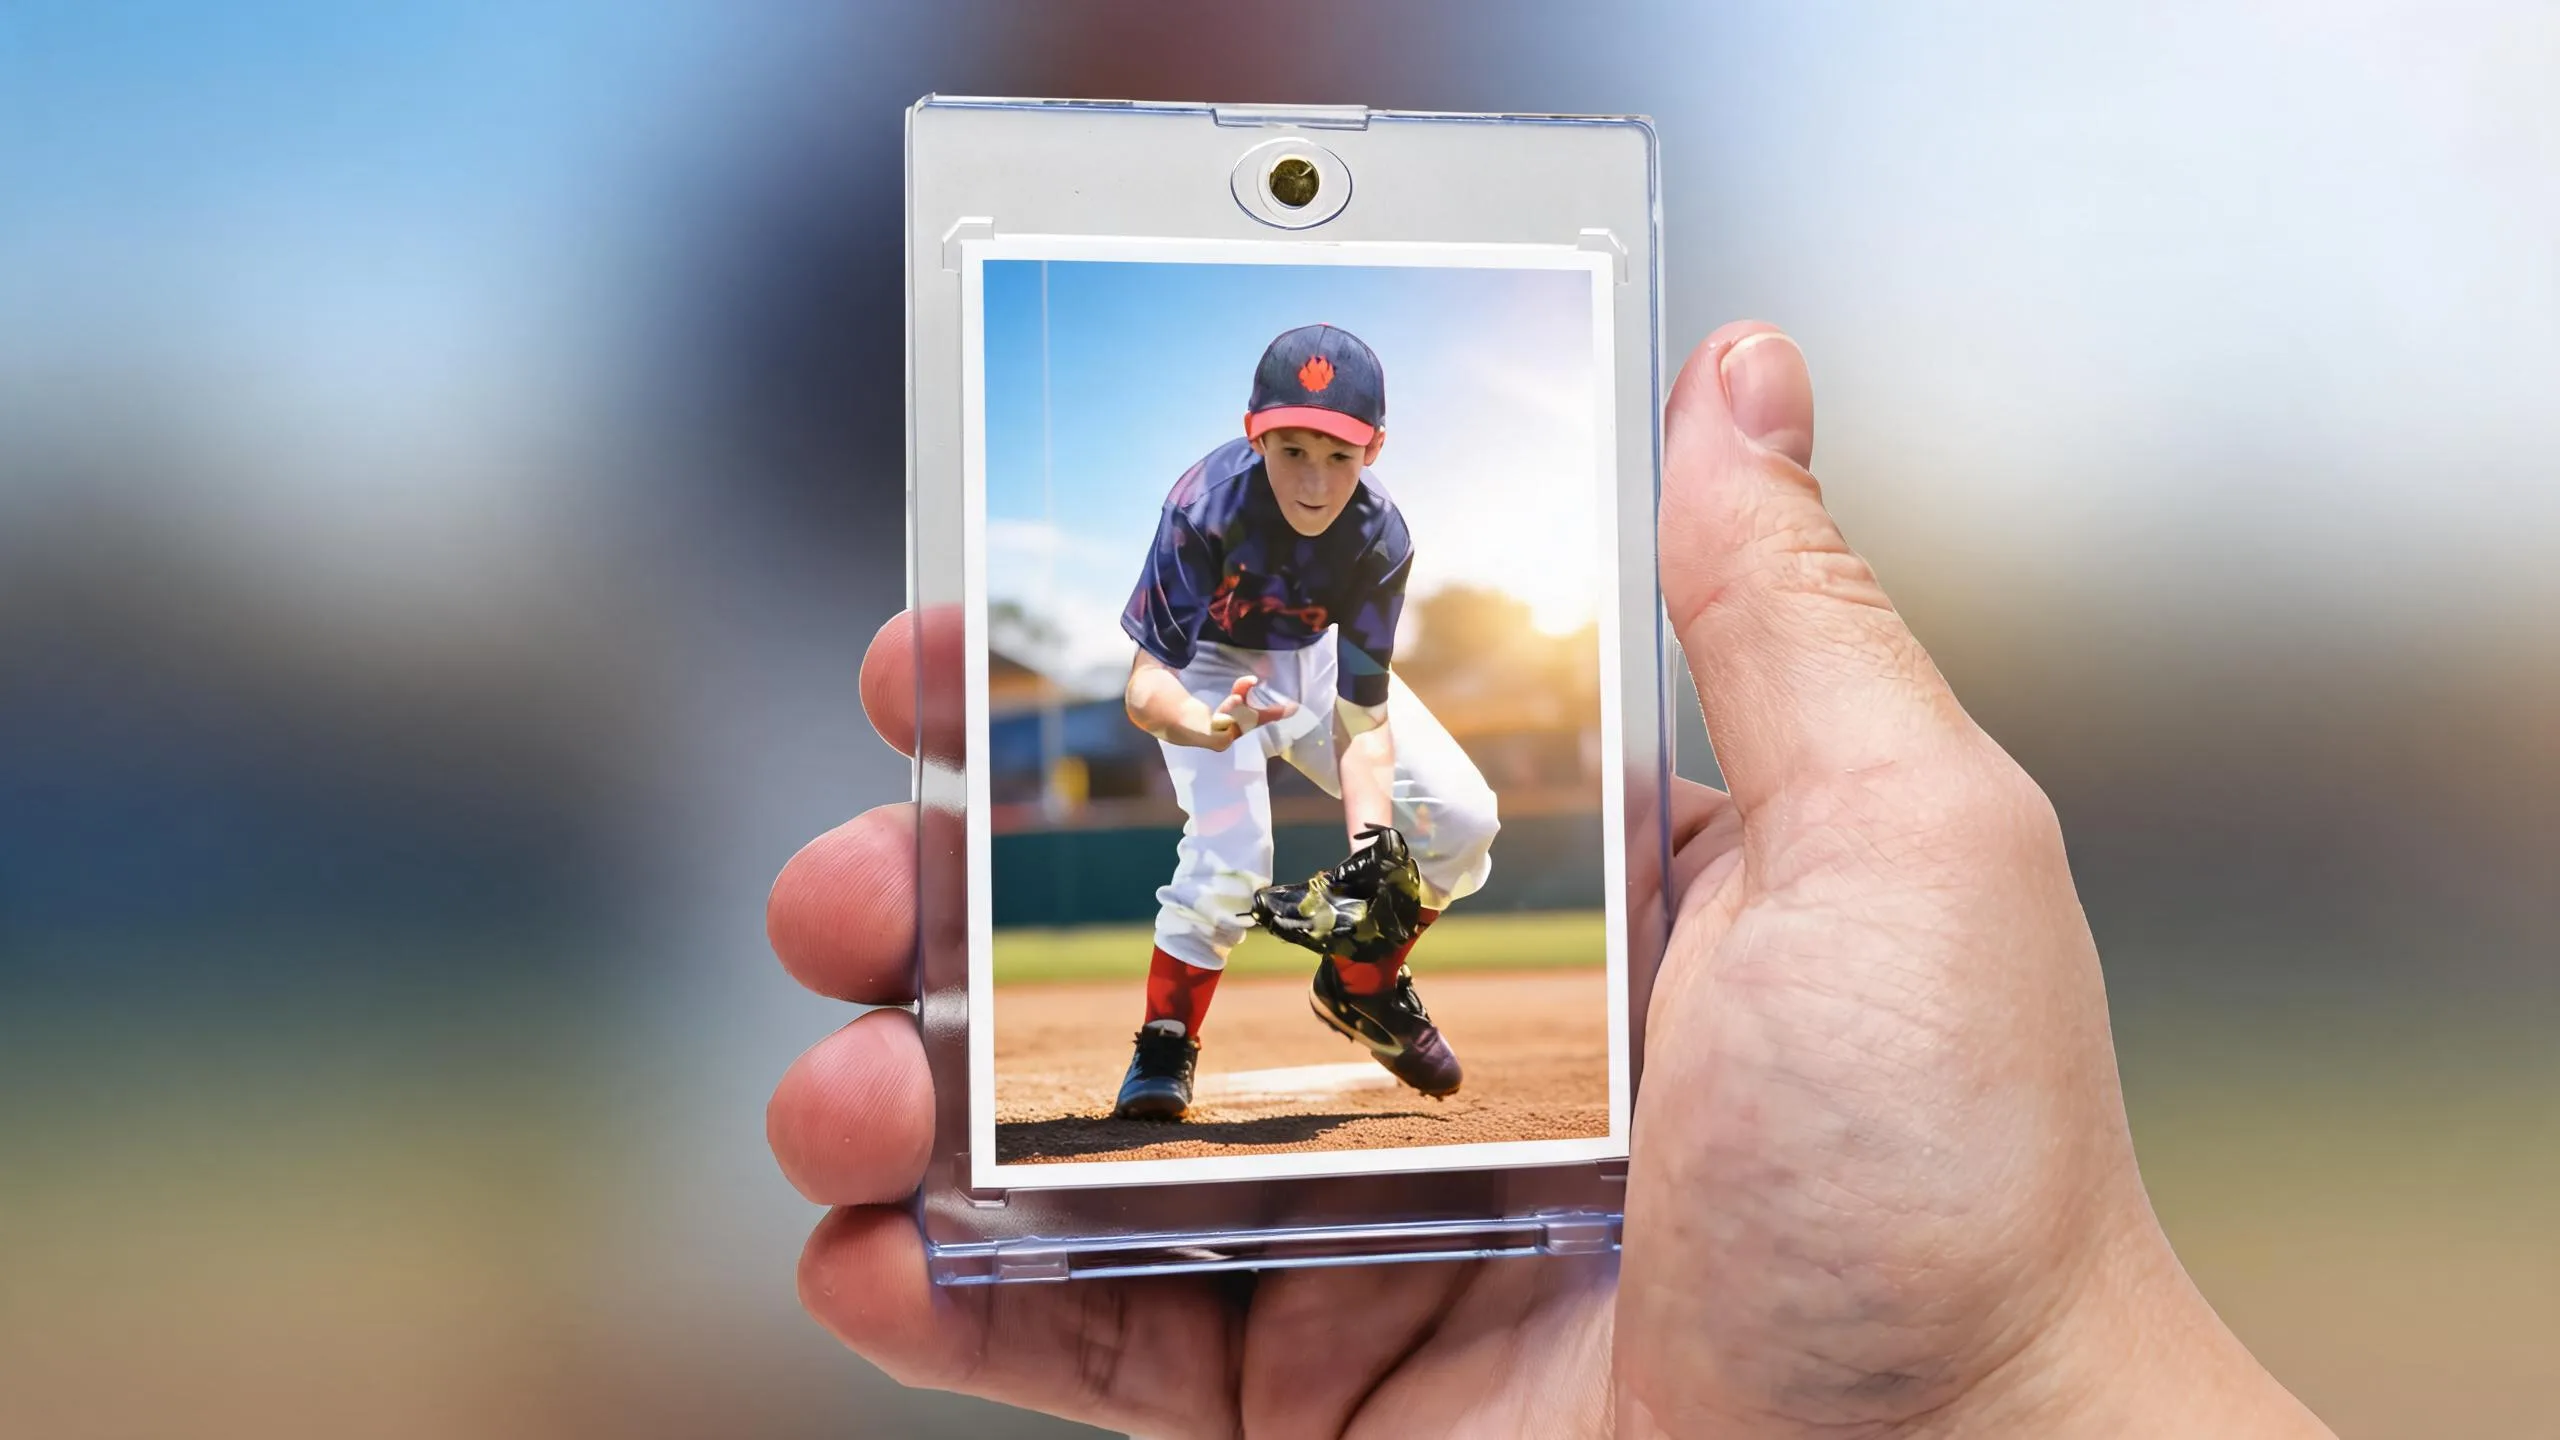
Free to design, instant preview. Ships the next business day.
How Do You Choose the Best Beginner Camera for Sports Photography?
It comes down to three specs that actually matter, plus one habit most beginners skip.
Check the Autofocus and Burst Rate First
Skip the megapixel count — it's a marketing number that barely affects sports shots. Instead, look for continuous autofocus (sometimes labeled AF-C) and a burst rate of at least 5-8 frames per second. That's the difference between one blurry photo of the swing and six crisp frames showing the entire play. Cameras like the Canon EOS R50 or Nikon Z50 hit this mark without draining your bank account.
Match the Zoom to Your Sport and Seating
If you're shooting soccer or football from the sideline, you need reach — a 55-250mm or superzoom lens setup gets you close to the action. Indoor sports like basketball or volleyball need lenses that perform in low light, so an f/2.8 aperture matters more than raw zoom distance. Bridge cameras with built-in superzooms are a smart shortcut if you don't want to juggle lenses yet.
Test It Before Game Day
Charge the battery, pop in a fast SD card (look for U3 or V30 rated), and practice on something quick — a dog running, a kid on a bike. This is where beginners get tripped up: they buy the camera, skip the practice run, and miss the first three games figuring out settings. Ten minutes of practice in your backyard saves you a season of missed shots.
Once you've got the camera dialed in, the real fun starts — capturing the moments worth keeping.

Why Getting the Right Camera Actually Pays Off
A better camera isn't just about sharper pictures — it changes what you're able to do with them later.
You Stop Missing the Big Moments
Fast autofocus and burst shooting mean you catch the diving save or the home run swing instead of a blurry blob. Parents who upgrade from phone-only shooting report far fewer 'almost got it' photos in their camera roll.
Better Light Performance, Any Season
Beginner mirrorless cameras handle gym lighting, dusk games, and overcast Saturdays way better than phones. You won't be stuck with grainy, dark shots from a 6pm kickoff in October.
Photos Good Enough to Print Big
Higher resolution and sharper focus mean your shots hold up at print sizes — not just shrunk down for a phone screen. That matters when you want a wall-worthy shot, not just a story post.
You Build a Real Archive of the Season
A dedicated camera makes it easy to organize a season's worth of games in one place, instead of scattered across three phones and a cloud backup you forgot existed.
Beginner Camera Shopping Checklist
- Continuous autofocus (AF-C) mode available
- Burst shooting at 5 fps or higher
- Telephoto lens reaching at least 200mm equivalent
- Good high-ISO performance for indoor games
- Compatible with fast U3/V30-rated memory cards
- Comfortable weight for hours of sideline shooting
What Should You Budget for a Beginner Sports Camera — and What Comes Next
Beginner mirrorless cameras typically run $500-$900 with a kit lens, and bridge superzooms start around $300-$450 — both solid entry points for sideline shooting.
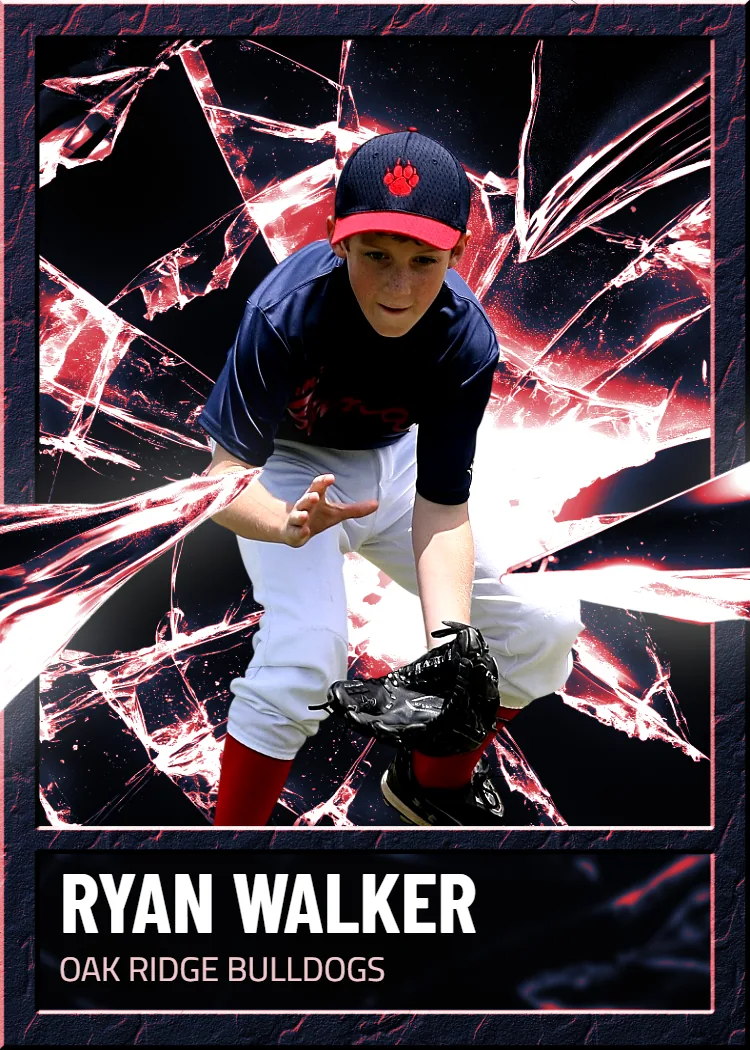
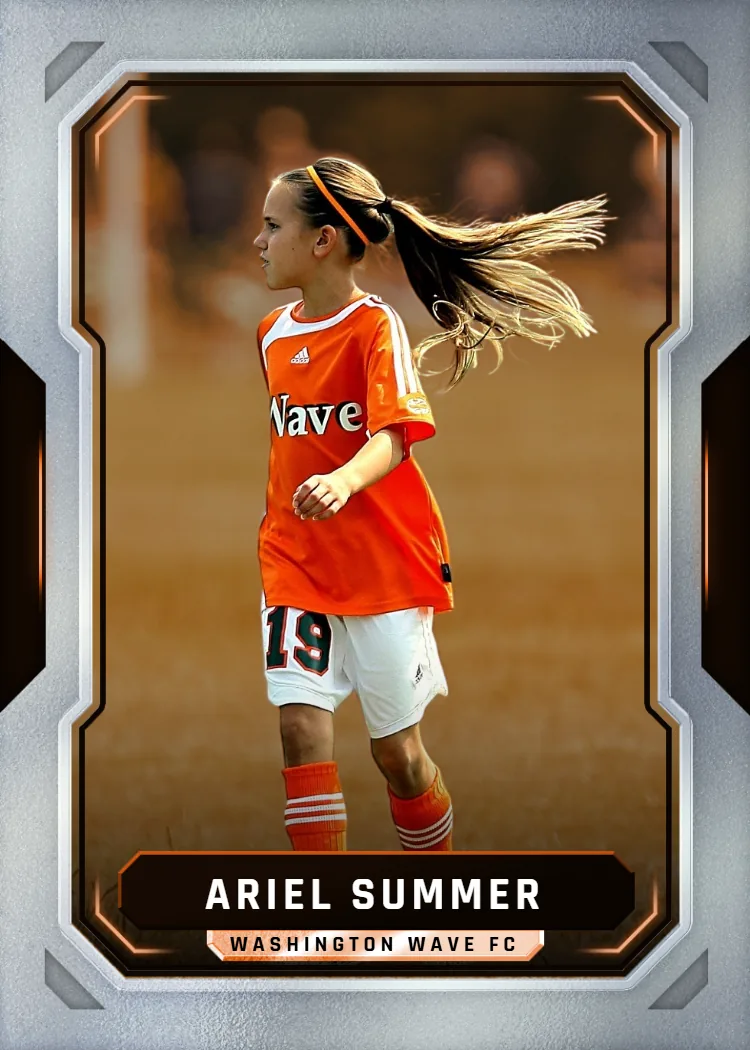
Once you've got your shots, Snapshot turns them into custom cards starting at $17.99 for a single card, packs up to $49.99, and an 11"x15" MEGA poster card for $49.99. Free shipping across the USA, printed and shipped in 2-3 days.
You've already invested in the camera — don't let the best shot of the season sit in a camera roll. Turn it into something your kid keeps forever.
Box Options
Simple, collectible pricing. No subscriptions, no hidden fees.
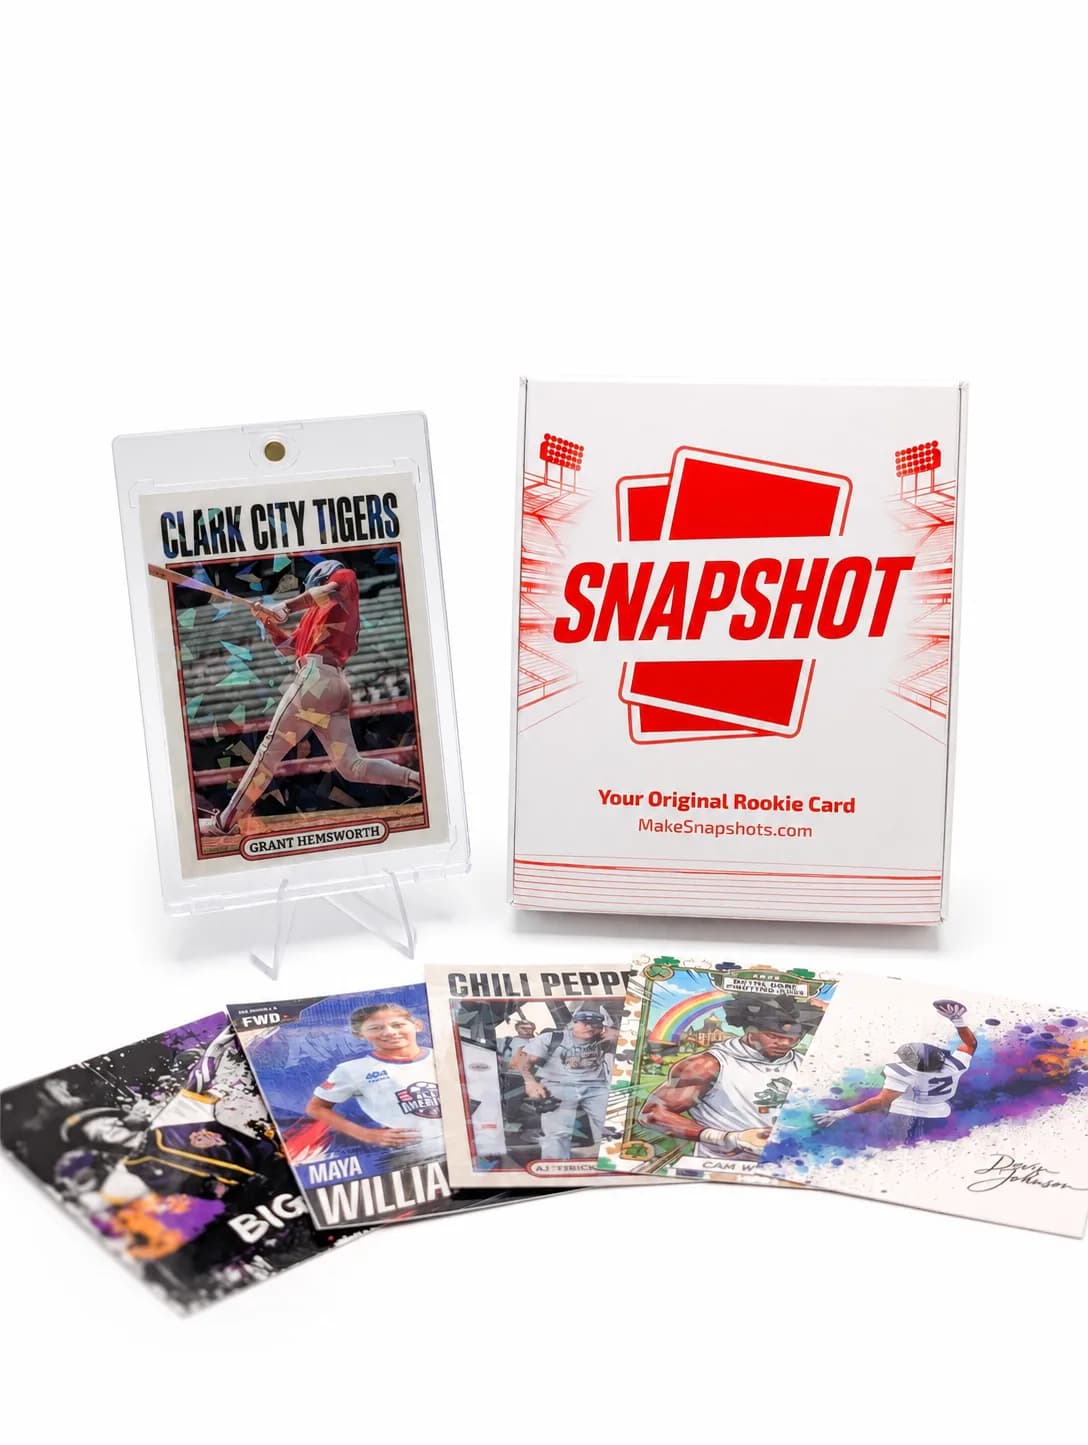
The Rookie Box
Perfect for those unforgettable moments
$17.99 - $49.99
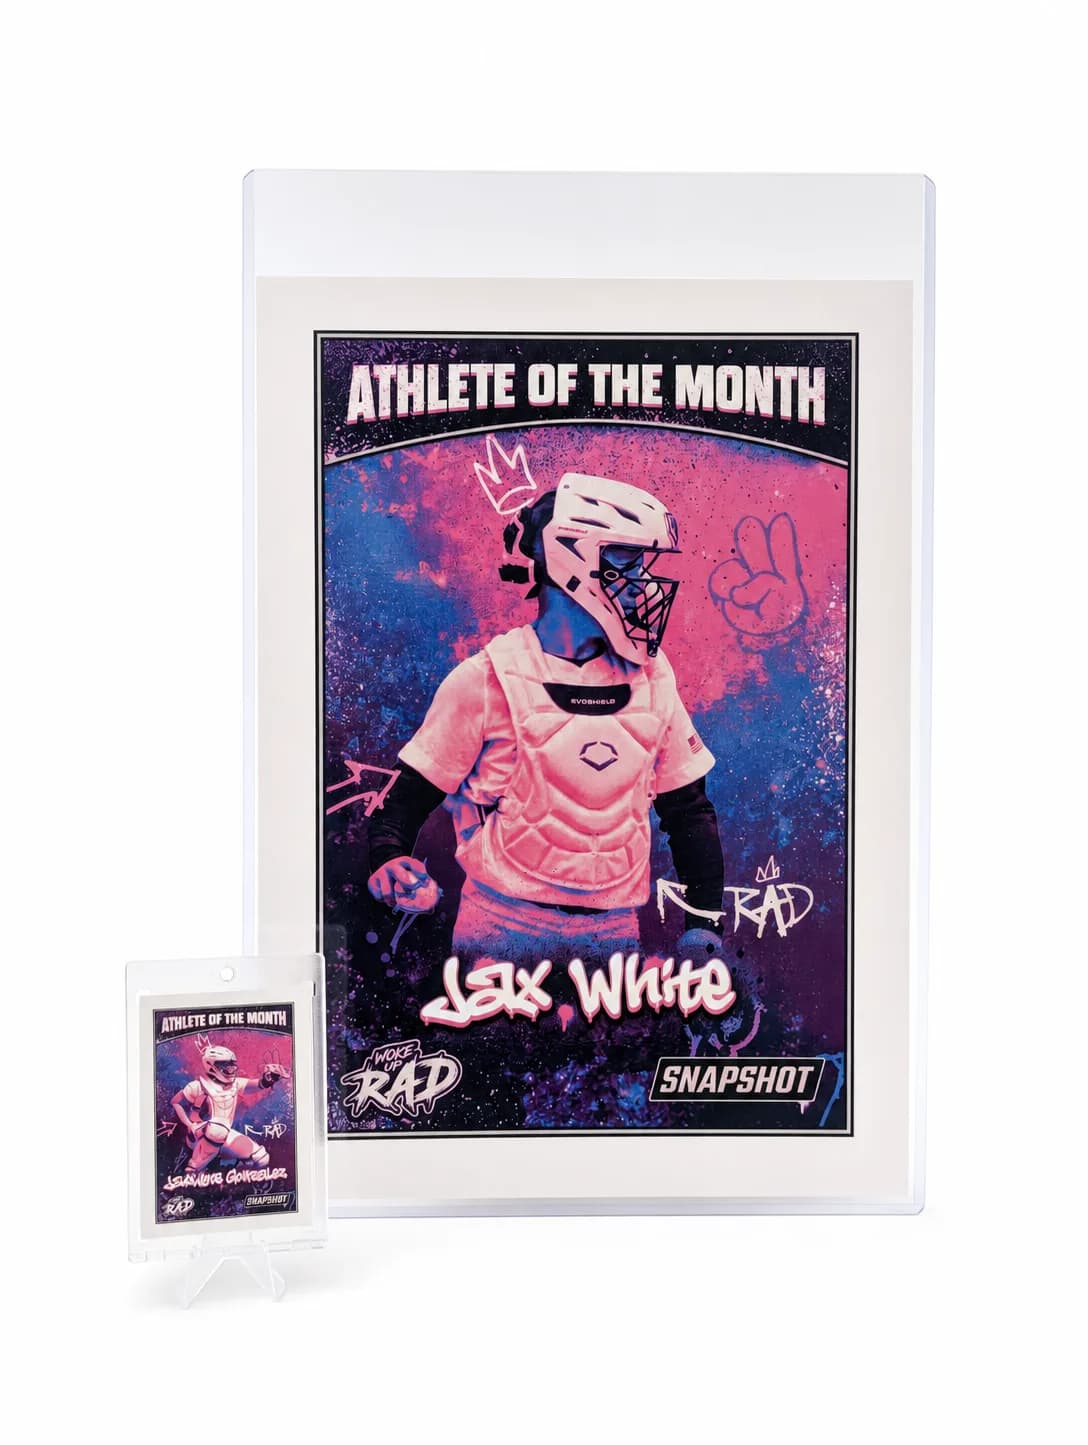
MEGA Card
Their moment, bigger than ever
$49.99
Create for free • Ships the next business day • Made in Des Moines, IA, USA
Frequently Asked Questions
What ISO settings work best for indoor sports like basketball?
Indoor gyms are usually dim enough that you'll need ISO 1600-6400 depending on how modern your camera's sensor is and how bright the gym lighting actually is. Higher-end beginner cameras handle high ISO with less grain than older or budget models, so this is one area worth researching reviews for your specific camera. Pair a higher ISO with a fast shutter speed — at least 1/500th of a second — to freeze motion without blur, since gym action moves quickly under the basket. Auto ISO with a shutter speed floor set is a great beginner-friendly option, letting the camera adjust exposure while you control the one setting that matters most for freezing motion. Don't be afraid of some visible grain in gym shots; it's normal and often barely noticeable once printed at typical sizes. What you want to avoid is motion blur, which ruins a shot far more than a bit of noise ever will.
How many megapixels do I actually need for sports photography?
Less than most marketing suggests — 20-24 megapixels is plenty for sports photography, even if you plan to crop in or print large. Beginners often assume more megapixels means better photos, but for fast action, autofocus speed and burst rate matter far more than resolution. A 24-megapixel photo that's sharp and well-timed will always beat a 45-megapixel photo that's blurry from motion or slow focus. Higher megapixel counts also create larger file sizes, which slows down your camera's burst shooting and fills memory cards faster — sometimes actually working against you in fast-paced sports settings. If a camera advertises high megapixels as its main selling point but has a mediocre autofocus system, that's a red flag for sports use specifically. Focus your research on autofocus points, tracking capability, and burst speed first, and treat megapixel count as a secondary, less important spec.
What's the difference between a bridge camera and an interchangeable lens camera for beginners?
Bridge cameras come with a built-in superzoom lens, so you get one all-in-one package without buying separate lenses — great for parents who want simplicity and a lower upfront cost. Interchangeable lens cameras, like mirrorless or DSLR systems, let you swap lenses as your needs change, which offers more flexibility but also more expense and more gear to manage. For a first season shooting youth sports, a bridge camera like the Panasonic FZ80 or Sony RX10 series can genuinely handle the job well, especially outdoors in good light. If you find yourself wanting better low-light performance or faster autofocus after a season, that's usually the signal to move into an interchangeable lens system. Many parents actually start with a bridge camera, learn what they like and don't like about it, then upgrade with much clearer priorities the second time around instead of guessing blind on a bigger purchase.
How do I photograph fast sports without blur in low light?
The key trick is prioritizing shutter speed over everything else — set it to at least 1/500th of a second, ideally 1/1000th for very fast action like hockey or basketball drives. In low light, that means you'll need to raise your ISO to compensate, sometimes into the 3200-6400 range indoors, which is fine on most modern beginner cameras despite some visible grain. A wider aperture lens, like f/2.8 instead of f/5.6, also helps enormously by letting in more light without needing to push ISO as high. If your camera has a shutter priority mode (often labeled 'S' or 'Tv'), use it — you set the shutter speed, and the camera handles the rest automatically. Avoid using your camera's flash for sports; it rarely reaches far enough to help and can be distracting to players and officials. Practicing in dim indoor light before the season starts will help you get comfortable dialing in these settings quickly during real games.
Should I buy a used camera to save money as a beginner?
Used cameras can be a genuinely smart way to get a better camera body for less money, especially since camera technology holds up well for years compared to phones. Look for cameras from reputable sellers with a documented shutter count if it's a DSLR, since that number tells you roughly how much life is left in the mechanical shutter. Mirrorless cameras don't have this same wear concern in the same way, making them a bit more forgiving to buy used. Check the sensor for dust spots, test the autofocus in person or ask for video proof, and confirm the battery holds a reasonable charge. Buying used can easily save you $150-300 on the exact same model, money you could put toward a better lens instead. Just be cautious of listings with heavily discounted prices and no return policy — if it sounds too good to be true, it usually is, especially for camera gear.
What accessories should I buy alongside a beginner sports camera?
Start with a fast memory card rated U3 or V30, since a slow card will bottleneck your burst shooting no matter how good the camera is. A spare battery is worth the $30-40 investment, especially for outdoor games in cold weather where battery life drops fast. A simple shoulder strap or wrist strap prevents drops during hectic sideline moments when you're juggling a water bottle, folding chair, and camera at once. A lens cloth for wiping off dust or rain is small but genuinely useful. If you're shooting from a stationary spot often, a monopod adds stability for longer lenses without the bulk of a full tripod. Skip the camera bag upsell at first — a padded insert in a regular backpack works fine for most beginners. None of these accessories need to be expensive; the goal is protecting your investment and removing small frustrations, not building a full pro kit right away.
How do I turn my sports photos into something more permanent, like a custom card?
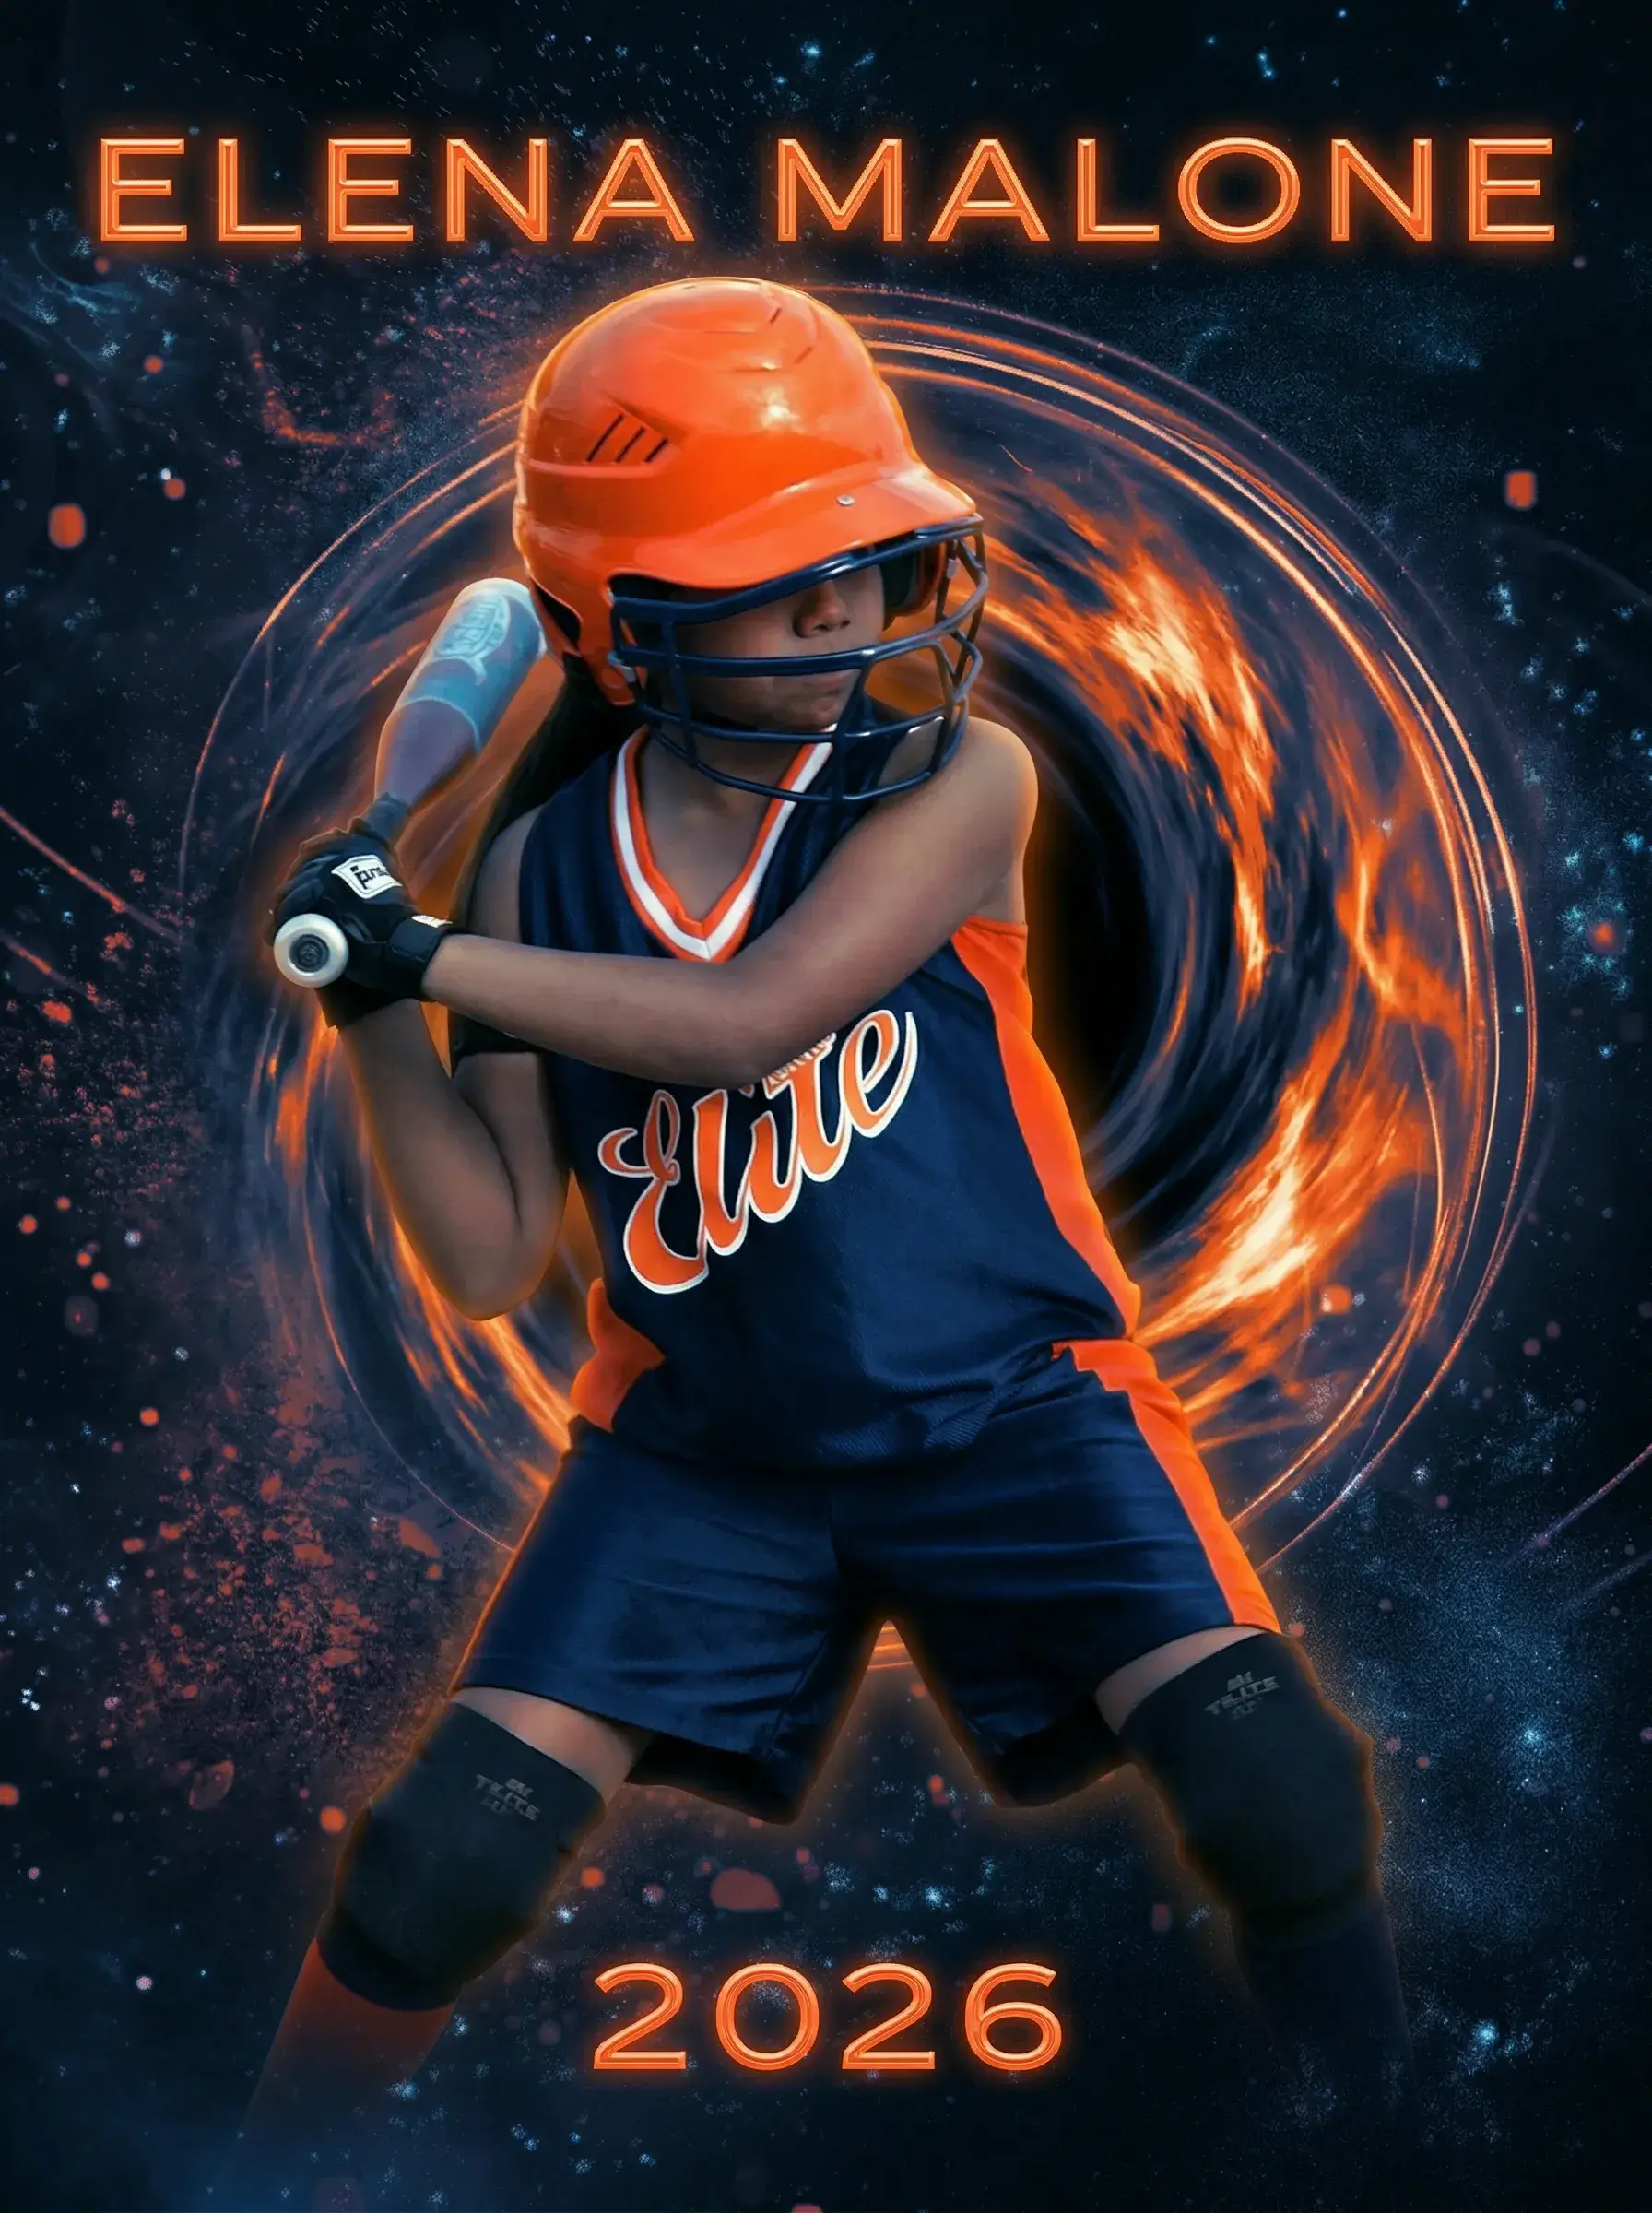
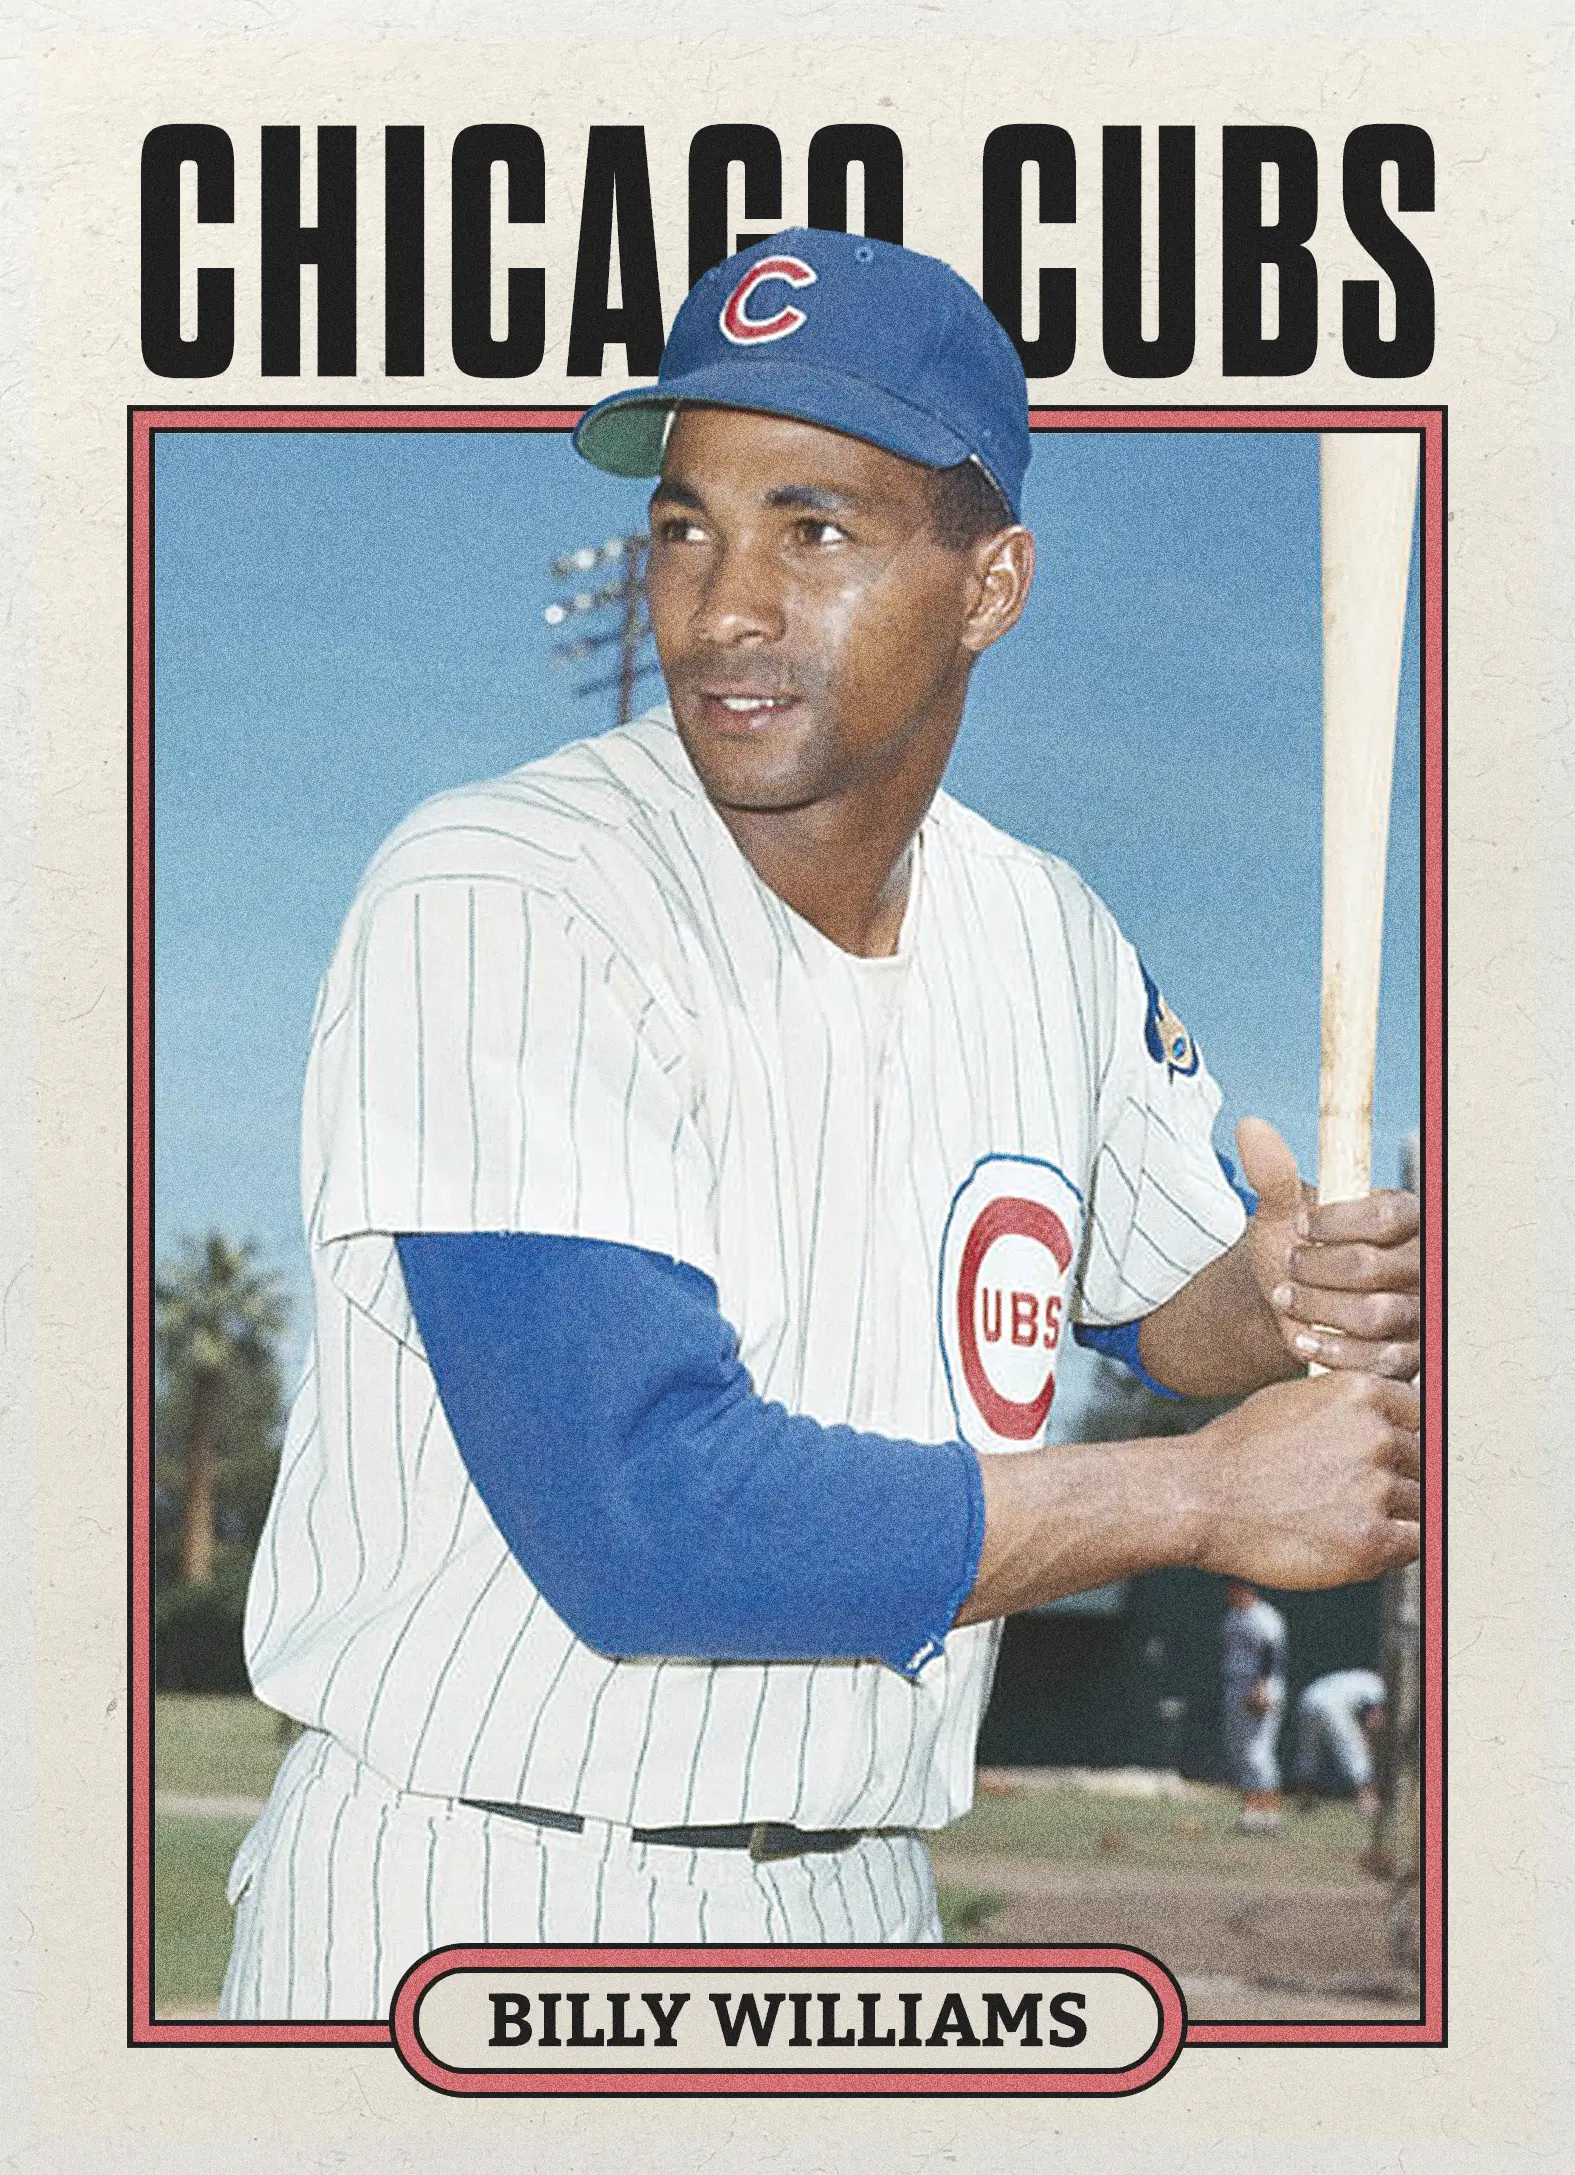
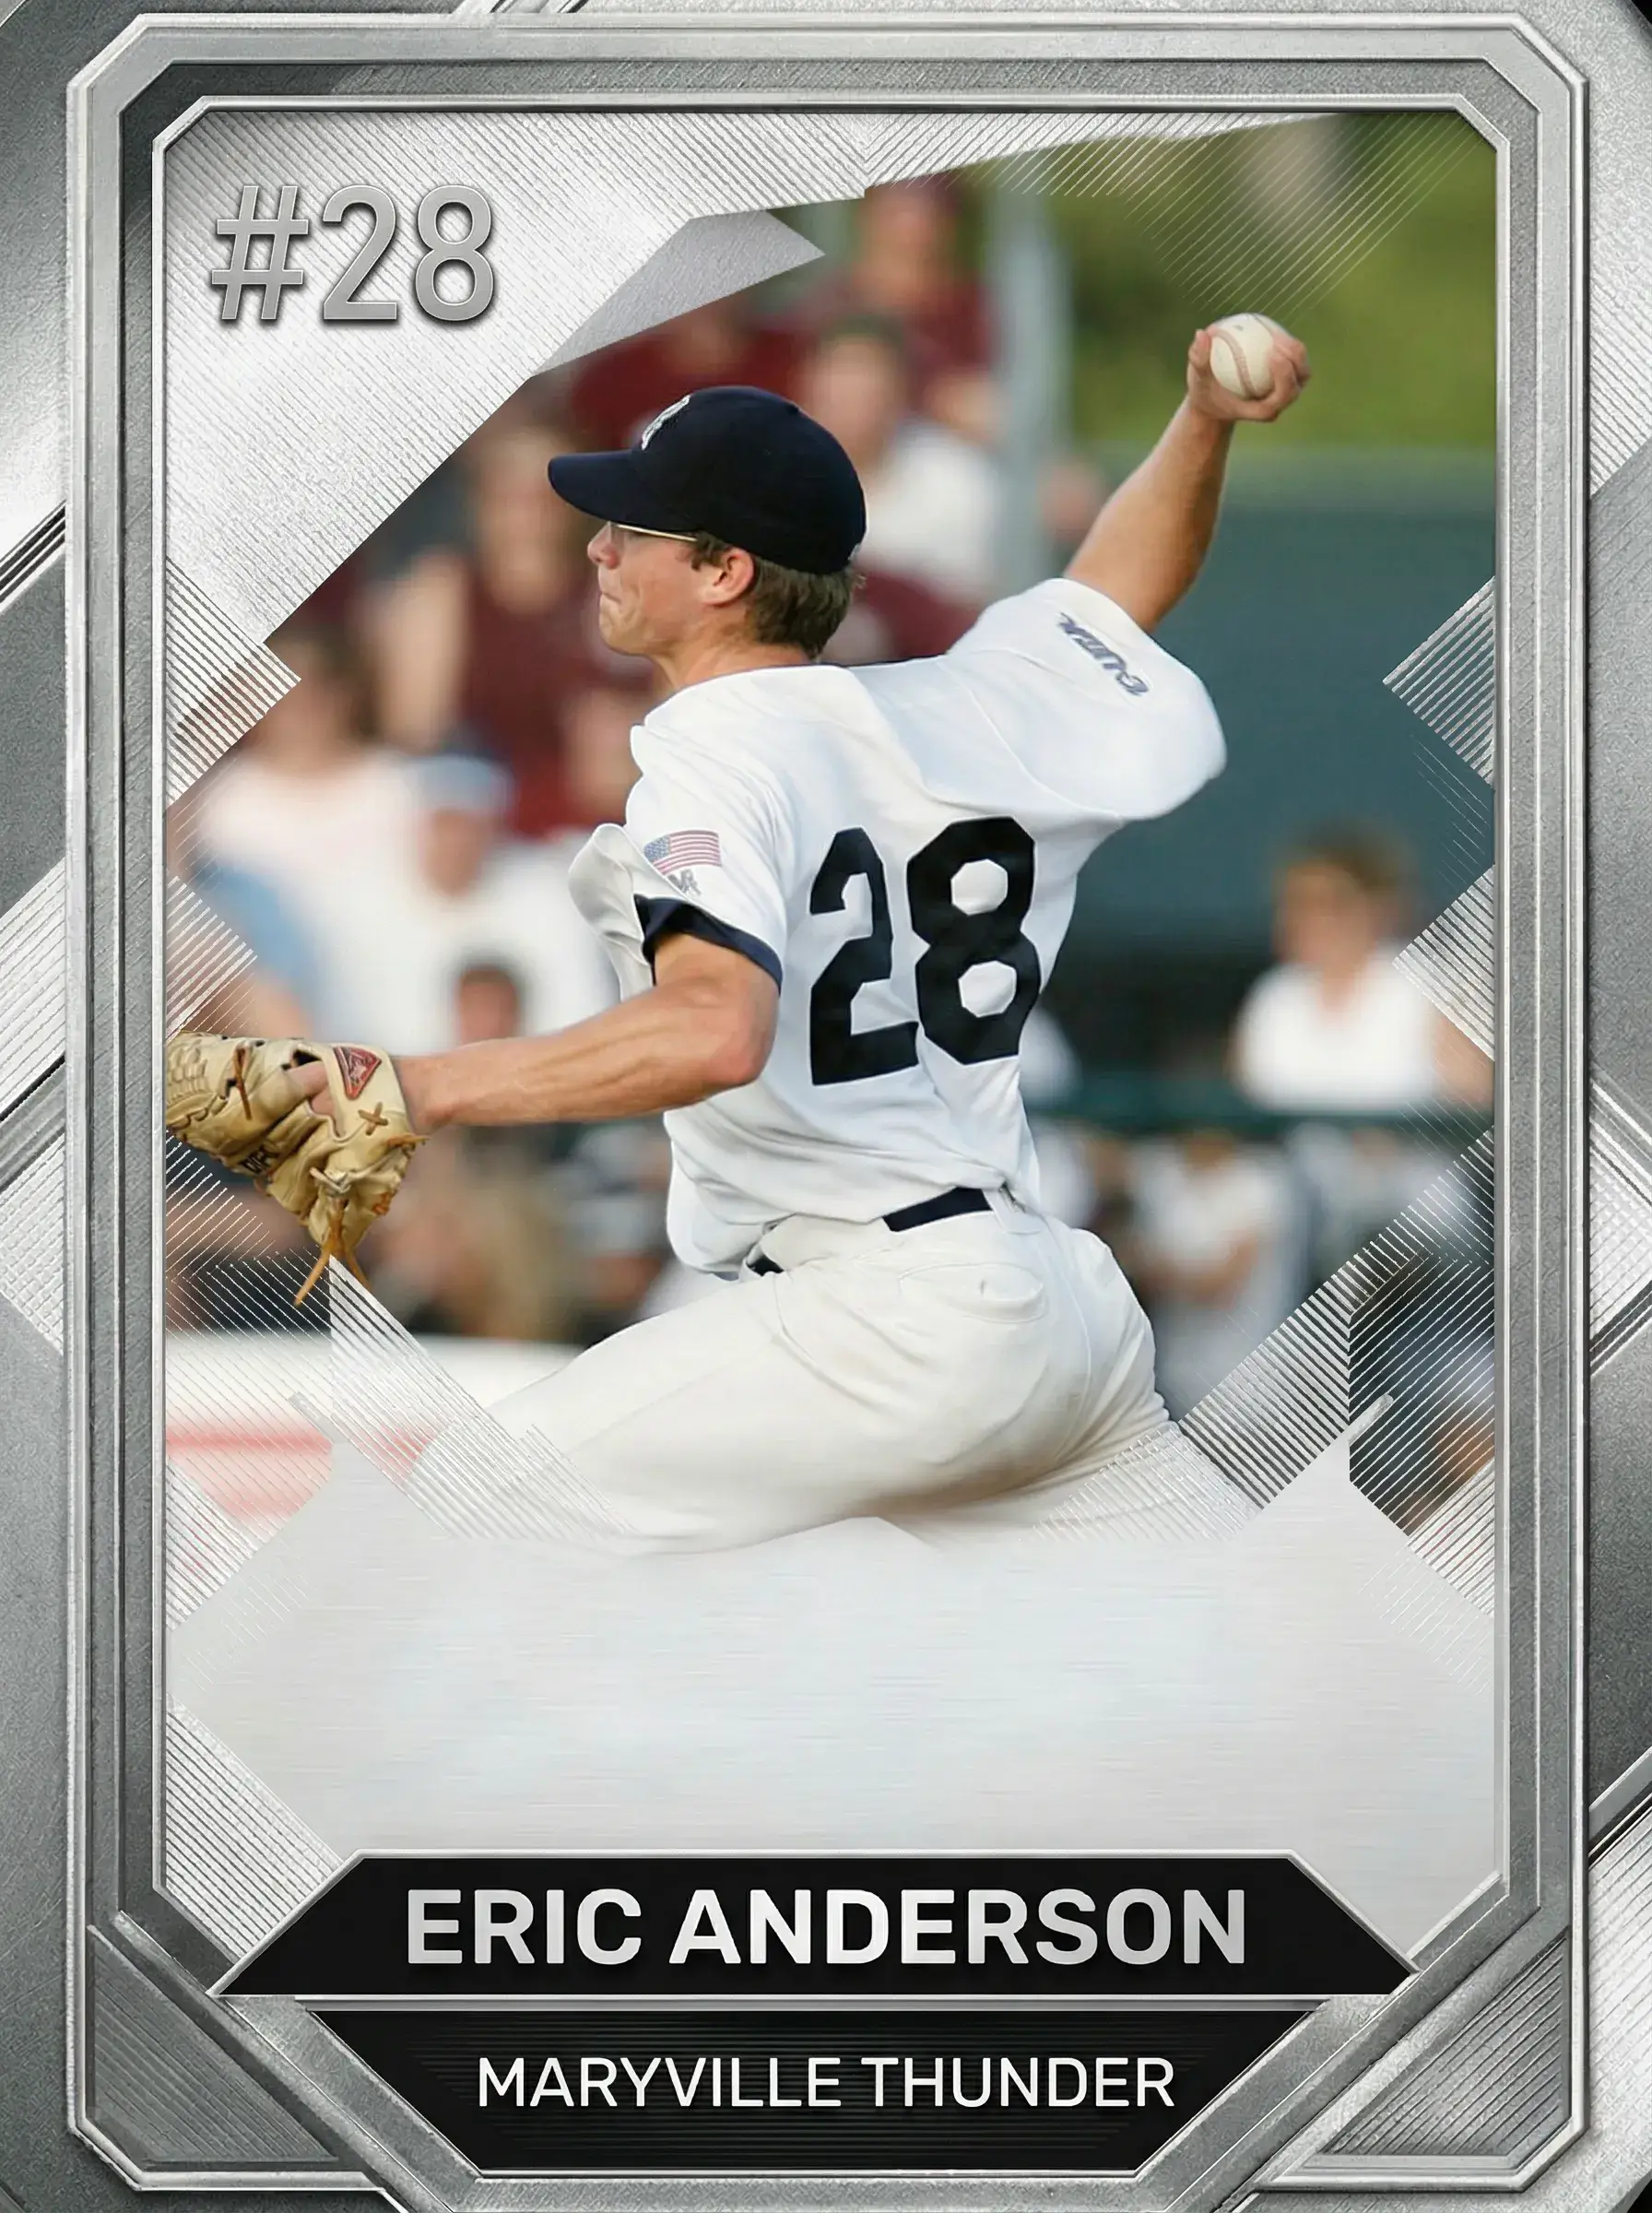
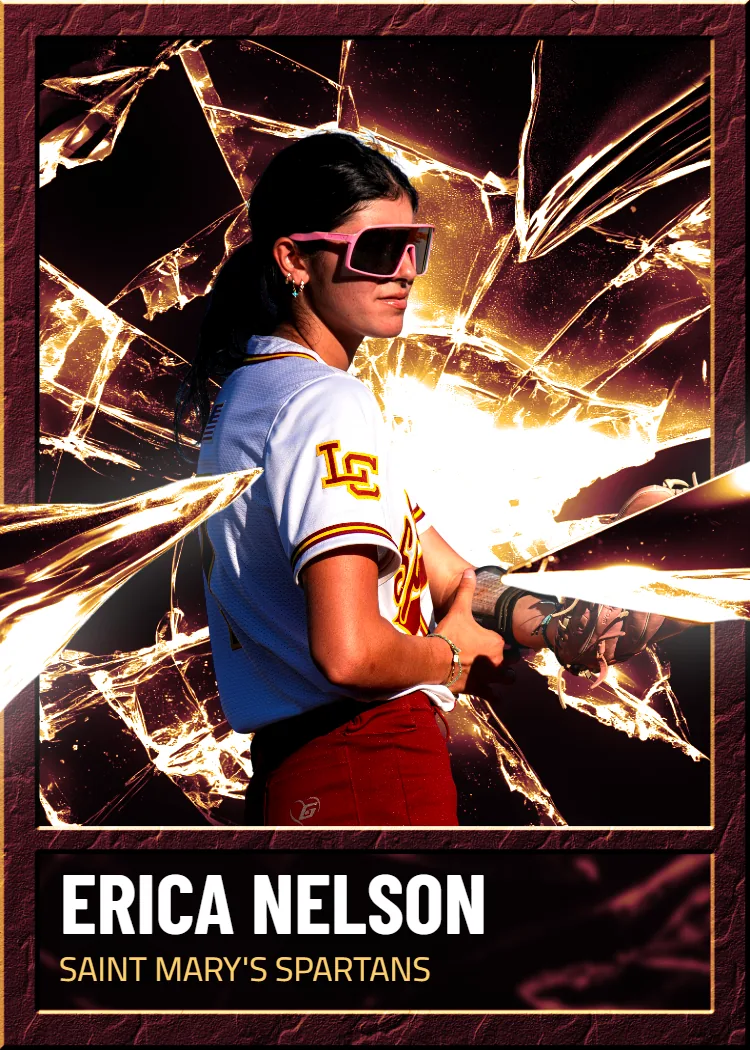
Once you've got a sharp, well-framed shot from game day, you can upload it directly to Snapshot and pick from pro-style sports card templates that match the look of officially licensed cards. The process takes just a few minutes — upload the photo, choose a template, and place your order. Cards print on premium card stock and ship within 2-3 days, with free shipping anywhere in the USA. A single card runs $17.99, and packs go up to $49.99 if you want to turn a whole season's worth of shots into a collection. There's also an 11x15 MEGA poster card at $49.99 for a standout single shot, like a championship moment or senior night photo. Parents often print multiple cards from one season, since kids tend to want copies to trade or share with teammates. It's a simple way to make sure a great camera purchase actually pays off in something tangible your kid keeps.
Free to design, instant preview. Ships the next business day.
Found the Best Beginner Camera for Sports Photography? Now Print What It Captures
You picked the right camera and caught the shot — the diving catch, the game-winning shot, the muddy cleats and triumphant grin. Don't let it sit buried in a camera roll. Upload it to Snapshot and get a custom card on premium card stock, shipped free in 2-3 days.
Create Your Card NowNo credit card required | Instant preview | Pro-quality designs
Explore More Card Options
Discover more custom trading card options for every sport and occasion