
Best Settings for Sports Photography Canon Shooters Actually Use
Blurry action shots ruin great moments fast. Fix your settings first, then let us handle the card.
Upload any photo — your kid, your pet, your whole team — pick a pro template, and we print and ship a real, holdable card the next business day.
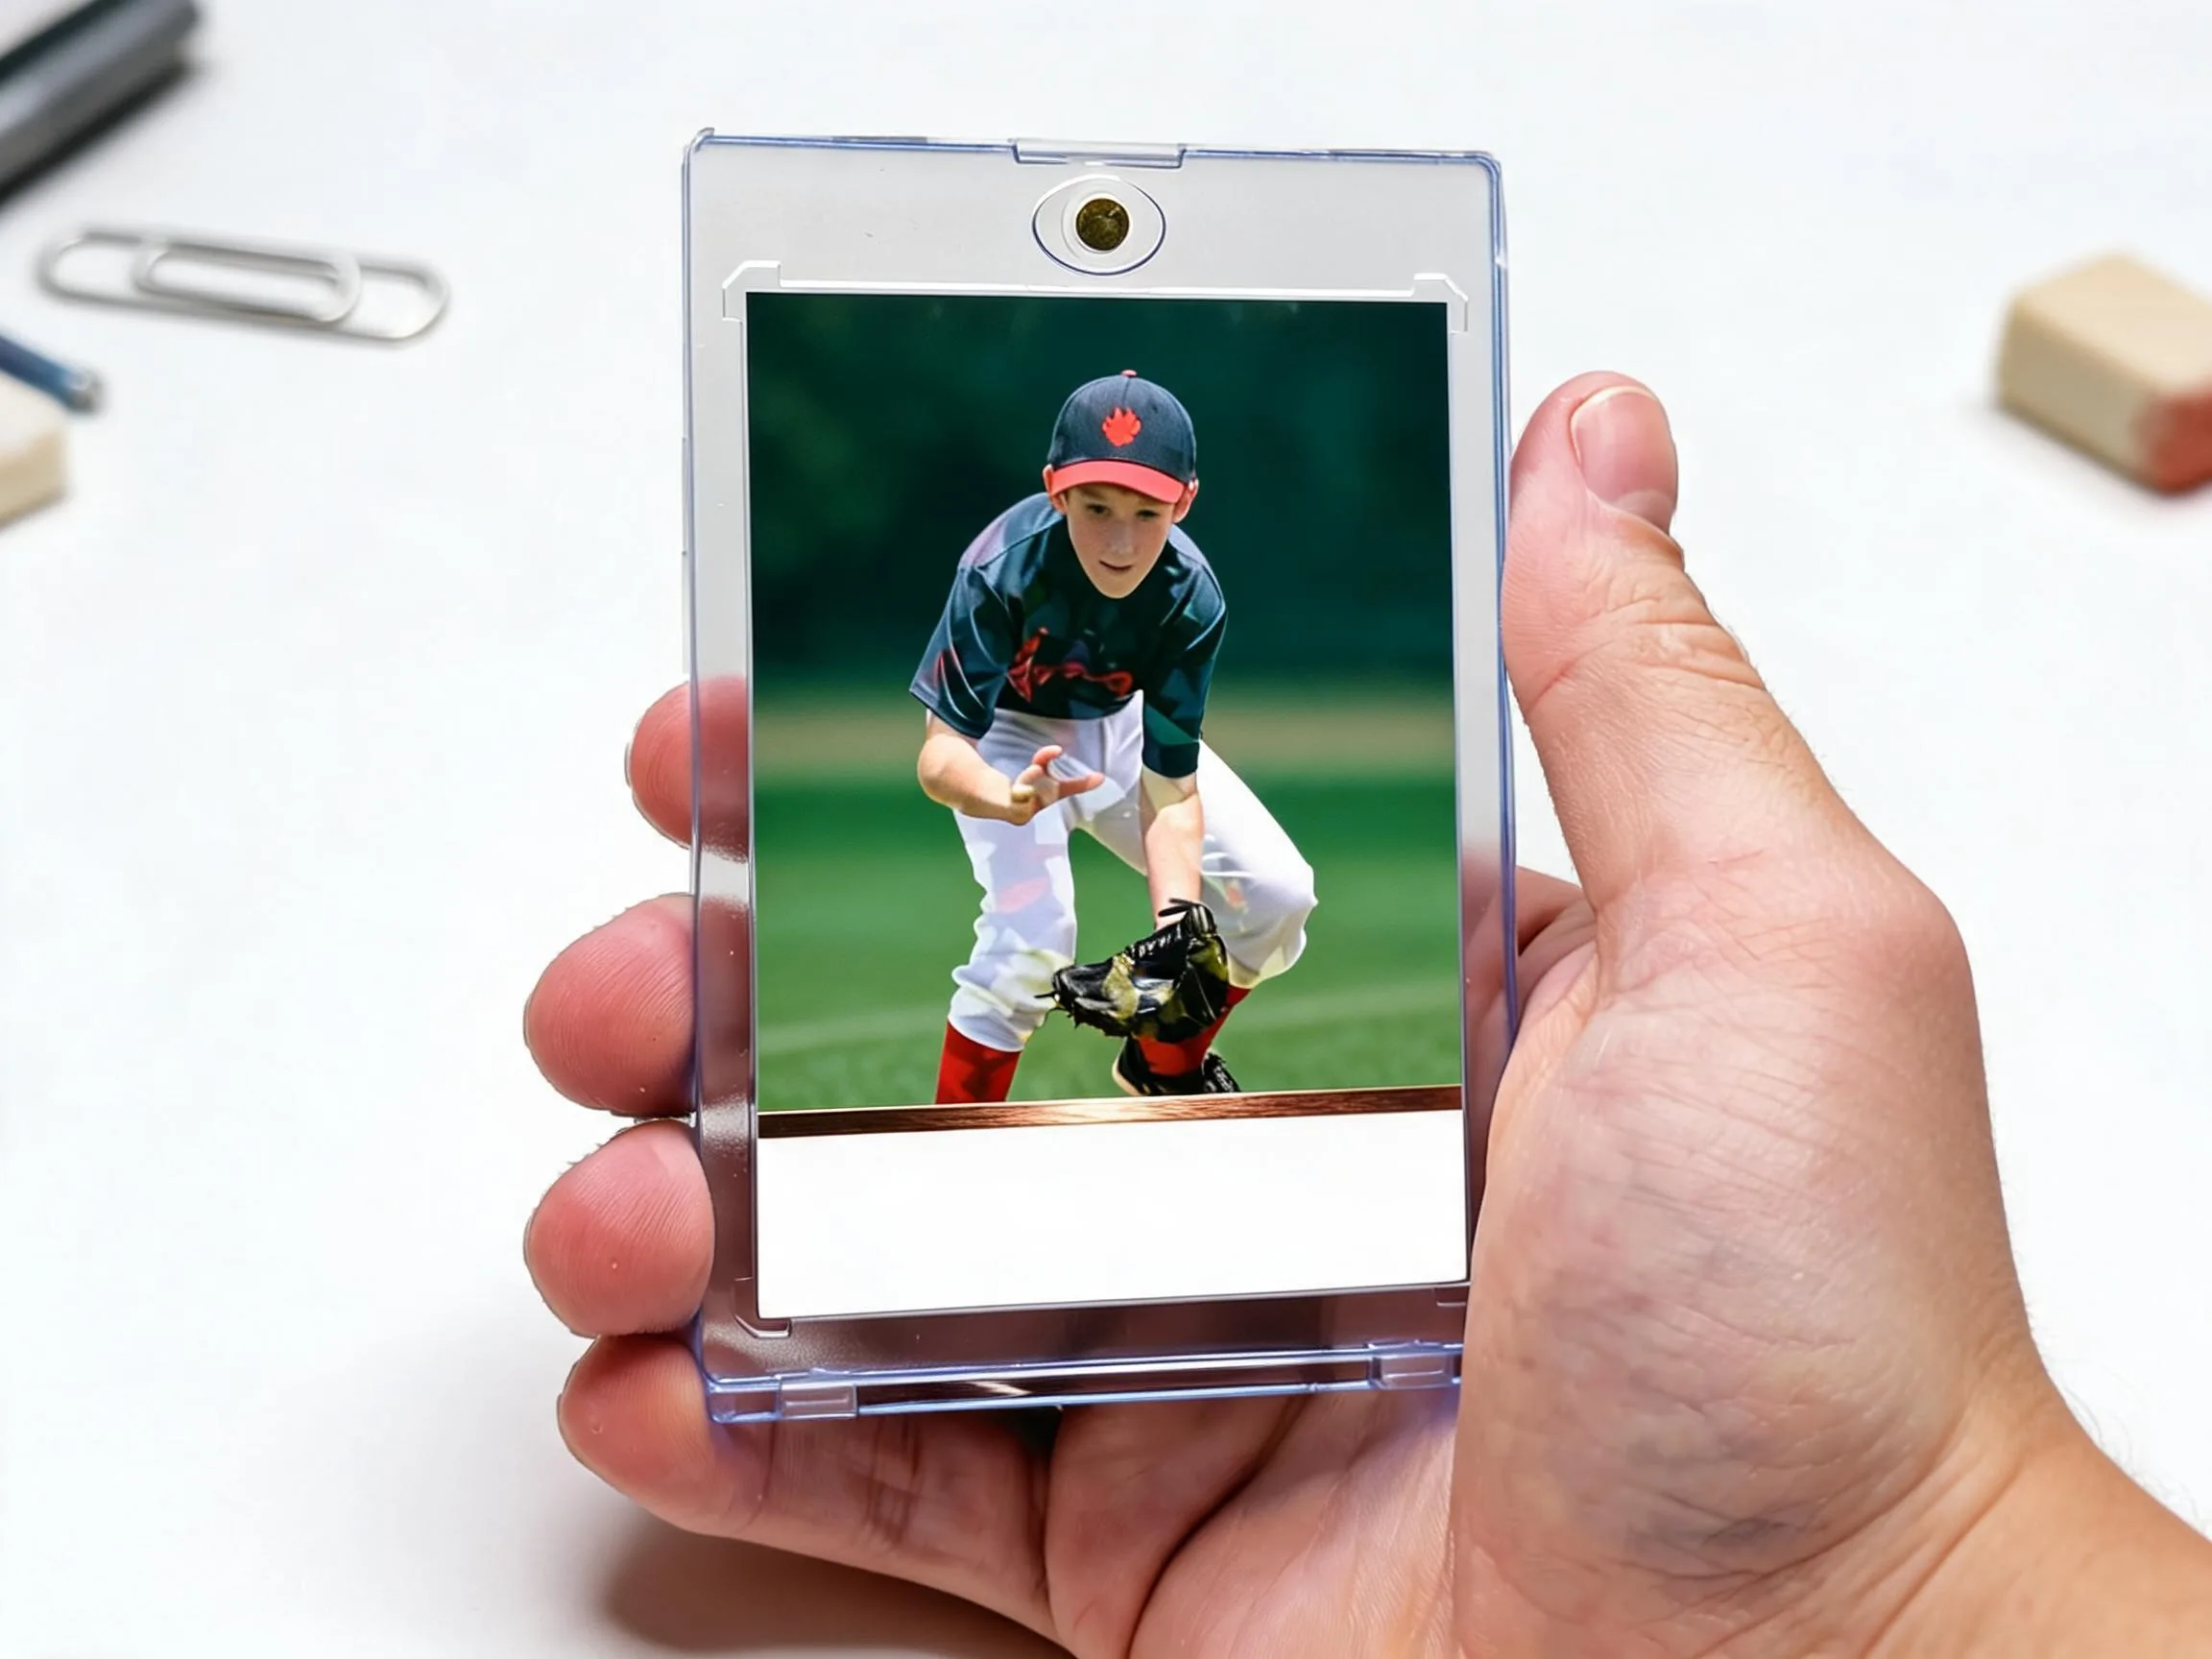
You've got a Canon body, a sideline pass or a bleacher seat, and one shot at freezing your kid's fastball or a buddy's game-winning layup. Most people default to auto mode and end up with mush — motion blur, blown-out highlights, focus locked on the wrong player entirely. Sports move fast, light changes constantly, and auto settings just can't keep up with a 90 mph pitch or a breakaway on turf. That frustration is exactly why so many people search for the best settings for sports photography Canon cameras can actually deliver on command.
Here's the fix: shutter speed, aperture, ISO, and autofocus mode all need to work together, not against each other. Once you've got a shutter speed fast enough to freeze motion and a focus mode built for tracking, you'll start nailing frames worth keeping. And once you've got that frame? That's where we come in — turning it into a premium trading card with a pro sports-card template, printed on professional card stock and shipped in 2-3 days.
Let's get your camera dialed in, then get that shot onto a card worth keeping forever.
We ship custom cards to teams, parents, and coaches in all 50 states every single week, from Little League dugouts to weekend beer-league leagues.
What Everyday Photographers Are Doing With These Shots
Parents, coaches, and team photographers across the country are shooting weekend games with these exact settings and turning their favorite frames into custom cards. We print and ship orders from all 50 states, and the shots that turn into the best cards are almost always the ones where the photographer nailed focus and froze the motion instead of relying on editing to fix it later.
Where These Settings Get Used Most
Different games, different lighting, same core settings adjusted slightly for context.
Indoor gyms and rinks under artificial light
Basketball and hockey venues often have inconsistent, dimmer lighting than outdoor fields. Bump ISO up to 1600-3200 to keep your shutter speed fast without underexposing the shot. A wider aperture, like f/2.8, also helps pull in more light without sacrificing shutter speed.
Bright outdoor fields and afternoon games
Soccer, football, and baseball played under midday sun give you plenty of light to work with. Keep ISO low, around 100-400, and push shutter speed to 1/2000 or faster if the action's especially fast, like a breakaway sprint or a line drive.
Evening and stadium-light games
Under stadium lights, contrast gets tricky — bright pools under lights, shadows everywhere else. Shoot in manual mode, set ISO around 1600-6400 depending on your body's noise handling, and prioritize keeping shutter speed above 1/1000 even if it means a grainier shot. Grain fixes easier than blur.
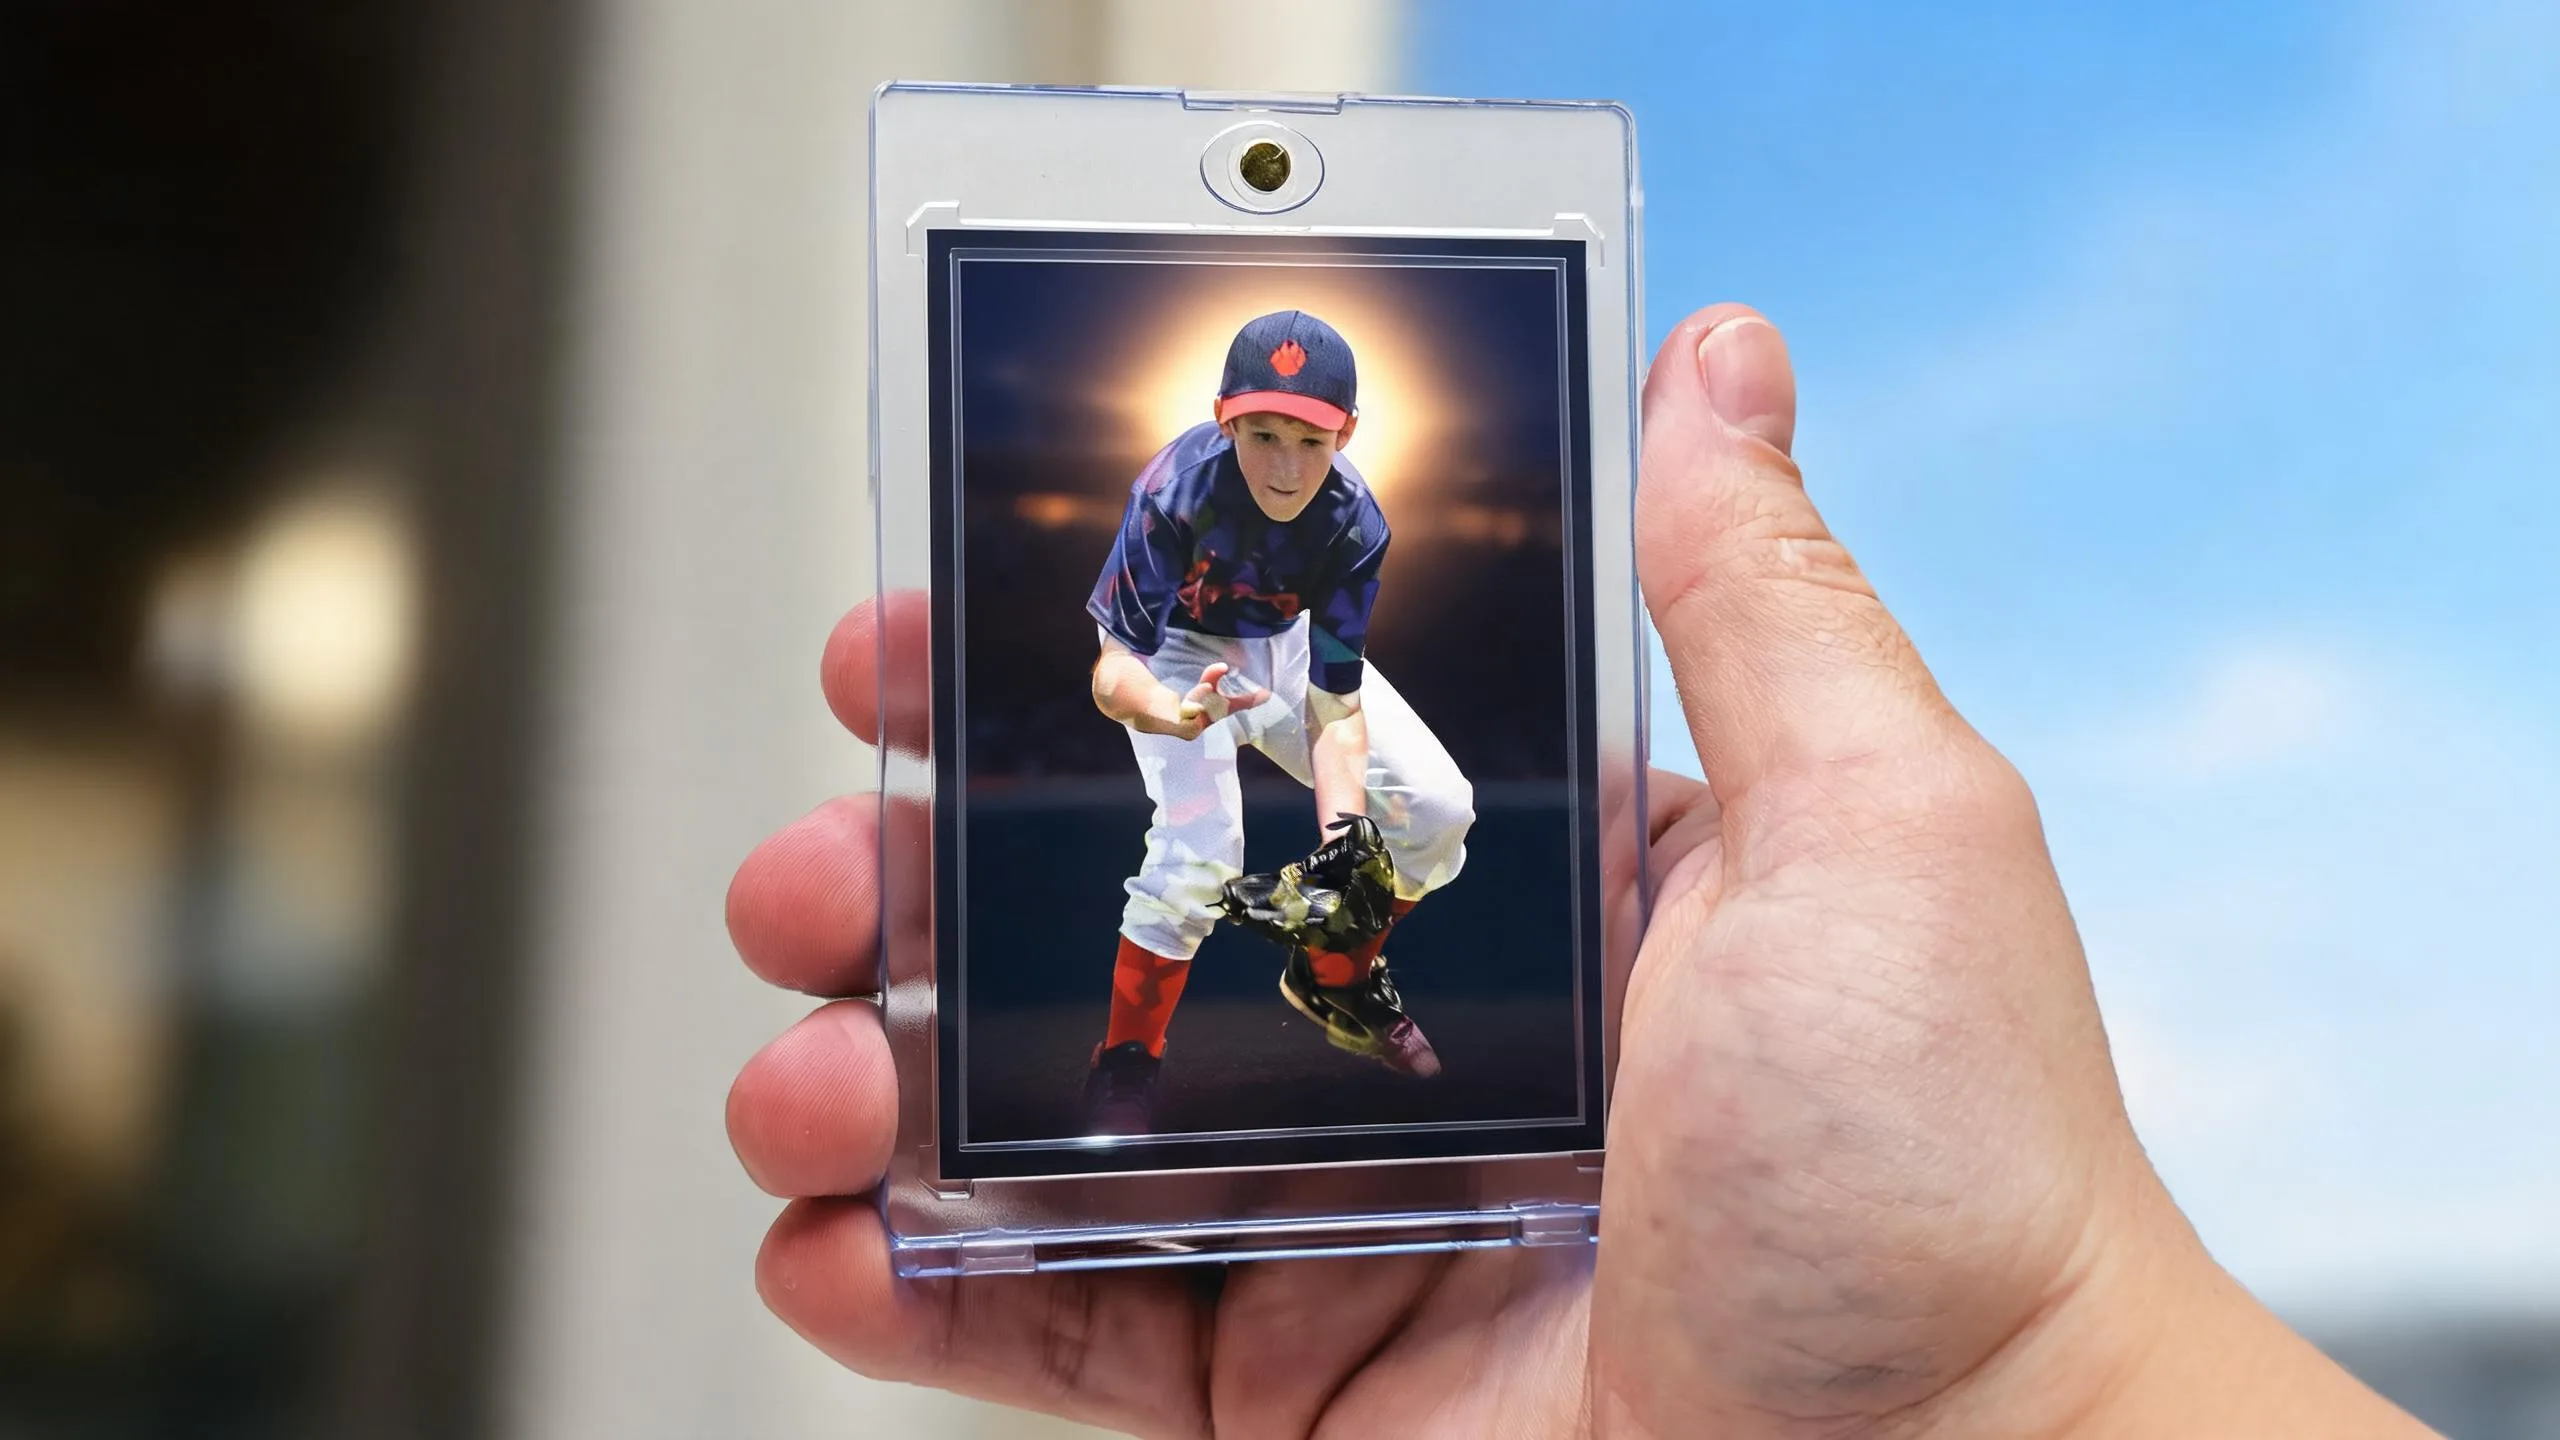
Free to design, instant preview. Ships the next business day.
What Are the Best Settings for Sports Photography Canon Bodies Need?
Three settings do 90% of the work here — shutter speed, autofocus mode, and drive mode.
Set shutter speed to 1/1000 or faster
Fast-moving sports — basketball, soccer, football, hockey — need at least 1/1000 of a second to freeze action cleanly. Slower sports like golf swings or baseball pitchers winding up can sometimes work at 1/500, but anything with a sprint, a swing, or a sudden stop deserves the faster shutter. Shoot in Shutter Priority (Tv mode) if you're not ready to go full manual — it locks your speed and lets the camera handle aperture.
Switch autofocus to AI Servo (or AF-C on newer bodies)
One-shot autofocus locks focus once and stops — useless for anything moving toward or away from you. AI Servo continuously tracks your subject as it moves through the frame, adjusting focus in real time. Pair it with Zone AF or a wider AF area so the camera has multiple points to grab onto when players cross paths or cut unexpectedly.
Use continuous high-speed drive mode and burst through the action
A single shot rarely captures peak action — the ball mid-flight, the exact moment of contact, the leap at its highest point. Set your drive mode to high-speed continuous and hold the shutter through the play, not just at the moment you think it'll happen. You'll shoot more frames, sure, but you'll also land the one that's actually worth printing.
Nail these three and you've solved most of the blur, missed focus, and dead-moment problems people run into.

Why Getting Your Settings Right Actually Matters
Good settings aren't about gear snobbery — they're about not missing the shot you'll want forever.
Sharper action means better cards
A crisp, well-timed action shot prints beautifully on a custom card. A blurry one gets stretched, cropped, and forced to work — and it shows. Nail the shot in-camera and the card practically designs itself.
Less time editing, more time shooting
Correct exposure and focus at capture means you're not fighting your photos in post. That's more sideline time actually watching the game instead of squinting at a laptop trying to salvage a shot.
Works across every sport, every level
These settings apply whether you're shooting Little League, a high school track meet, or a weekend rec league. Fast shutter, continuous autofocus, burst mode — the fundamentals don't change with the scoreboard.
Every great frame becomes a keepsake
Once you've got the shot, it doesn't have to live buried in a camera roll. Upload it, pick a template, and turn a single well-timed frame into something a player or parent actually holds onto.
Pre-Game Settings Checklist
- Shutter speed set to 1/1000 or faster
- Autofocus switched to AI Servo or AF-C
- Drive mode set to high-speed continuous burst
- ISO adjusted for venue lighting (low outdoors, higher indoors)
- Aperture set as wide as your lens allows for the light available
- Memory card cleared with enough space for burst shooting
- Battery charged and a backup on hand for tournaments
What Does It Cost to Turn Your Best Shot Into a Card?
Once you've captured the shot, printing it as a card costs less than most people expect.
Rookie Box single cards start at $17.99, packs run up to $49.99, and our MEGA 11"x15" poster card is $49.99. Free shipping applies across every order in the USA.
One great frame, shot with the right settings, turns into a professional-grade keepsake for less than the cost of a team dinner.
Box Options
Simple, collectible pricing. No subscriptions, no hidden fees.
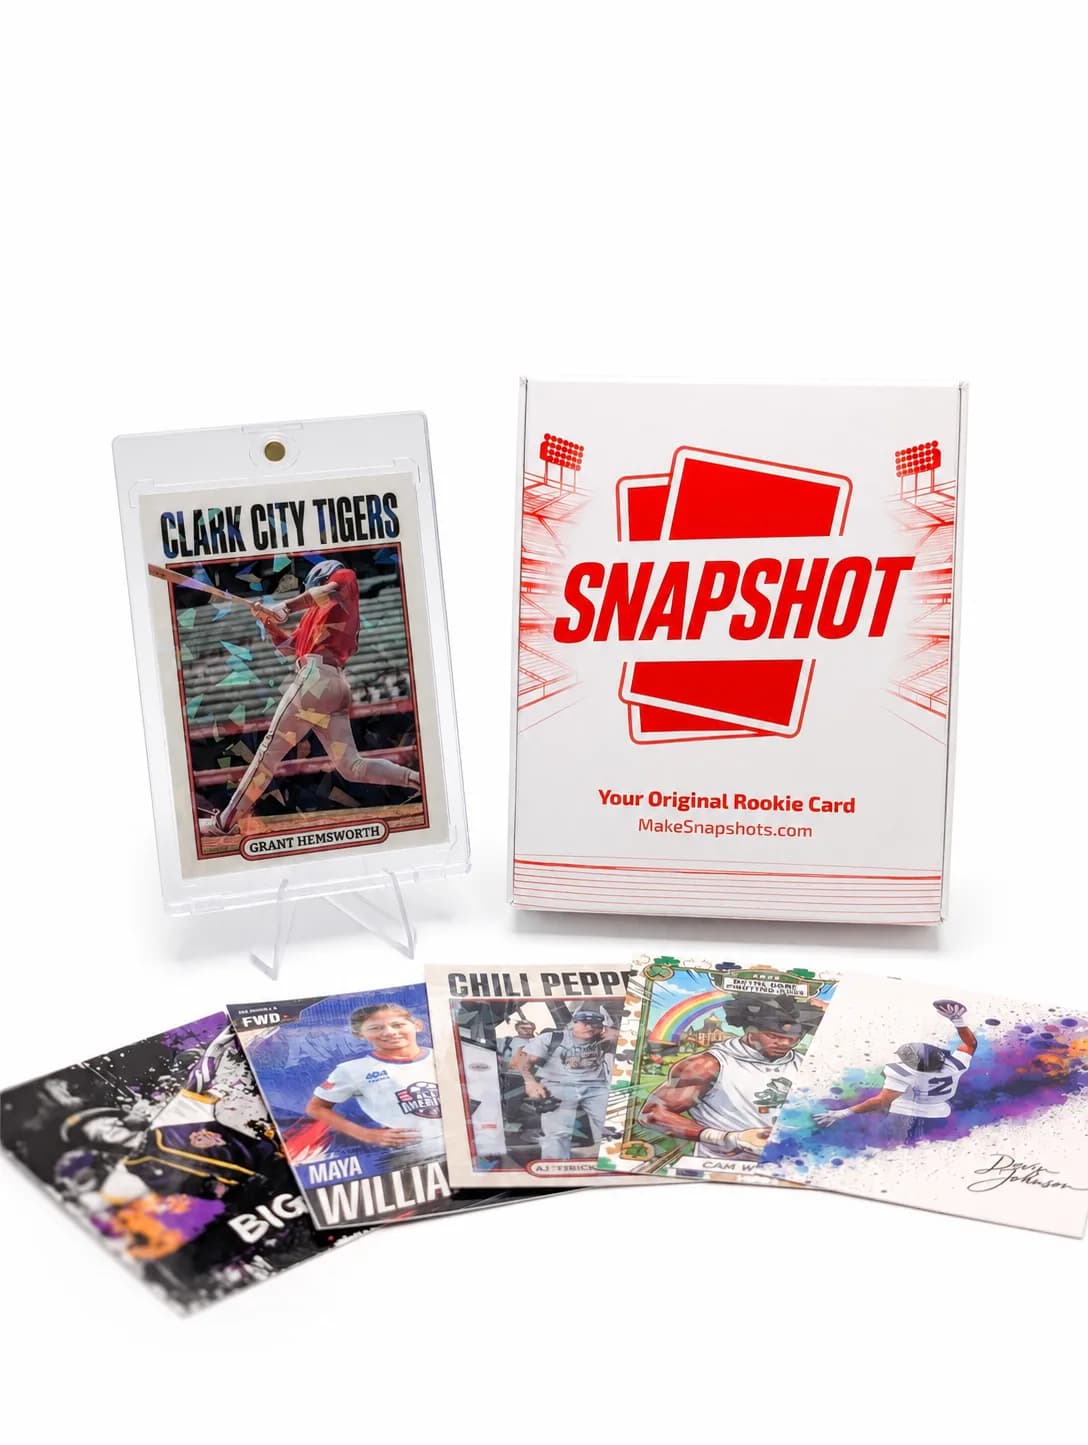
The Rookie Box
Perfect for those unforgettable moments
$17.99 - $49.99
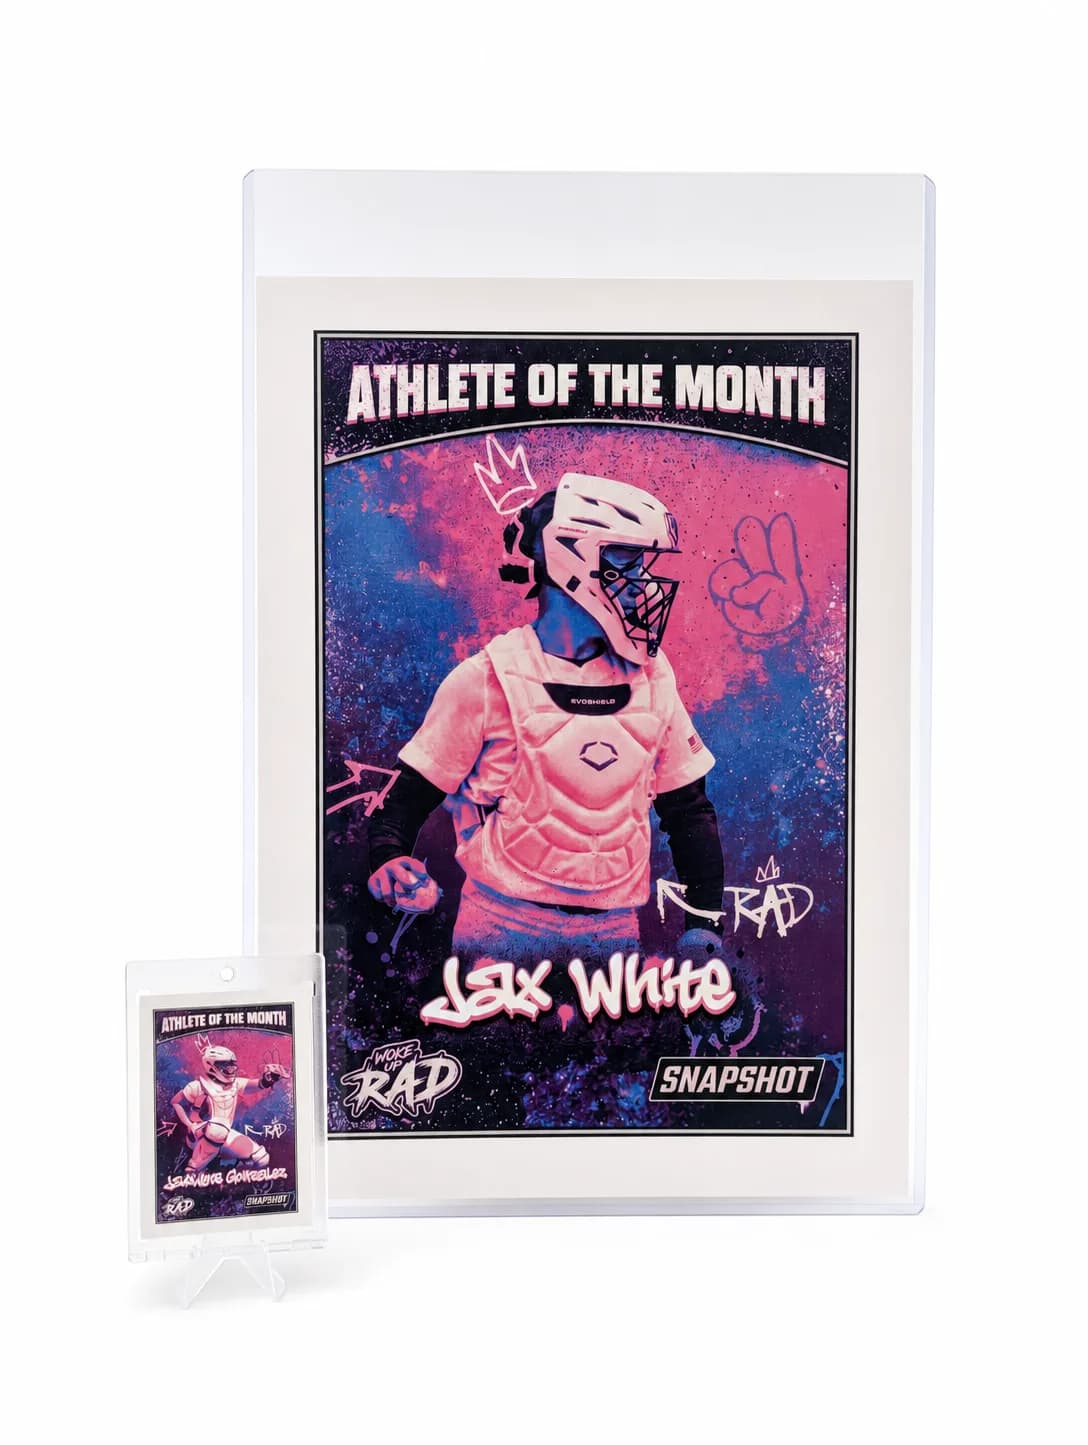
MEGA Card
Their moment, bigger than ever
$49.99
Create for free • Ships the next business day • Made in Des Moines, IA, USA
Frequently Asked Questions
What aperture works best for sports photography?
A wider aperture, somewhere between f/2.8 and f/4, is usually ideal for sports because it lets in more light, which helps maintain a fast shutter speed, and it also blurs out distracting backgrounds so your subject really pops. Wide apertures do create a shallower depth of field though, which means less of the frame is in sharp focus, so tracking a moving subject accurately becomes even more important. If you're shooting a fast-moving group scene, like a scrum in soccer or a pack of runners, you might want to close down slightly, to f/5.6 or so, to keep more of the action in focus at once. Lens choice matters a lot here too — a fast telephoto lens with a wide maximum aperture, like an f/2.8 zoom, gives you flexibility that a slower kit lens simply can't match in dim lighting. Outdoors in bright daylight, you have more room to experiment since there's plenty of light to spare, letting you prioritize background blur or depth of field creatively. Indoors or in evening light, though, you'll likely want to keep the aperture as wide as your lens allows just to maintain a workable shutter speed without cranking ISO too high.
Do I need a special lens for sports photography, or will my kit lens work?
A kit lens, typically an 18-55mm, can technically capture sports photos, but it struggles in three specific areas: reach, speed, and low-light performance. Most sports happen at a distance — you're on the sideline, in the stands, or behind a fence — so a longer telephoto lens, ideally 70-200mm or longer, lets you fill the frame without physically getting closer. Kit lenses also tend to have slower maximum apertures, often f/3.5-5.6, which limits how much light you can gather, making indoor or evening shots much harder to expose properly without pushing ISO uncomfortably high. A used 70-200mm f/2.8 lens is a popular upgrade among youth sports photographers because it balances reach, speed, and image quality without costing as much as professional-grade glass. That said, if you're just getting started, your kit lens paired with good settings and positioning can still produce usable, even great, shots — especially outdoors in good light. The lens matters, but it's not the only factor, and plenty of sharp, printable action shots have come from budget glass paired with the right shutter speed and focus technique.
How do I photograph fast-moving sports without motion blur?
Motion blur almost always comes down to shutter speed being too slow for how fast your subject is moving, so the first fix is always bumping that number up — 1/1000 minimum, 1/2000 or faster for genuinely explosive movement like a sprint or a slap shot. Beyond shutter speed, your autofocus mode matters just as much, since a subject can be perfectly exposed but still blurry if the focus point drifted off them mid-action. Using AI Servo or AF-C tracking keeps focus locked as your subject moves, which combined with a fast shutter speed solves most blur problems entirely. Panning technique can also help in specific situations, like following a runner or cyclist with a slower shutter speed to blur the background while keeping the subject relatively sharp, though this takes practice to nail consistently. Shooting in burst mode also increases your odds significantly, since even with perfect settings, timing a single shot precisely on peak action is genuinely difficult. Lastly, make sure you're not shooting handheld at unnecessarily slow shutter speeds to save on ISO noise — a slightly grainy sharp photo will always beat a smooth blurry one for actual usability.
What's the best drive mode setting for capturing game action?
High-speed continuous drive mode, sometimes labeled as a specific frames-per-second burst setting on Canon bodies, is what you want for almost all sports photography. This mode lets you hold the shutter button down and capture a rapid sequence of frames instead of a single shot, dramatically increasing your odds of catching the exact peak moment of action, like a ball leaving a bat or a foot connecting with a soccer ball. Single-shot drive mode, by contrast, only fires once per press, which means you're relying entirely on perfect timing to catch a moment that often lasts a fraction of a second. The tradeoff with burst mode is that you'll end up with far more photos to sort through afterward, and your camera's buffer can fill up if you're shooting RAW files continuously for too long. It helps to burst in short controlled bursts around anticipated action, like right before a pitch or as a player approaches the goal, rather than holding the shutter down constantly through an entire play. Combined with fast shutter speed and continuous autofocus, burst mode rounds out the trio of settings that consistently produces sharp, well-timed sports photography.
Can I shoot sports photography in JPEG, or do I need RAW?
JPEG works perfectly fine for casual sports photography, especially if you're planning to print a favorite shot as a custom card rather than doing extensive professional editing. RAW files give you significantly more flexibility in post-processing, particularly for recovering detail in blown-out highlights or deep shadows, which happens often in tricky stadium lighting or bright midday sun. The downside of RAW is file size and buffer speed — RAW files are much larger, which fills your memory card faster and can slow down your continuous burst shooting since the camera has to write more data per frame. If you're new to editing or just want quick, shareable results without extra software, JPEG is genuinely the simpler and often smarter choice for most weekend sports photography. Some Canon bodies let you shoot RAW plus JPEG simultaneously, giving you a quick JPEG for immediate use and a RAW backup in case you want to fine-tune exposure or color later. For printing purposes specifically, a well-exposed JPEG straight from the camera prints beautifully, so don't feel like you're missing out by skipping RAW entirely if it's slowing down your workflow.
How close do I need to be to get good sports action shots?
It depends heavily on your lens, but generally, filling more of the frame with your subject produces a stronger, more usable photo, especially if you're planning to print it later as a card or poster. With a standard 70-200mm lens, sideline distance at most youth and high school games puts you close enough to get a strong subject-to-frame ratio without needing to physically encroach on the field. Longer lenses, in the 300-400mm range, let you shoot from further back, which is useful at larger venues or when field access is restricted, like most stadium settings. If you're working with a shorter lens, positioning becomes even more critical — get as close to the action line as rules allow, and anticipate where plays are likely to develop rather than shooting from a fixed spot the entire game. Cropping in post can help extend your reach somewhat, but cropping too aggressively reduces image quality and sharpness, which matters a lot if you're printing the shot at a larger size. Ultimately, a mix of the right lens length and smart positioning around the game's flow will get you closer to usable, frame-filling shots than either factor alone.
What's the biggest mistake beginners make with Canon sports settings?
The most common mistake is leaving the camera in full auto mode and letting it choose shutter speed, which almost always defaults too slow for fast action, resulting in consistent motion blur. A close second is sticking with One-Shot autofocus out of habit, which locks focus once and doesn't track a subject moving through the frame, leading to frustratingly out-of-focus shots even when everything else looks right. Beginners also tend to underestimate how much light indoor venues actually lack, shooting at ISO 400 in a dim gym and ending up with dark, underexposed images that then get blurry when brightened in editing. Another frequent issue is shooting single-shot instead of burst mode, missing peak action because human reaction time simply isn't fast enough to time a single frame perfectly. Lastly, many beginners stand too far back with too short a lens, resulting in small, distant subjects that lack impact and don't hold up well if printed at a larger size later. The fix for all of these is the same: switch off auto mode, set shutter speed manually, use continuous autofocus, and shoot in bursts.
Free to design, instant preview. Ships the next business day.
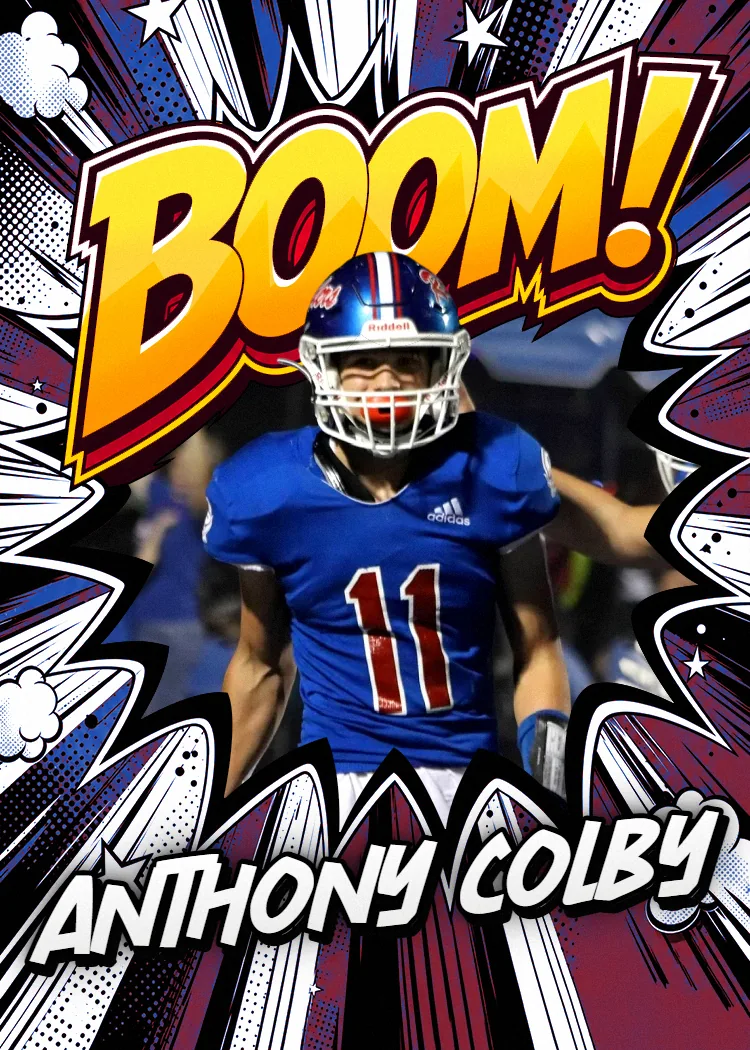
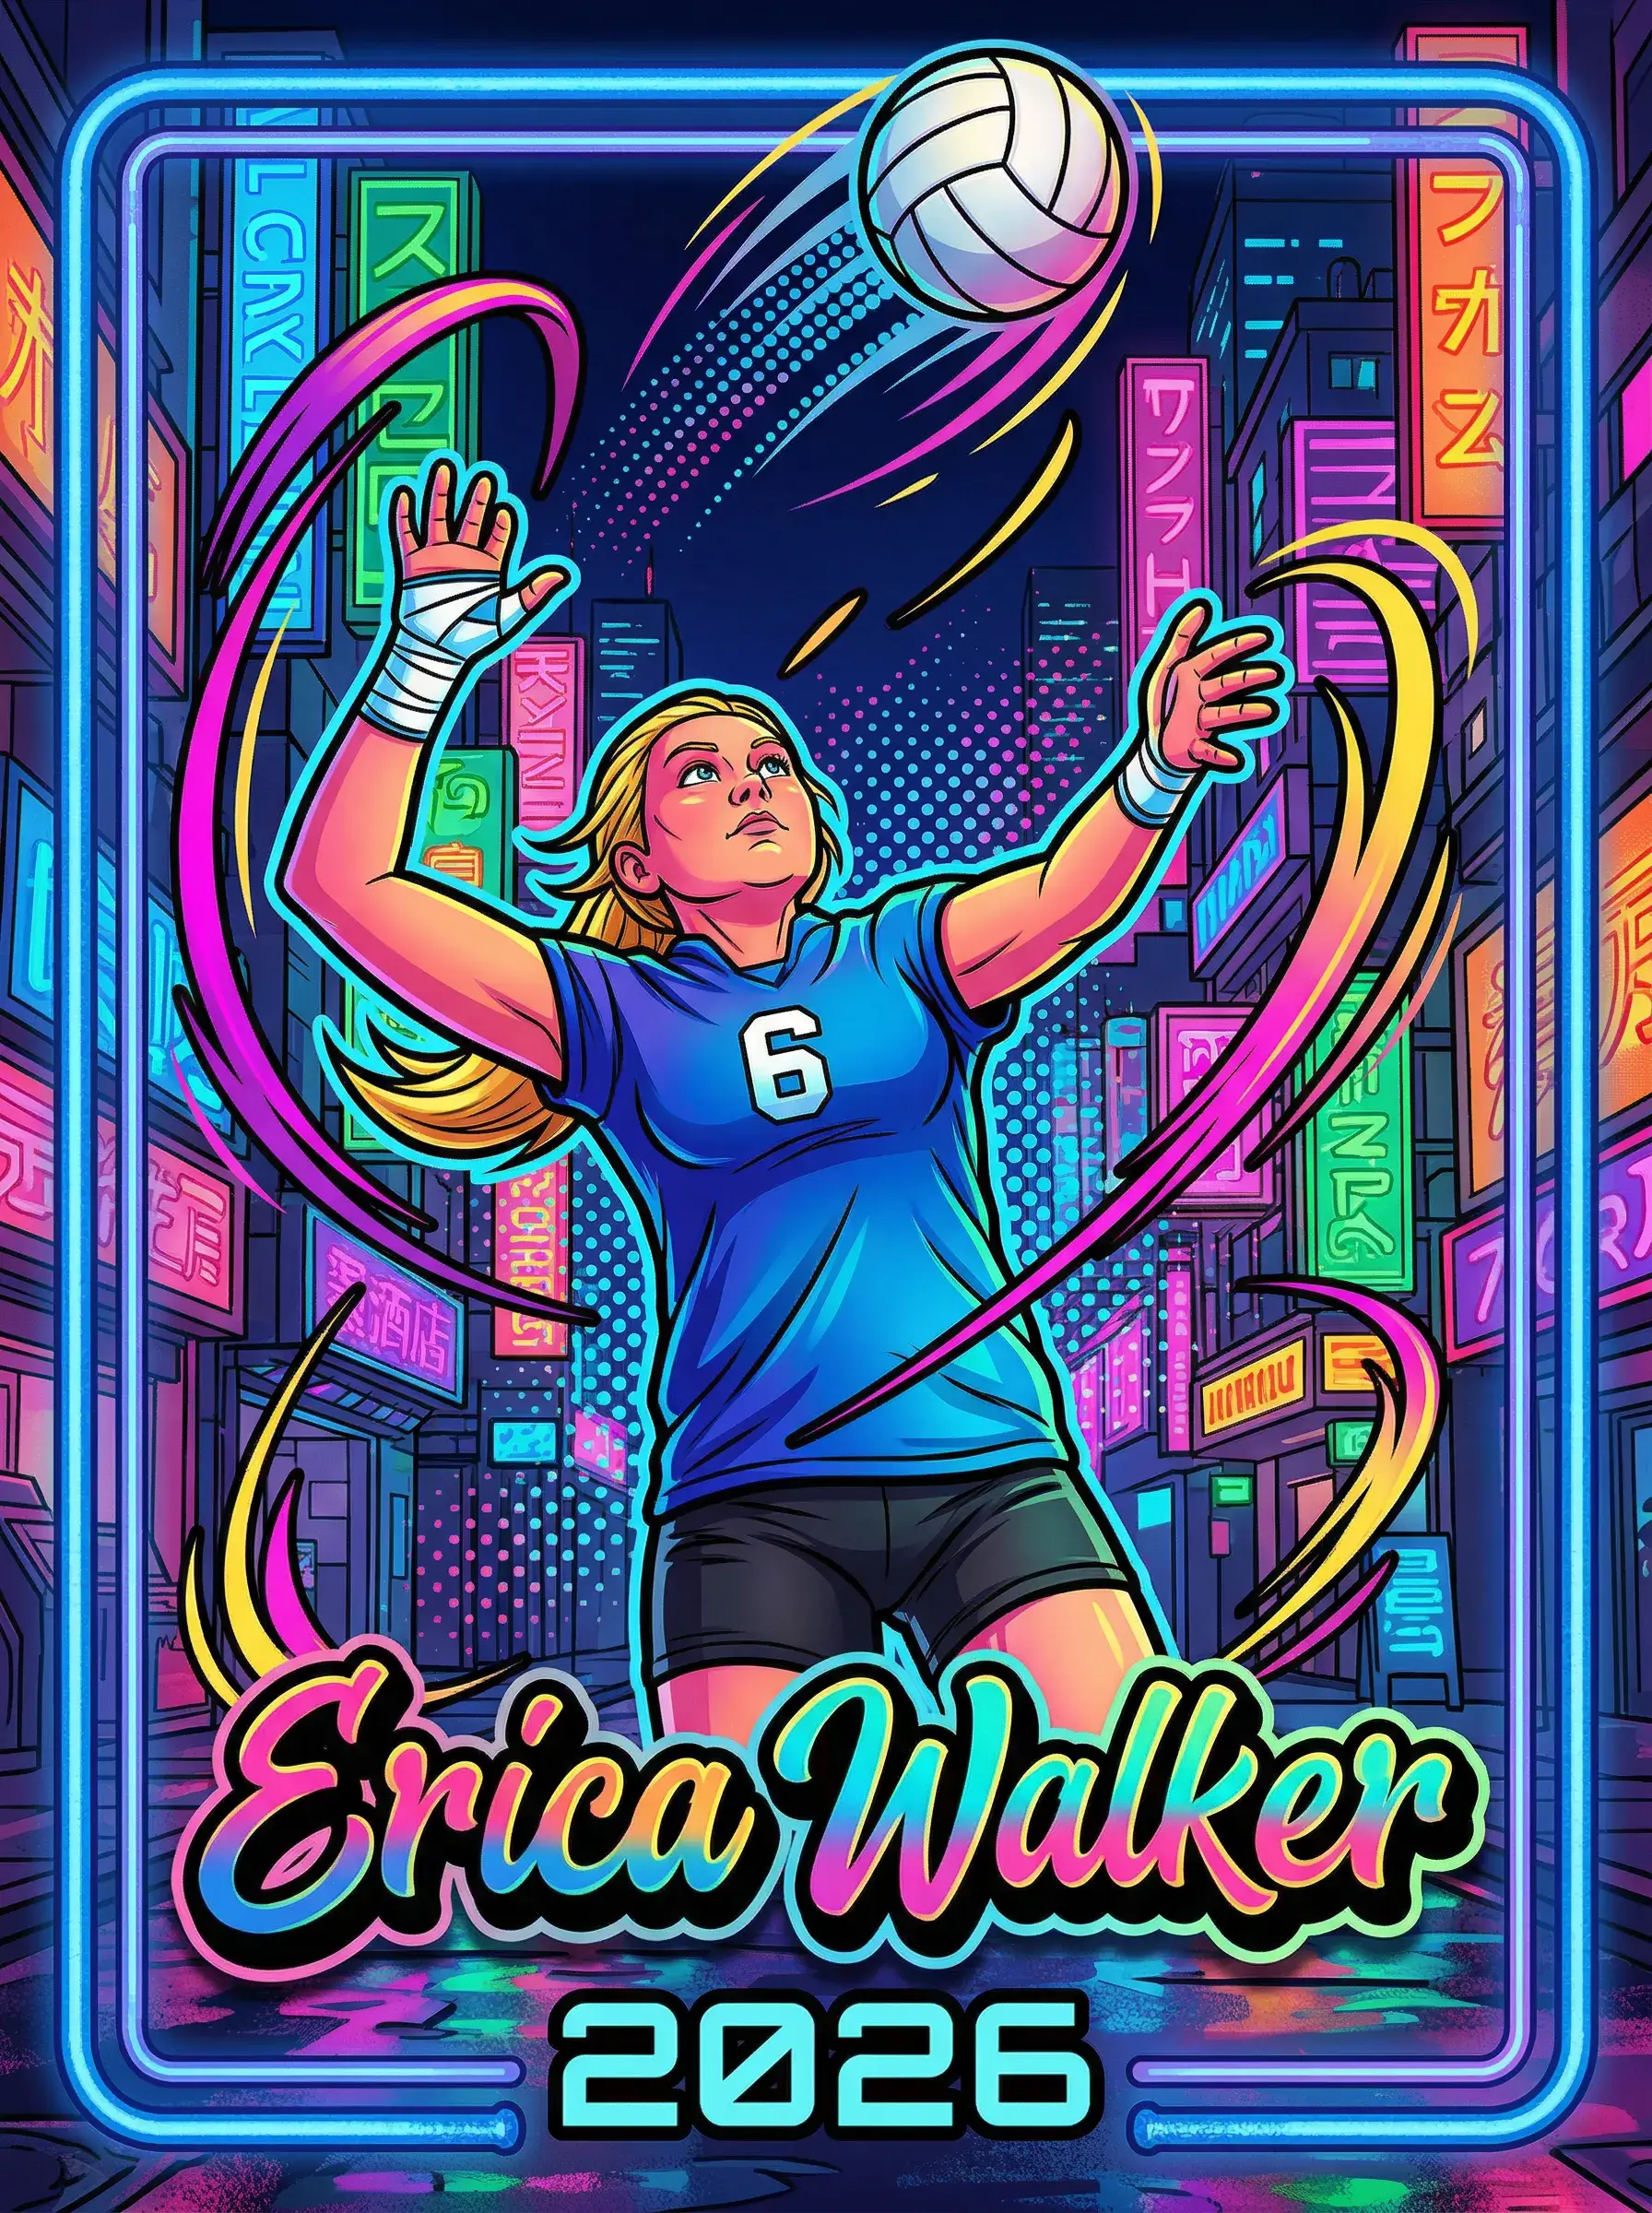
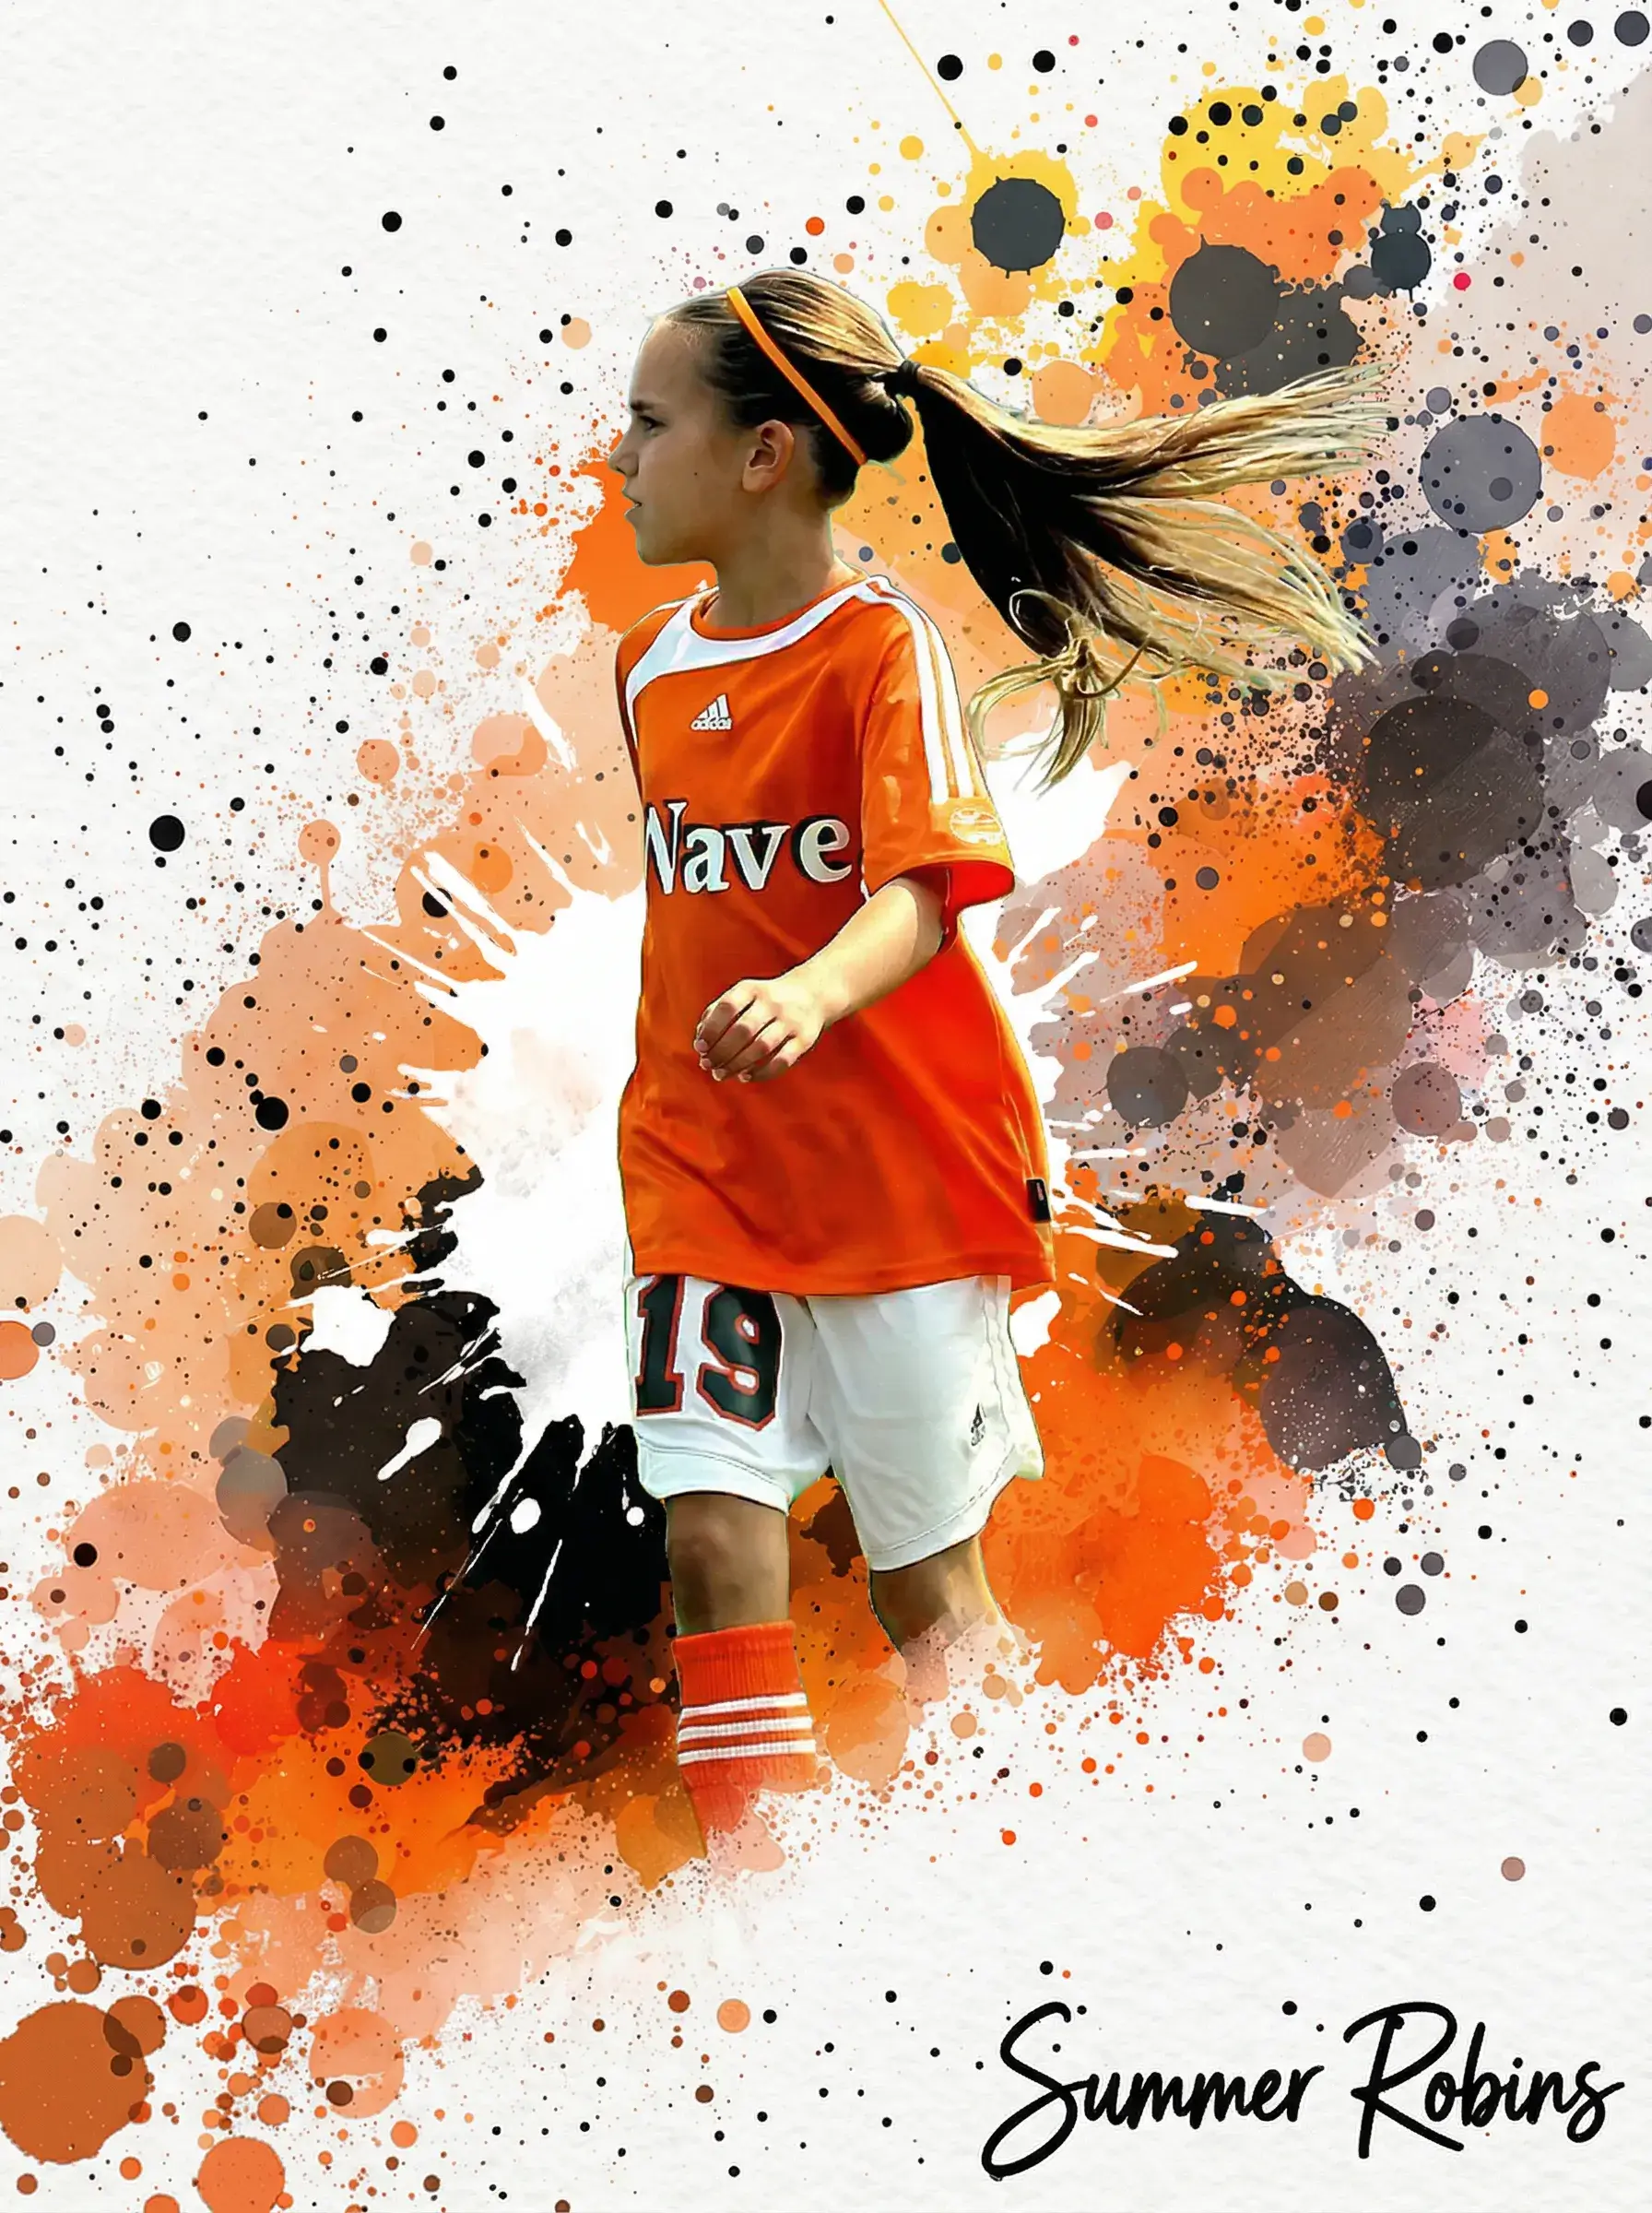
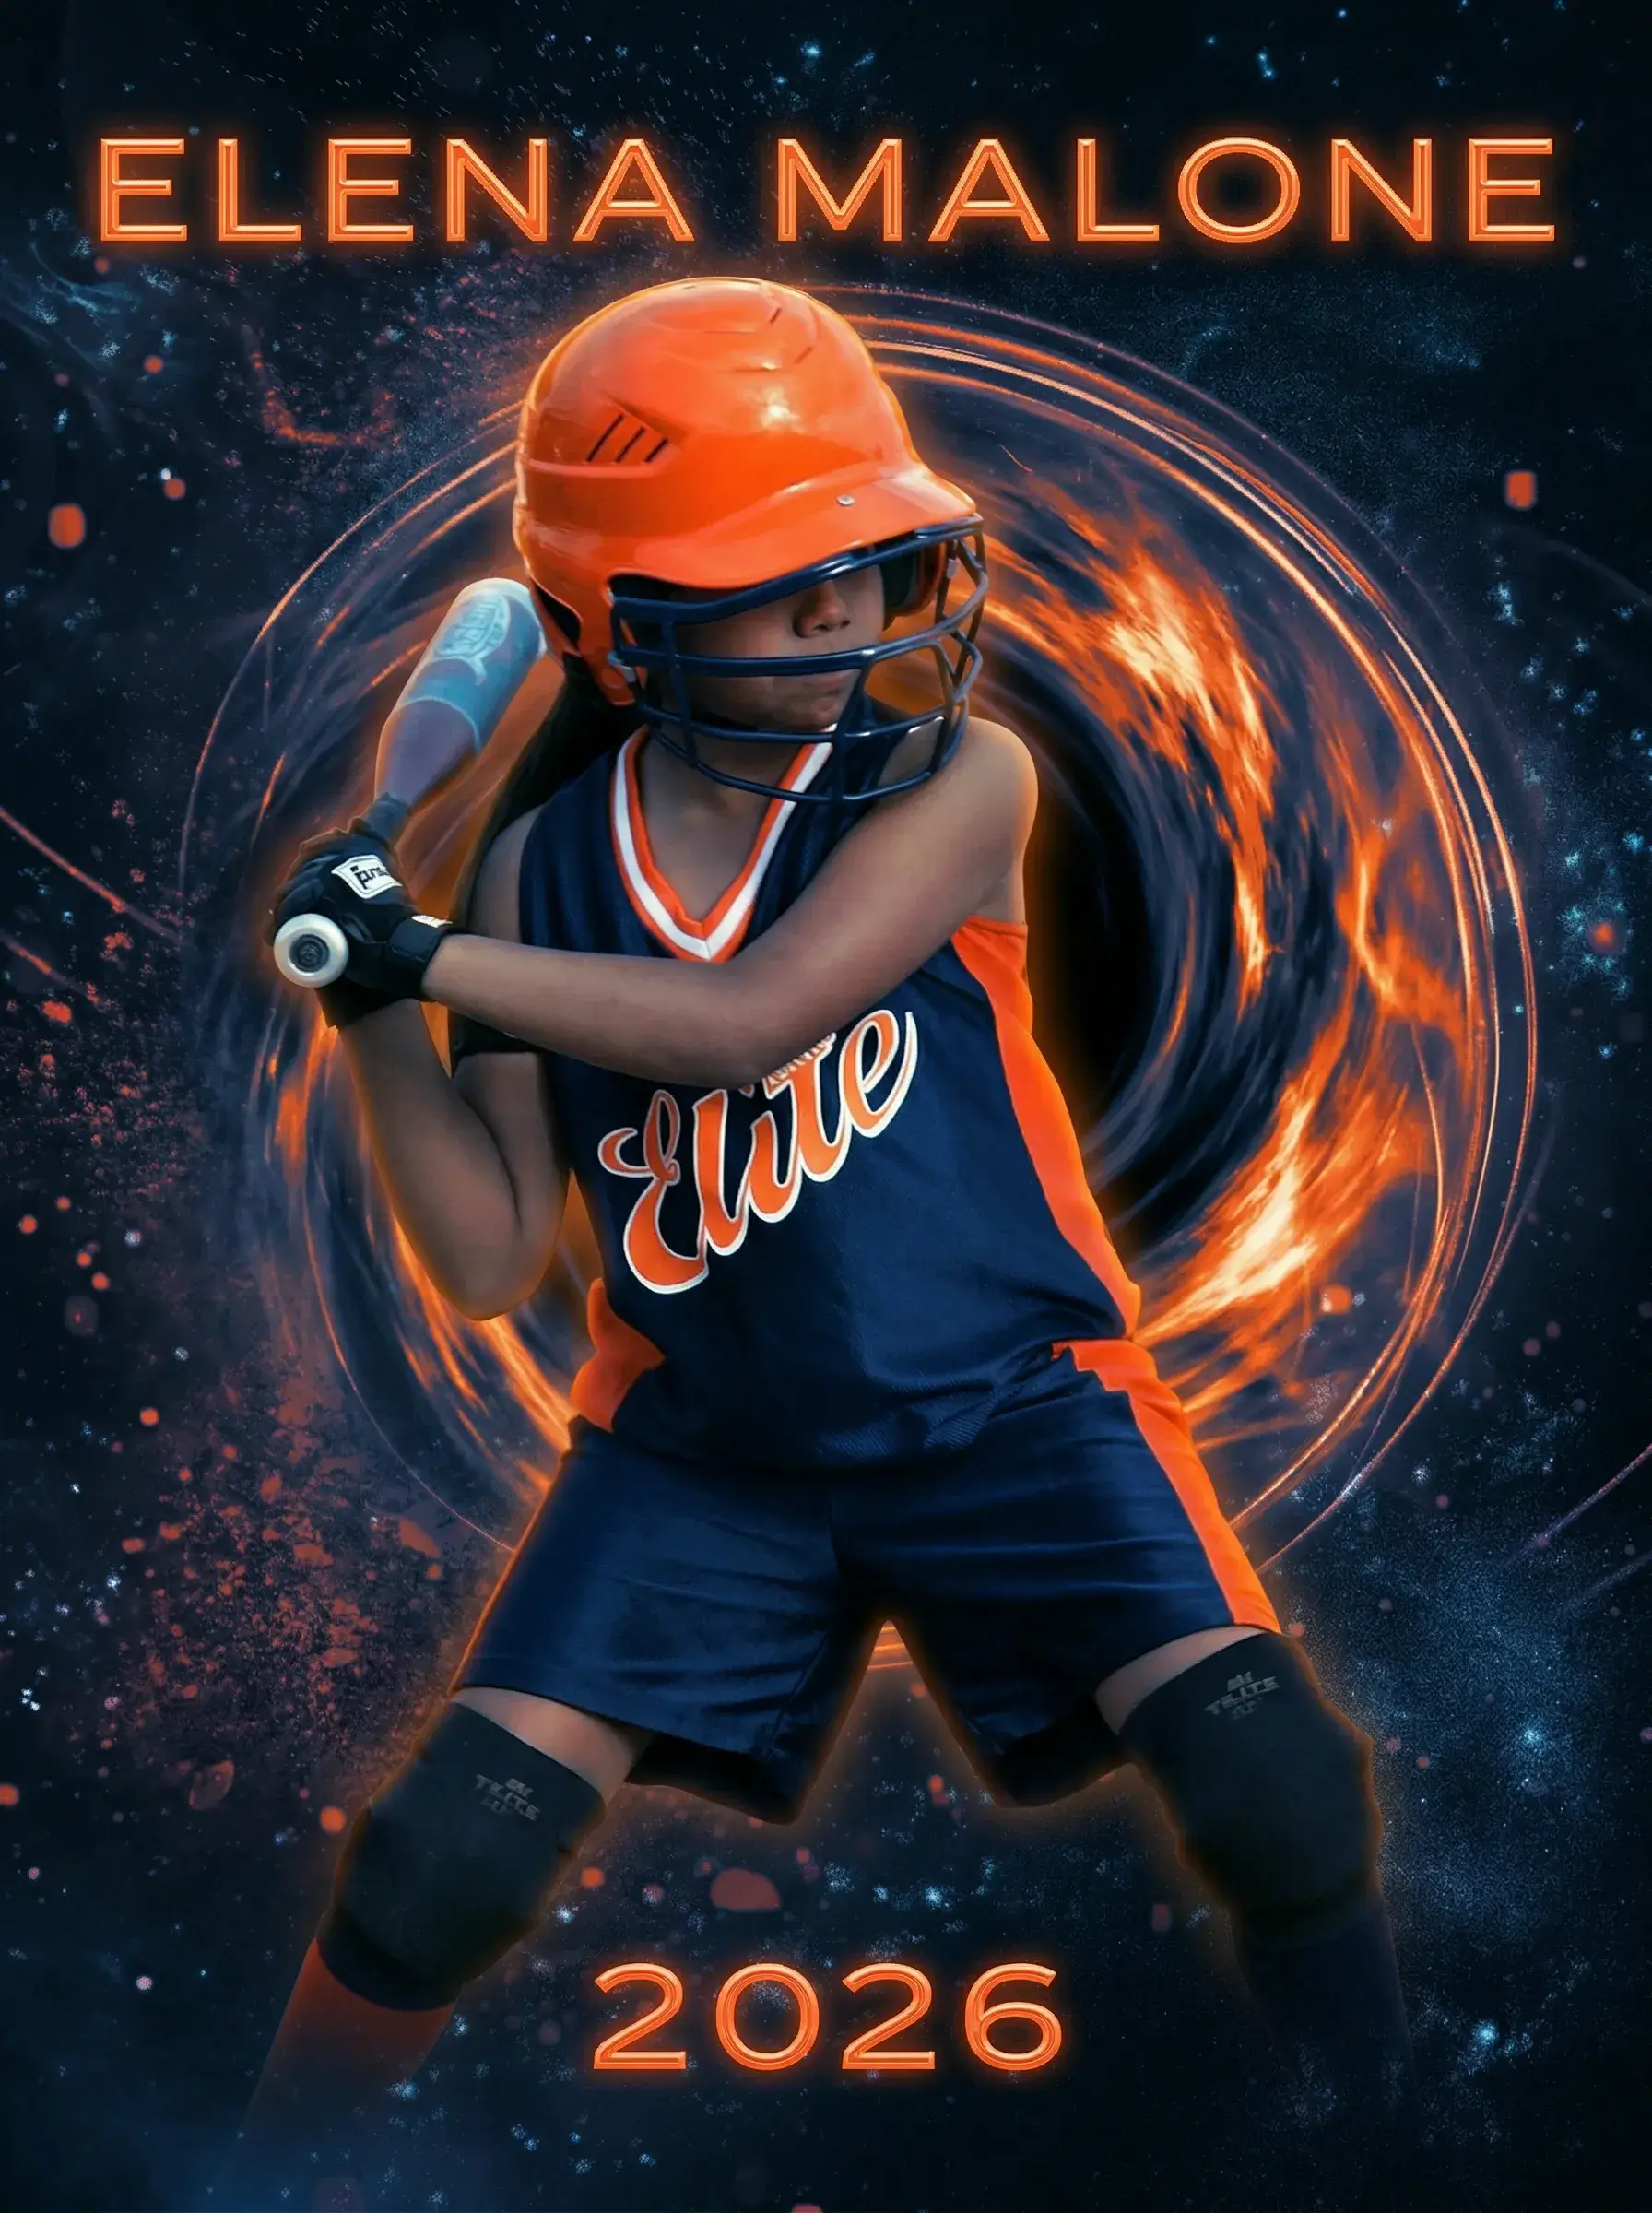
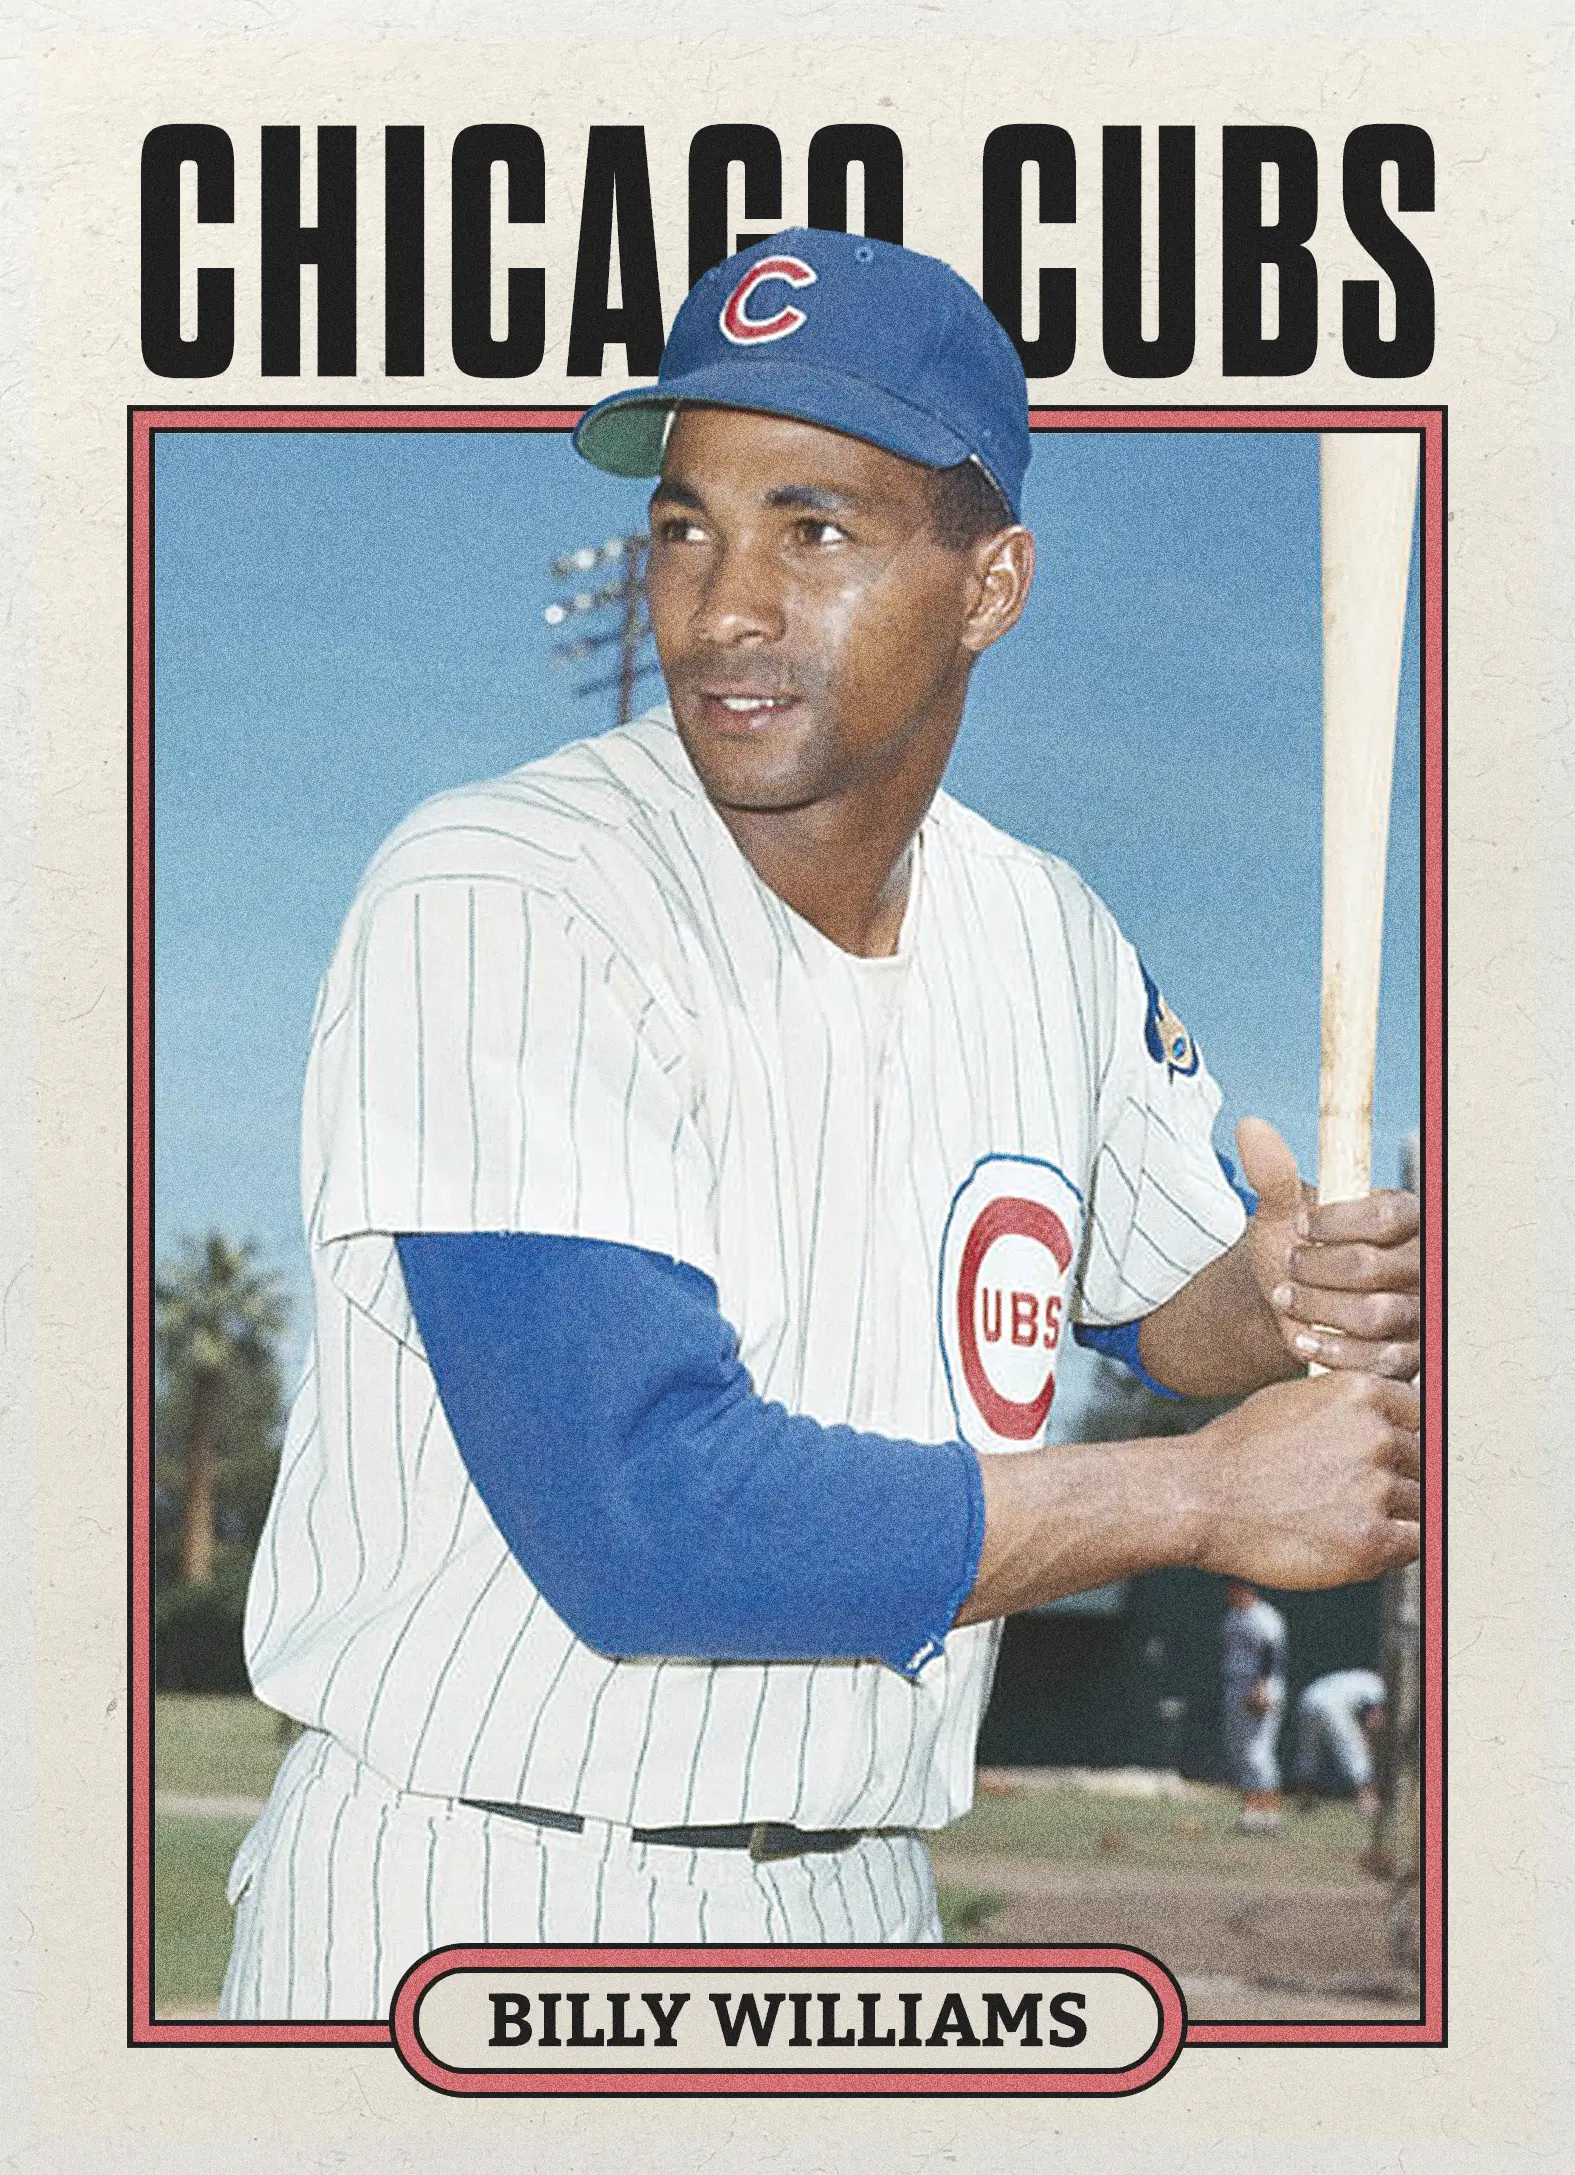
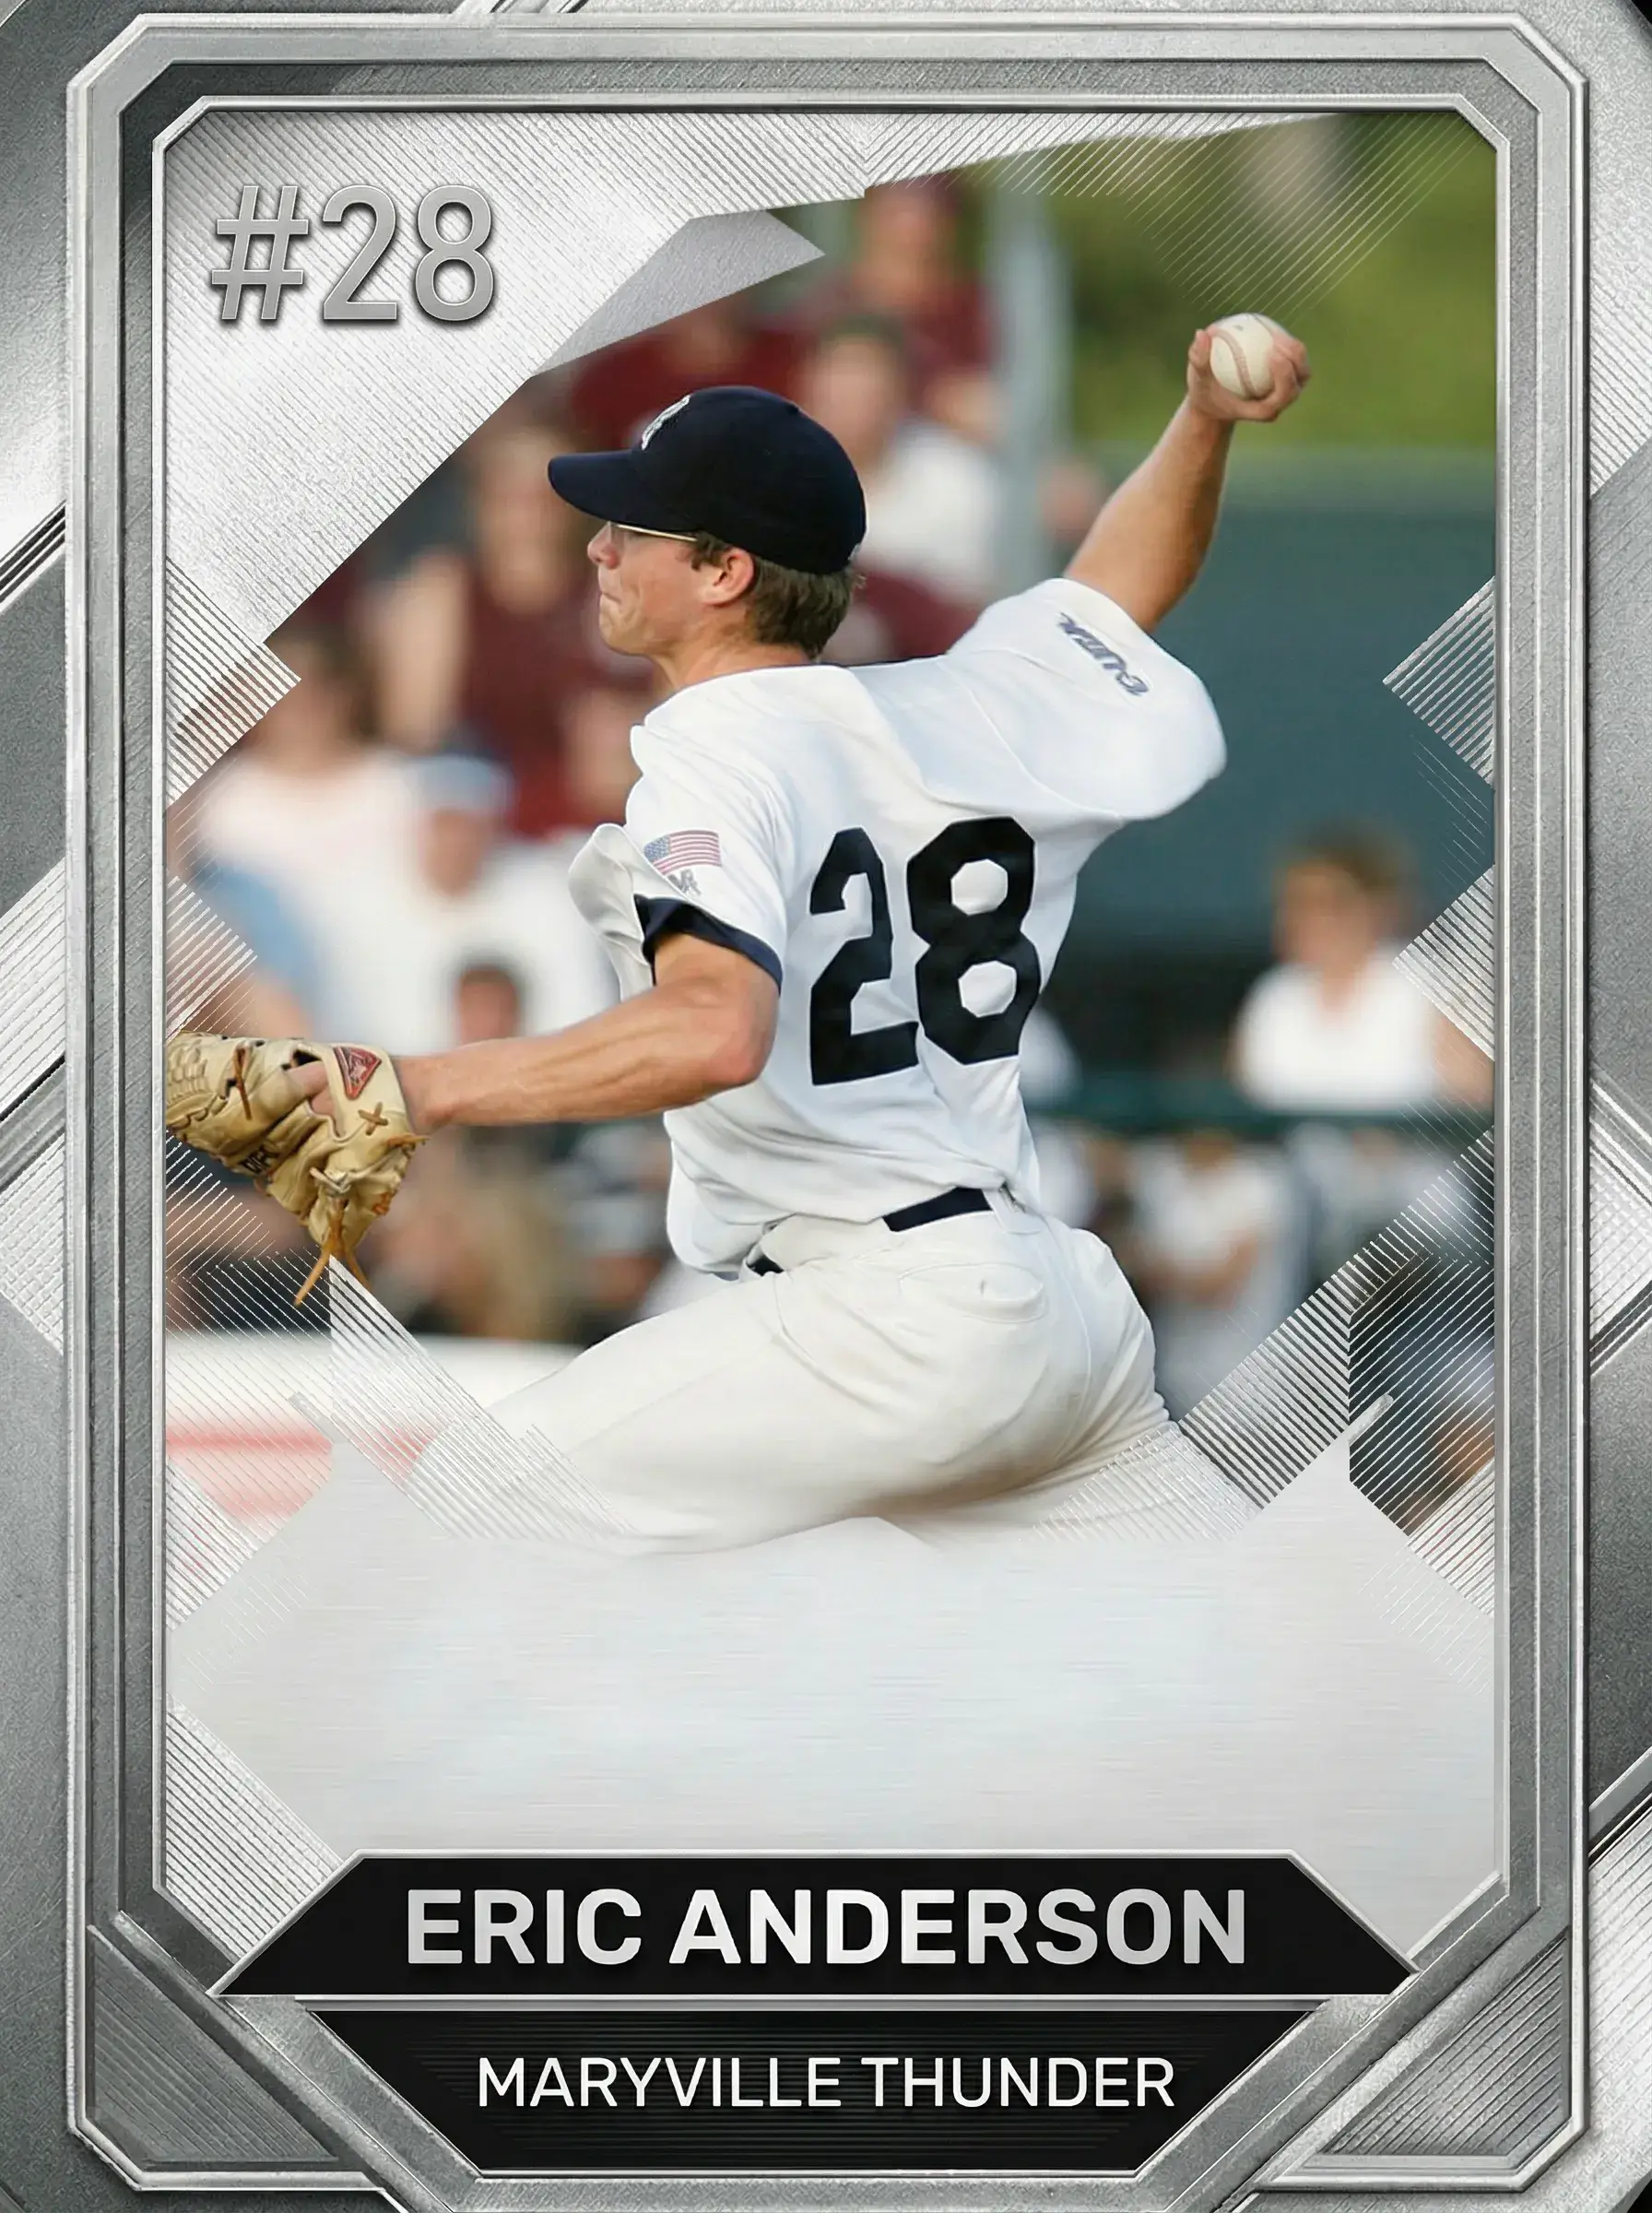
Nailed the Best Settings for Sports Photography? Now Print It.
You did the hard part — freezing that perfect action shot with the right shutter speed, focus, and framing. Let us handle the rest. Upload your photo, pick a template, and get a premium custom card shipped to your door in 2-3 days.
Turn Your Photo Into a CardNo credit card required | Instant preview | Pro-quality designs
Explore More Card Options
Discover more custom trading card options for every sport and occasion