
The Right Camera Setting for Sports Photography, Explained
You freeze the moment mid-air, mid-swing, mid-sprint — but only if your camera's actually set up to catch it.
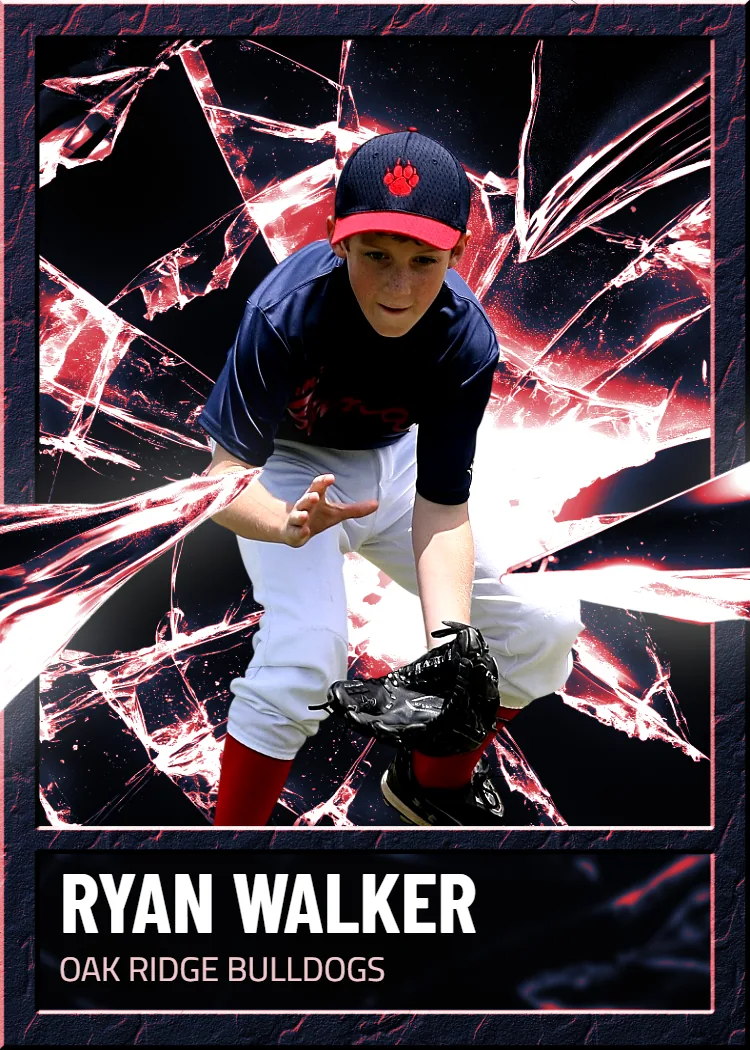
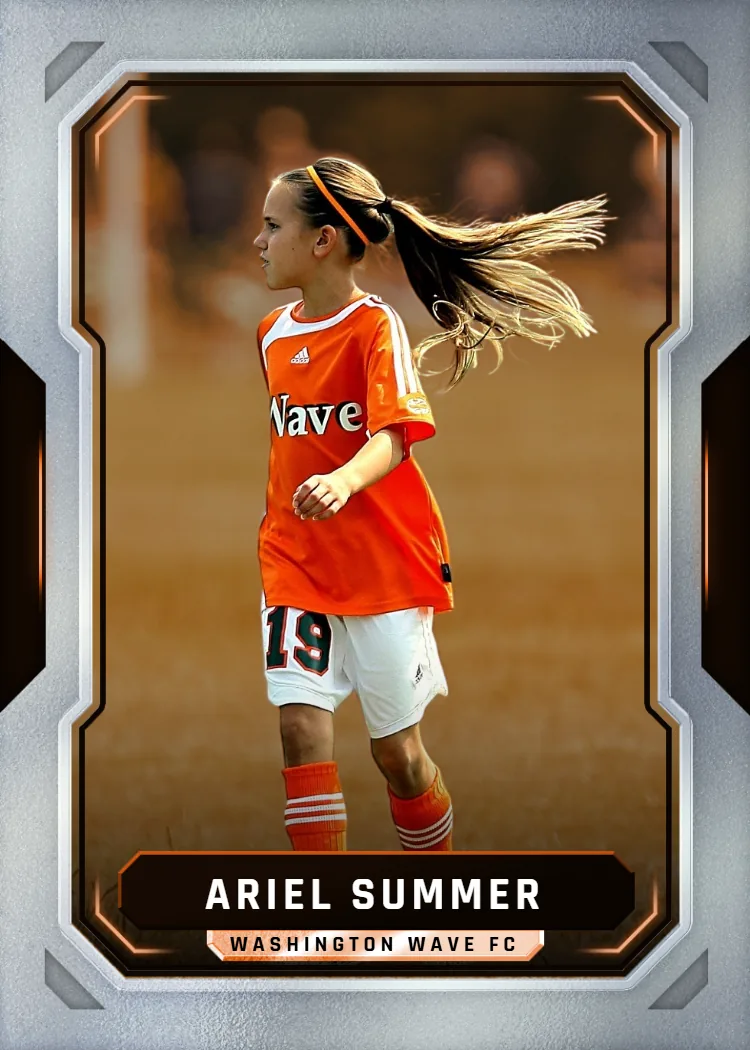
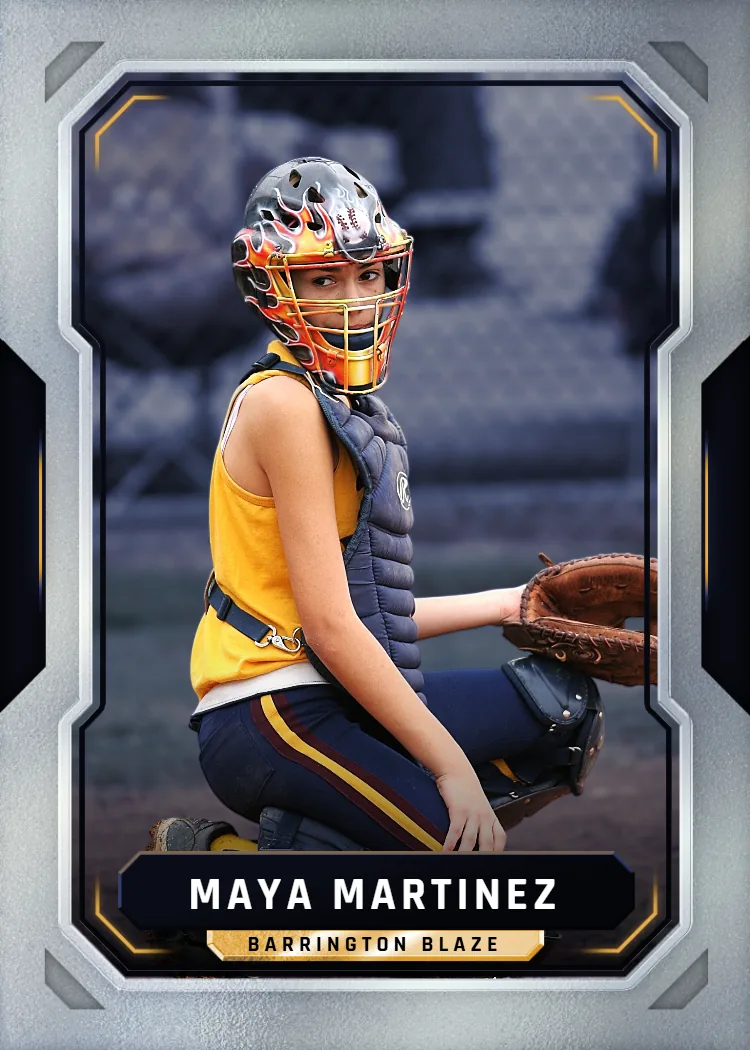
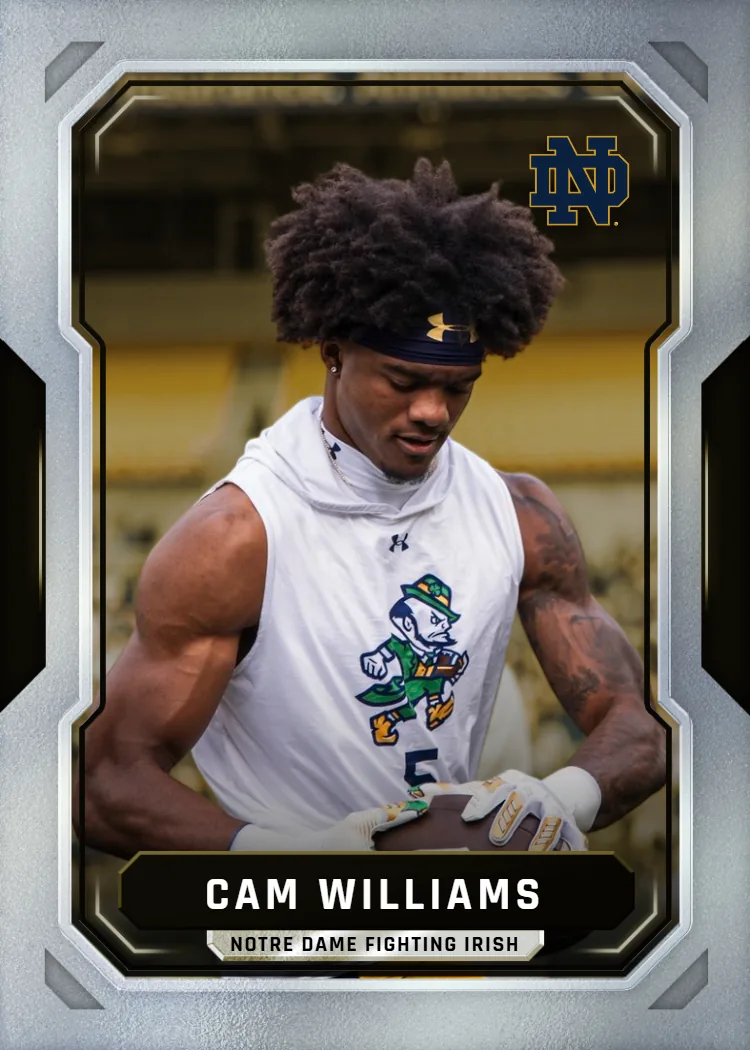
Upload any photo — your kid, your pet, your whole team — pick a pro template, and we print and ship a real, holdable card the next business day.
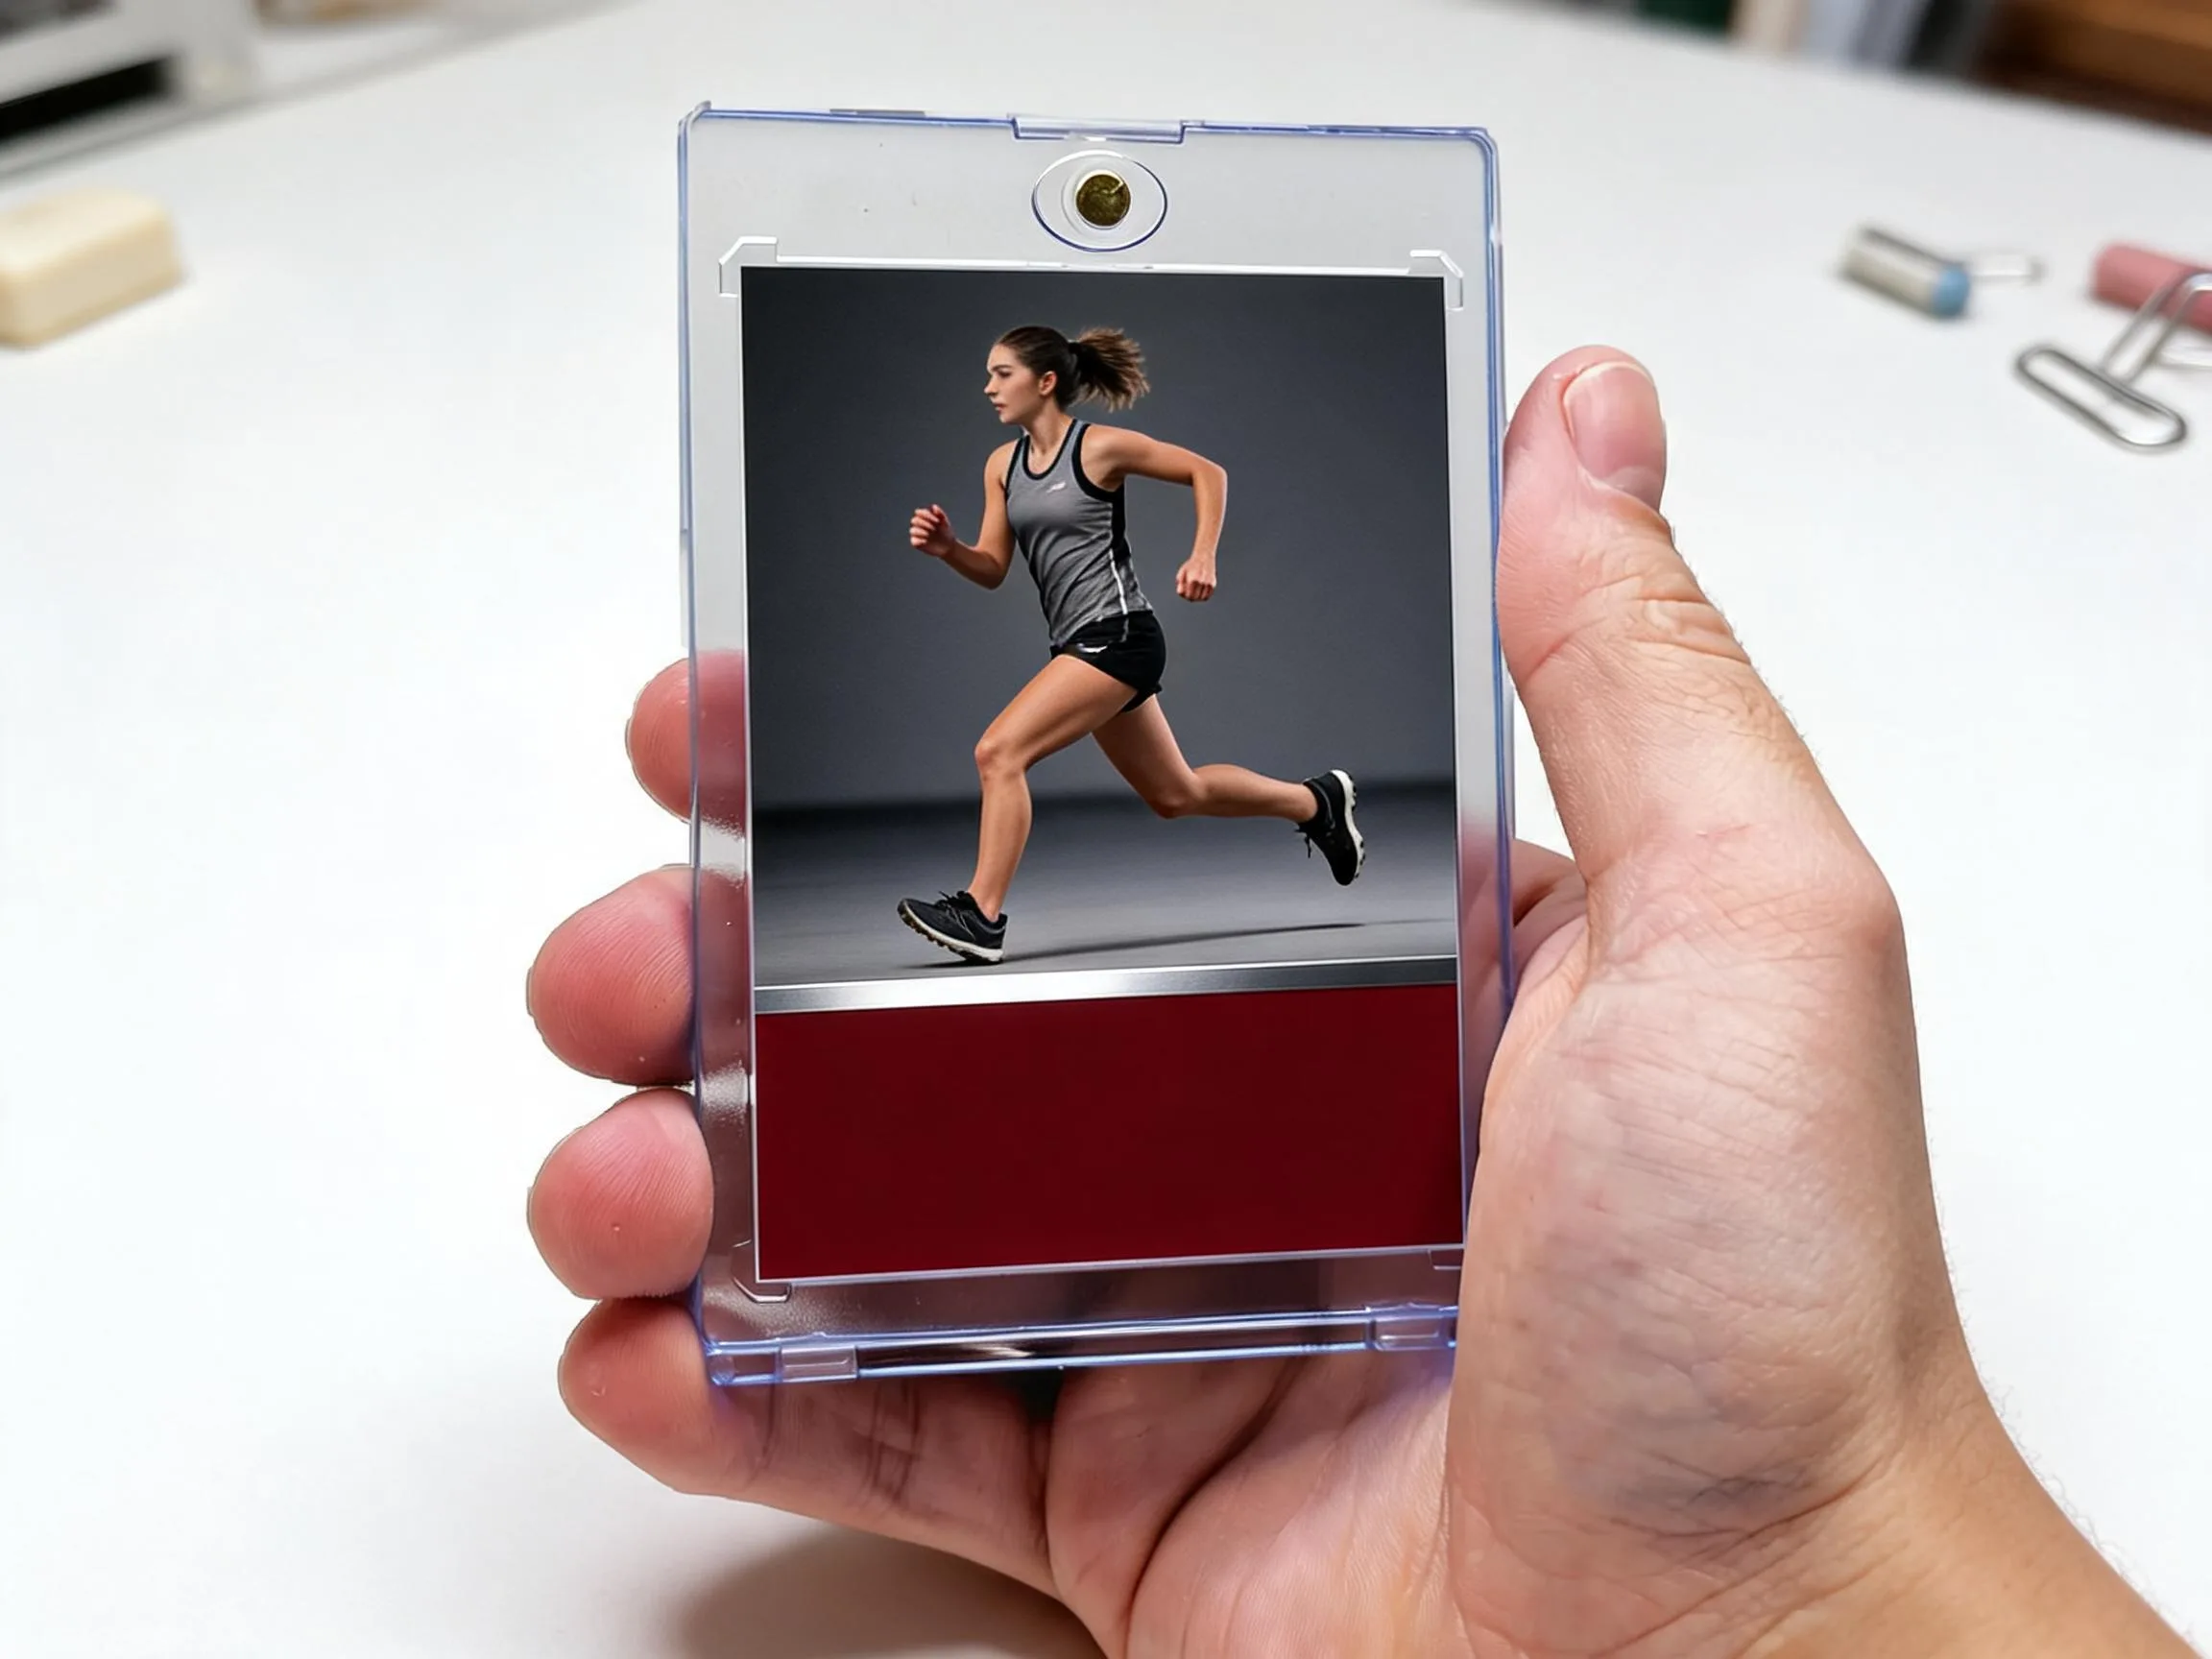
Most weekend photographers grab their camera, point it at the field, and end up with a folder full of blurry, dark, or overexposed shots. The right camera setting for sports photography isn't complicated, but it's specific — shutter speed, aperture, and ISO all have to work together, and the settings that work for a sunny outdoor soccer match will ruin a shot under gym lights. Guessing costs you the shot you actually wanted.
This guide breaks down the exact camera setting for sports photography you need for outdoor daylight, indoor gyms, and fast-action close-ups, plus the gear and habits that make a real difference. Once you've got a shot worth keeping, we'll show you what to do with it — because a great action photo deserves more than a phone camera roll.
Let's start with the settings themselves, then talk about turning your best frame into something permanent.
We print thousands of parent- and fan-submitted action photos every month, and we can tell within seconds which shots were taken with proper shutter speed and which weren't.
Why Getting Your Settings Right Actually Matters
Dialing in your camera setting for sports photography isn't about gear snobbery — it changes what you can do with the photo afterward.
Sharper Faces, Better Memories
A properly exposed, motion-frozen shot captures the actual expression — gritted teeth, mid-laugh, eyes on the ball. Blurry shots lose that detail forever, and you can't fix it in editing after the fact.
More Usable Shots Per Game
When your settings are dialed in, you're not deleting half your shots afterward. You end up with three or four keepers instead of one lucky frame out of two hundred.
Better Print Quality
Sharp, well-exposed photos hold up when printed large or turned into something physical, like a card or poster. Soft, underexposed images look worse the bigger you go — sharp ones only get better.
Confidence Behind the Camera
Once you understand why you're choosing 1/1000s over 1/250s, you stop guessing at every game. You adjust fast, catch the moment, and spend less time fumbling with menus mid-play.
Free to design, instant preview. Ships the next business day.
What We See From Photos Sent In Every Week
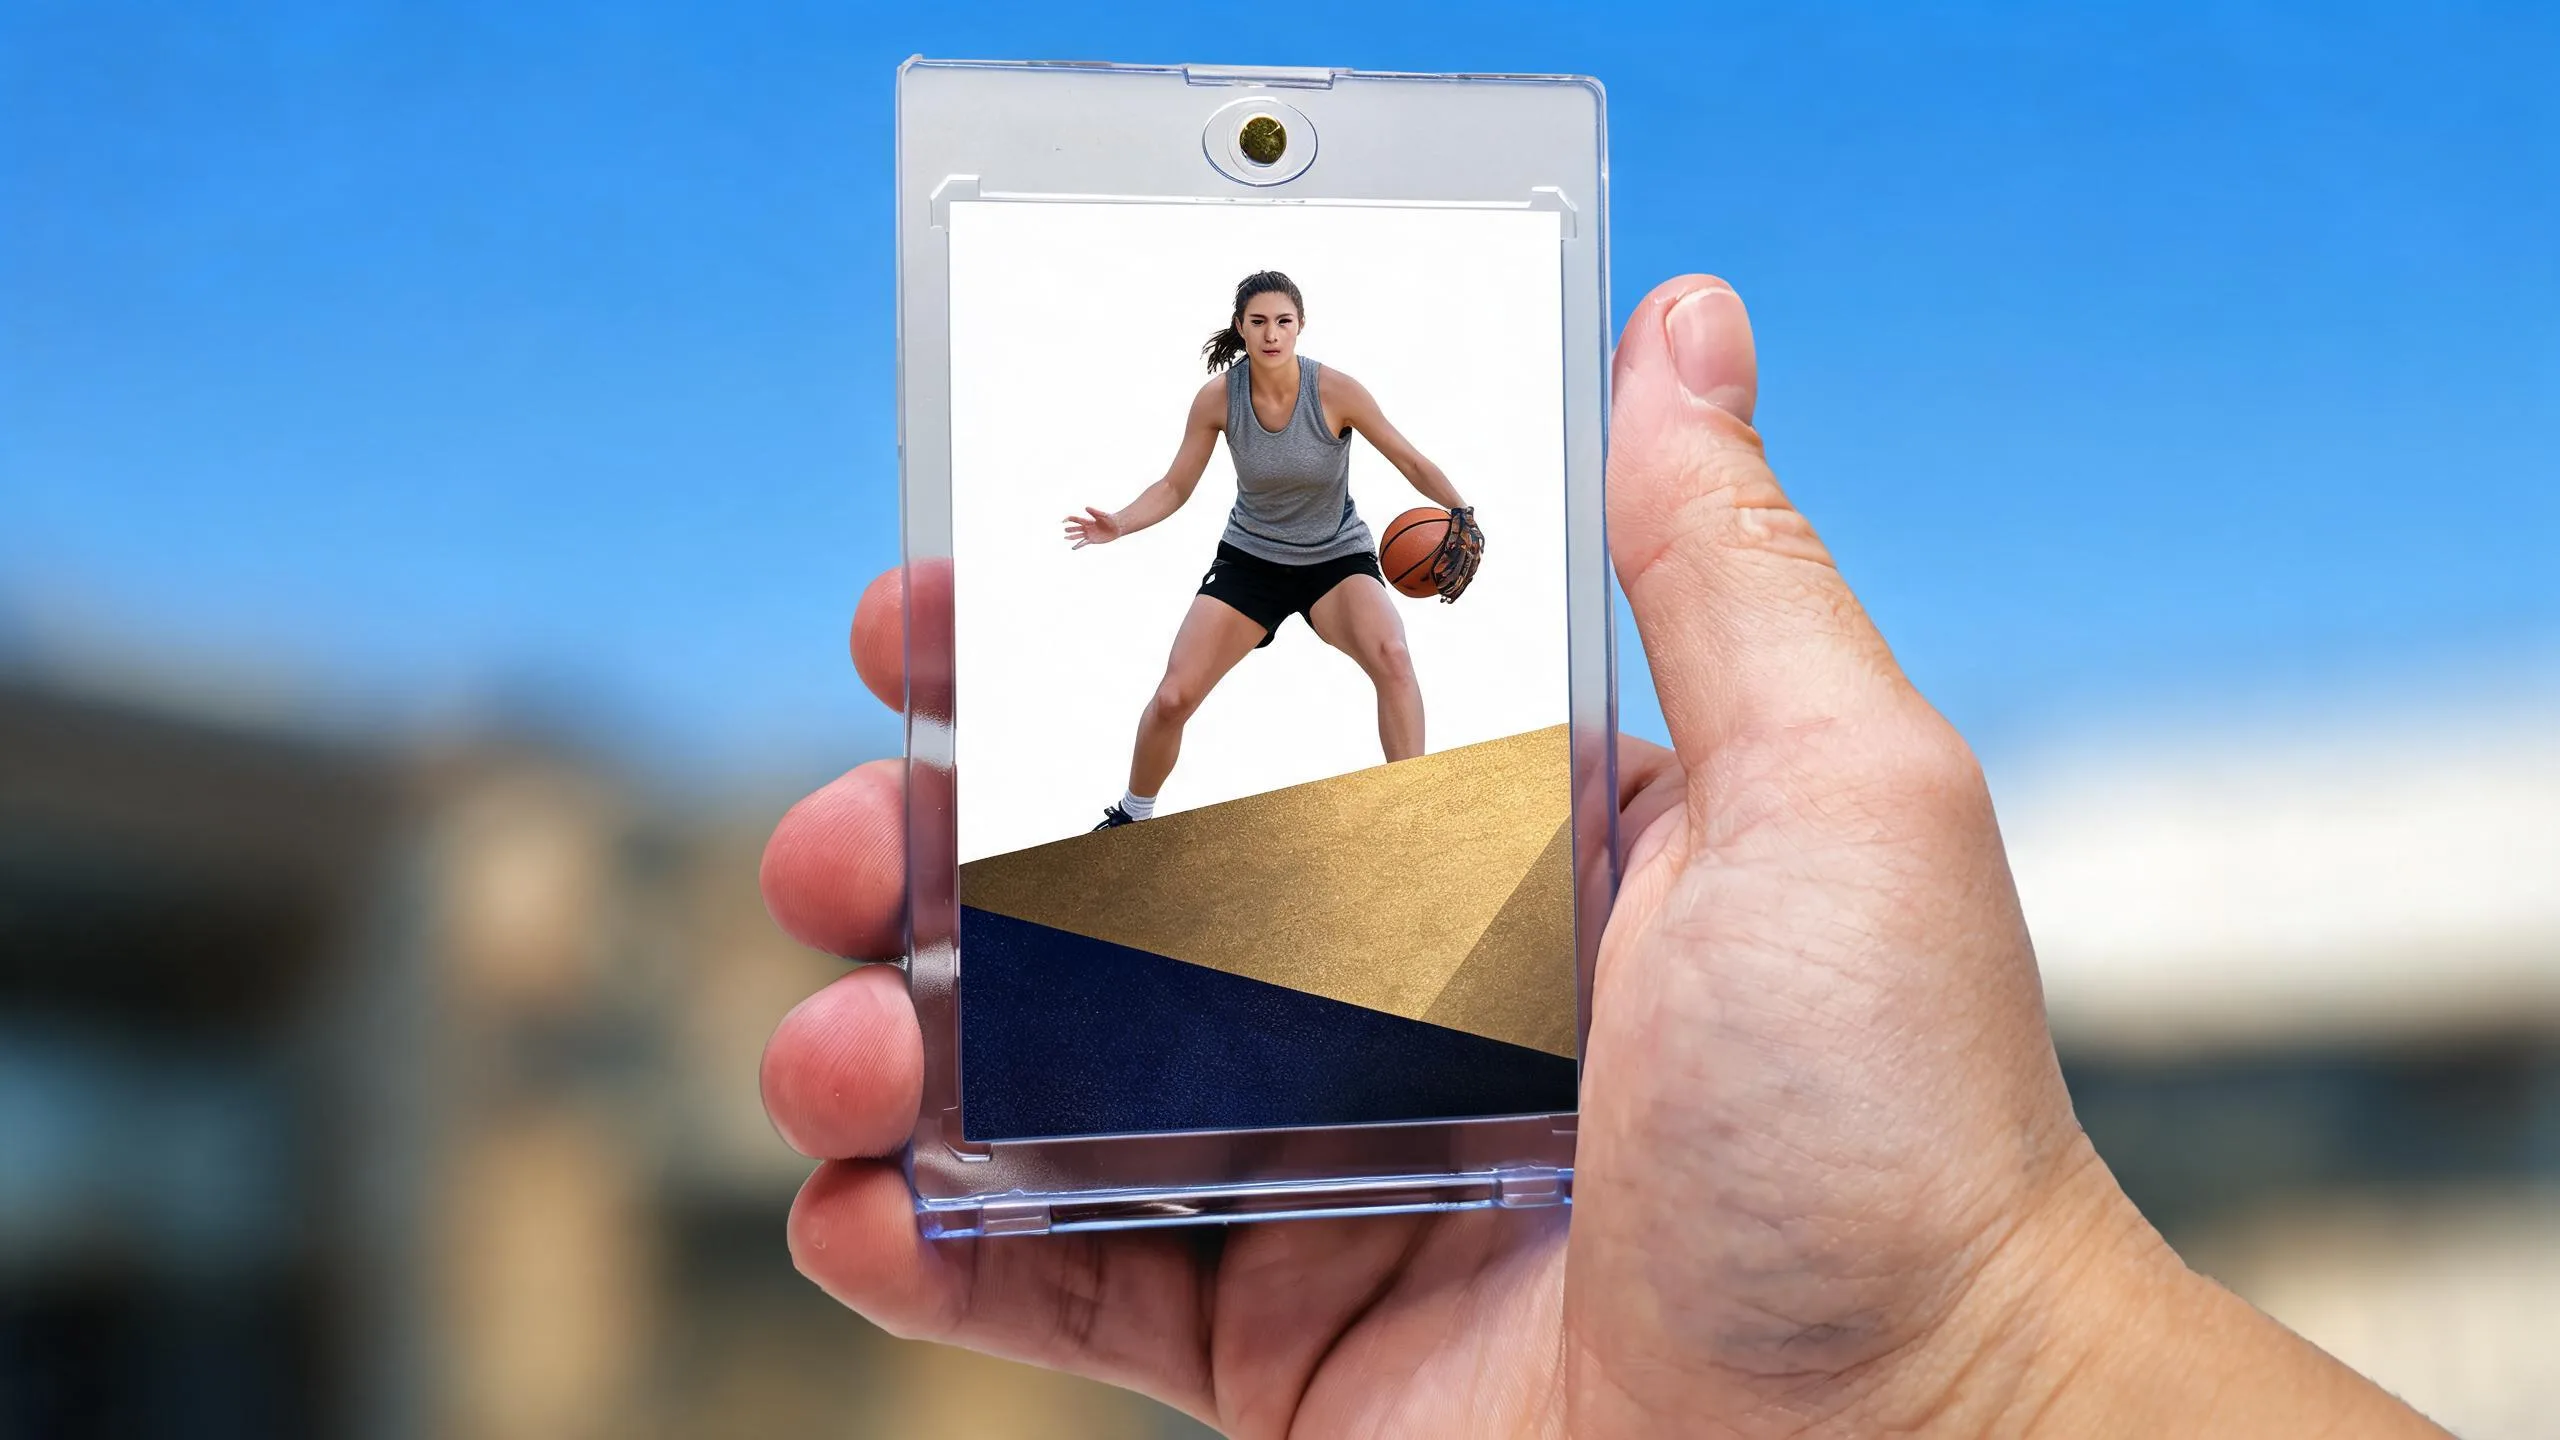
We print custom cards from thousands of photos submitted by parents, coaches, and athletes across the country, and the difference between a properly exposed action shot and a rushed phone snap is obvious the moment it hits card stock. The sharpest, most popular cards almost always come from photos shot with intention — fast shutter speed, good light, clear focus on the athlete's face or the play itself.
What Camera Setting for Sports Photography Actually Works?
Three settings do all the heavy lifting: shutter speed, aperture, and ISO. Get these three right and everything else is a bonus.
Set Shutter Speed First
Shutter speed is the single most important camera setting for sports photography, full stop. For most sports, 1/1000s or faster freezes motion cleanly — sprinting, swinging, jumping. Slower sports like swimming or golf swings can sometimes get away with 1/500s, but anything under that risks motion blur on fast limbs. If your shots look smeared, this is almost always the fix.
Open Your Aperture
A wide aperture (low f-number like f/2.8 or f/4) lets in more light and blurs the background, which separates your athlete from the crowd or fence behind them. It also lets you keep that fast shutter speed even when light is limited. On a kit lens stuck at f/5.6, you'll need to lean harder on ISO to compensate.
Adjust ISO Last
ISO is your light-sensitivity dial, and it's the setting you sacrifice last. Start low — ISO 100-400 outdoors in daylight — and raise it only as needed to keep your shutter speed fast. Indoor gyms often need ISO 1600-6400 depending on the lighting rig. Yes, you'll get some grain at higher ISOs, but a slightly grainy sharp photo beats a clean blurry one every time.
Nail these three settings and you'll walk away with sharp, usable shots instead of a card full of near-misses.

Pre-Game Camera Checklist
- Shutter speed set to at least 1/1000s (1/500s minimum for slower sports)
- Aperture set wide (f/2.8-f/4) for low light or background blur
- ISO set low outdoors (100-400), raised as needed indoors (1600+)
- Continuous/burst shooting mode turned on
- Autofocus set to continuous/tracking mode, not single-shot
- Memory card has enough free space for burst shooting all game
- Battery charged fully — burst mode drains it faster than you'd expect
Where This Comes Up: Real Situations Parents and Fans Face
The right settings shift depending on where you're standing and what's happening on the field.
Outdoor Daylight Games
Soccer, football, and baseball under full sun give you the most flexibility. Shutter speed 1/1000s-1/2000s, aperture f/4-f/5.6, ISO 100-200 usually nails it. Bright days let you prioritize a fast shutter without pushing ISO at all, which means clean, grain-free images even at 1/2000s.
Indoor Gym Lighting
Basketball and volleyball gyms are the hardest environment — dim, flickering fluorescent or LED lights force compromises. Shoot 1/500s-1/800s minimum, widest aperture your lens allows, and expect ISO 1600-3200. A little grain here is the tradeoff for a sharp, usable photo instead of a blurry one.
Close-Action Moments
Diving catches, checks at the boards, a runner crossing home plate — these need the fastest shutter speeds you can manage, often 1/2000s or higher. Pair that with continuous/burst shooting mode so you capture the full sequence and pick the sharpest frame afterward, since even 1/2000s can miss peak action by a fraction of a second.
What It Costs to Turn Your Best Shot Into a Card
Once you've got a sharp action photo worth keeping, custom cards start at $17.99 for a single card.
Rookie Box single cards run $17.99, packs go up to $49.99, and the MEGA 11"x15" poster card is $49.99. Every order ships free within the USA.
A great sports photo deserves better than sitting in a camera roll — turn it into a printed keepsake shipped in 2-3 days, made in Des Moines, Iowa.
Box Options
Simple, collectible pricing. No subscriptions, no hidden fees.

The Rookie Box
Perfect for those unforgettable moments
$17.99 - $49.99
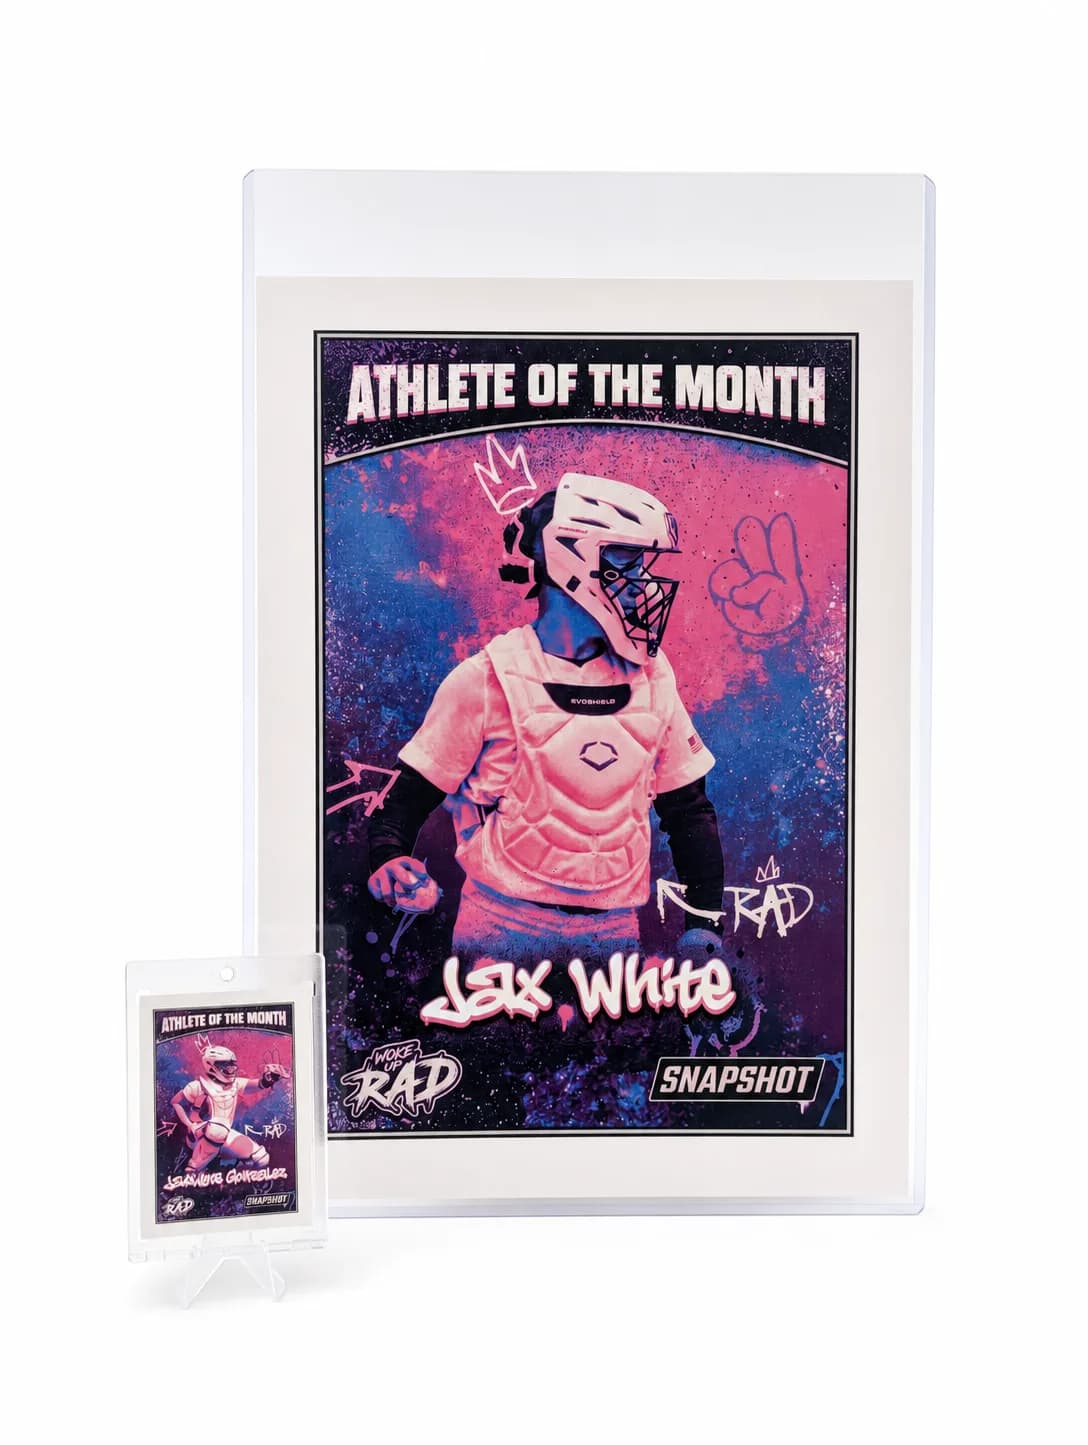
MEGA Card
Their moment, bigger than ever
$49.99
Create for free • Ships the next business day • Made in Des Moines, IA, USA
Frequently Asked Questions
Should I use burst mode or single-shot mode for sports?
Burst mode, sometimes called continuous shooting, is almost always the better choice for sports photography. Athletic movement happens in fractions of a second, and even a well-timed single shot can miss the actual peak of the action by a frame or two. Burst mode fires off multiple images per second while you hold the shutter button, giving you a sequence to choose from instead of betting everything on one click. Most cameras and phones support some version of this, though the frame rate varies quite a bit between devices. The tradeoff is that you'll end up with a lot more photos to sort through afterward, so budget some time for reviewing and deleting. It also uses more storage and can fill a memory card faster during a long tournament day. Even so, the extra effort is worth it — the difference between catching the exact peak of a jump shot and missing it by a tenth of a second is the difference between a great photo and a forgettable one.
What aperture should I use for sports photography?
For most sports, a wide aperture between f/2.8 and f/4 works well, though it depends heavily on your lens and the lighting conditions you're working in. A wider aperture, meaning a lower f-number, lets more light hit your sensor, which helps you maintain a fast shutter speed without cranking your ISO too high. It also creates background blur, often called bokeh, which separates the athlete from a busy background like bleachers, fences, or other players. If you're shooting outdoors in bright sun, you have more flexibility and can stop down to f/5.6 or even f/8 if you want more of the scene in focus, like a full team huddle. Indoors, you'll usually want to open your aperture as wide as your lens allows, since light is limited and every bit helps. Kit lenses that only open to f/5.6 will struggle more in dim conditions than a dedicated f/2.8 lens. If you're shopping for new gear specifically for sports, a fast prime lens is often a better upgrade than a new camera body.
How do I photograph fast action without everything blurring?
The core fix is shutter speed — anything below 1/500s risks blur on genuinely fast movement like sprinting or a swung bat. For most field sports, aim for 1/1000s to 1/2000s to freeze motion cleanly, and go even faster for extremely quick actions like a slap shot or a diving save. Beyond shutter speed, using continuous autofocus mode, often labeled AI Servo or AF-C depending on your camera brand, helps your lens track a moving subject instead of locking focus once and letting the athlete drift out of focus as they move. Pre-focusing on a spot where you expect action to happen, like home plate or the free-throw line, and waiting for the athlete to arrive there can also help when autofocus struggles to keep up. Panning, where you move the camera to follow the subject at the same speed they're moving, can create a sharp subject with a blurred background, which looks intentional and dynamic rather than accidental. It takes practice, so don't get discouraged if your first attempts at panning look messy.
Do I need a specific type of lens for sports photography?
A telephoto zoom lens, something in the 70-200mm or 100-400mm range, is the most useful lens for most sports since it lets you get close to the action from the sidelines without physically being on the field. That said, you don't need an expensive lens to get started — even a basic 55-200mm kit lens can produce good results in bright outdoor light if your settings are dialed in. What matters more than reach is the maximum aperture; a lens that opens to f/2.8 will perform far better in low light than one stuck at f/5.6, especially indoors. If you're shooting with a phone, most modern phones have a 2x or 3x zoom option that works reasonably well outdoors, though quality drops noticeably in dim gyms. For parents shooting rec league or school sports on a budget, a used telephoto zoom from a reputable brand is often the best value upgrade you can make. It matters more than upgrading the camera body itself in most cases.
What ISO should I use for outdoor daytime games?
On a bright, sunny day, ISO 100-200 is usually plenty and keeps your images clean and grain-free even when printed large. Overcast days or late afternoon games closer to sunset might push you to ISO 400-800 to maintain a fast enough shutter speed. The general rule is to keep ISO as low as the lighting allows while still hitting your target shutter speed, since higher ISO always introduces some grain even in good light. If you're shooting in shutter priority mode, your camera will often bump ISO automatically as needed, so keep an eye on it to make sure it's not climbing higher than necessary. Some cameras let you cap the maximum auto ISO, which is a useful safeguard against accidentally shooting at ISO 3200 in broad daylight due to a metering error. Checking your ISO periodically during a game, especially as clouds roll in or the sun shifts, helps you catch these issues before you've missed half the action shooting at the wrong setting.
Can I get good sports photos with just my phone?
Yes, modern phone cameras can capture solid action shots, especially outdoors in good light, though they have real limitations compared to a dedicated camera. Most phones have a sports or action mode buried in the camera settings that automatically prioritizes faster shutter speeds — turn that on before the game starts. Tapping and holding on the athlete on your screen often locks focus and exposure, which helps track them as they move across the field. Phones struggle more indoors and in low light, where you'll notice more blur and grain compared to outdoor shots, simply because the sensor is much smaller than a dedicated camera's. Zooming digitally on a phone also degrades quality fast, so it's better to physically move closer when possible rather than pinching to zoom from the sideline. If you're serious about sports photography long-term, a phone is a fine starting point, but you'll eventually hit a ceiling that only a dedicated camera and lens can push past.
How important is autofocus mode for sports shots?
Autofocus mode matters almost as much as shutter speed when it comes to sharp sports photos. Continuous autofocus, labeled AF-C on most cameras or AI Servo on Canon bodies, keeps adjusting focus as your subject moves, which is essential for anything faster than a standing pose. Single-shot autofocus, by contrast, locks focus once and doesn't update, so a player who moves even slightly after you focus will come out soft. Combining continuous autofocus with a focus tracking feature, sometimes called 3D tracking or subject tracking depending on the brand, helps the camera follow a specific athlete even as they weave through other players. Burst mode paired with continuous autofocus is the strongest combination for genuinely unpredictable sports like basketball or soccer. If your camera has customizable focus points, using a smaller cluster of points centered on your subject often works better than letting the camera choose freely across the whole frame, which can accidentally focus on the wrong player.
What's the difference between shutter priority and full manual mode for sports?
Shutter priority mode, often labeled S or Tv, lets you set your desired shutter speed while the camera automatically chooses the aperture to maintain proper exposure. It's a great option for beginners because it removes one variable and still guarantees a fast enough shutter speed to freeze motion. Full manual mode gives you complete control over shutter speed, aperture, and ISO, which is more powerful but requires more practice to use quickly during fast-changing lighting conditions, like a game that starts in daylight and finishes under stadium lights. Many experienced sports photographers actually use manual mode with auto ISO, which locks in their preferred shutter speed and aperture while letting the camera adjust only ISO to compensate for changing light. This hybrid approach gives you creative control without having to constantly babysit exposure during play. If you're just starting out, there's no shame in using shutter priority for an entire season before moving to manual — the photos will still be sharp, and that's what actually matters.
How do I photograph sports in changing light, like a game that goes into sunset?
Games that start in bright daylight and end near sunset are genuinely tricky because your settings need to shift gradually as the light drops. The best approach is to check your exposure every ten to fifteen minutes rather than setting it once and forgetting about it. As light fades, you'll likely need to raise ISO first, since dropping shutter speed too much risks blur and opening aperture further may already be maxed out on your lens. Using auto ISO with a fixed shutter speed and aperture, if your camera supports it, handles this transition automatically and takes one less thing off your plate during the game. Pay attention to shadows too — as the sun gets lower, players can end up half-lit and half-shadowed, which looks messy in photos. Positioning yourself so the remaining light is behind you and on the athletes' faces, rather than behind them, makes a noticeable difference in image quality during that tricky golden-hour-to-dusk window.
Free to design, instant preview. Ships the next business day.

You've Got the Shot — Now Make It Permanent
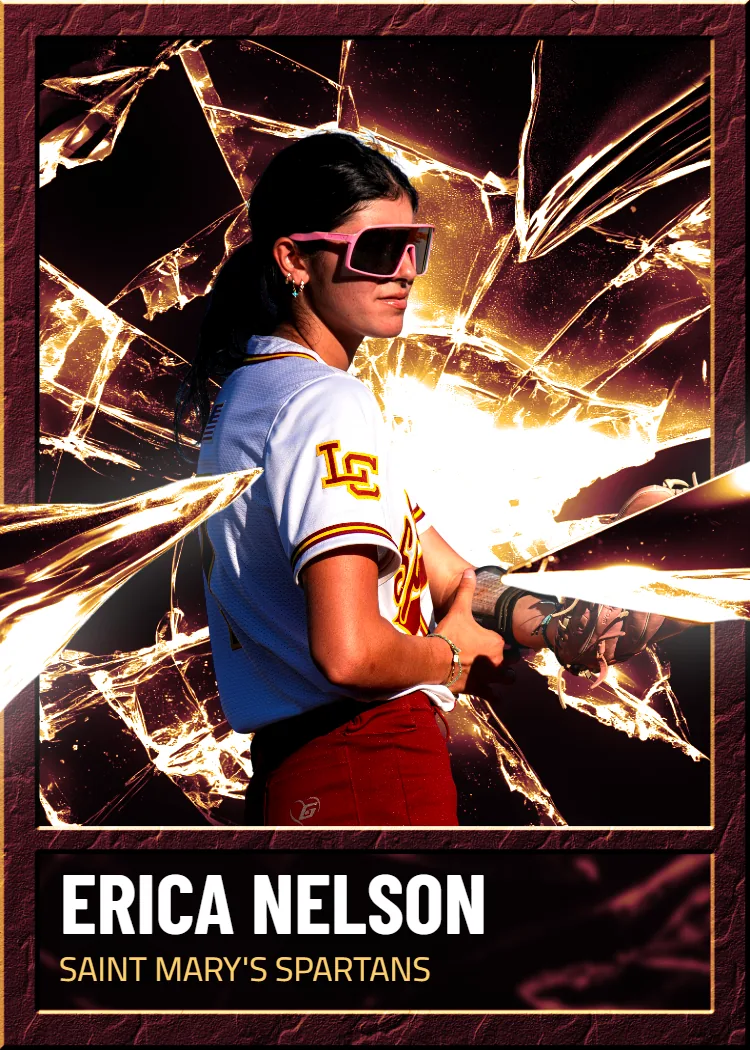
You put in the work getting your camera setting for sports photography right. Don't let that perfect frame sit buried in a camera roll. Upload it, pick a template, and get a printed card shipped in 2-3 days.
Turn Your Photo Into a CardNo credit card required | Instant preview | Pro-quality designs
Explore More Card Options
Discover more custom trading card options for every sport and occasion